Skip to content

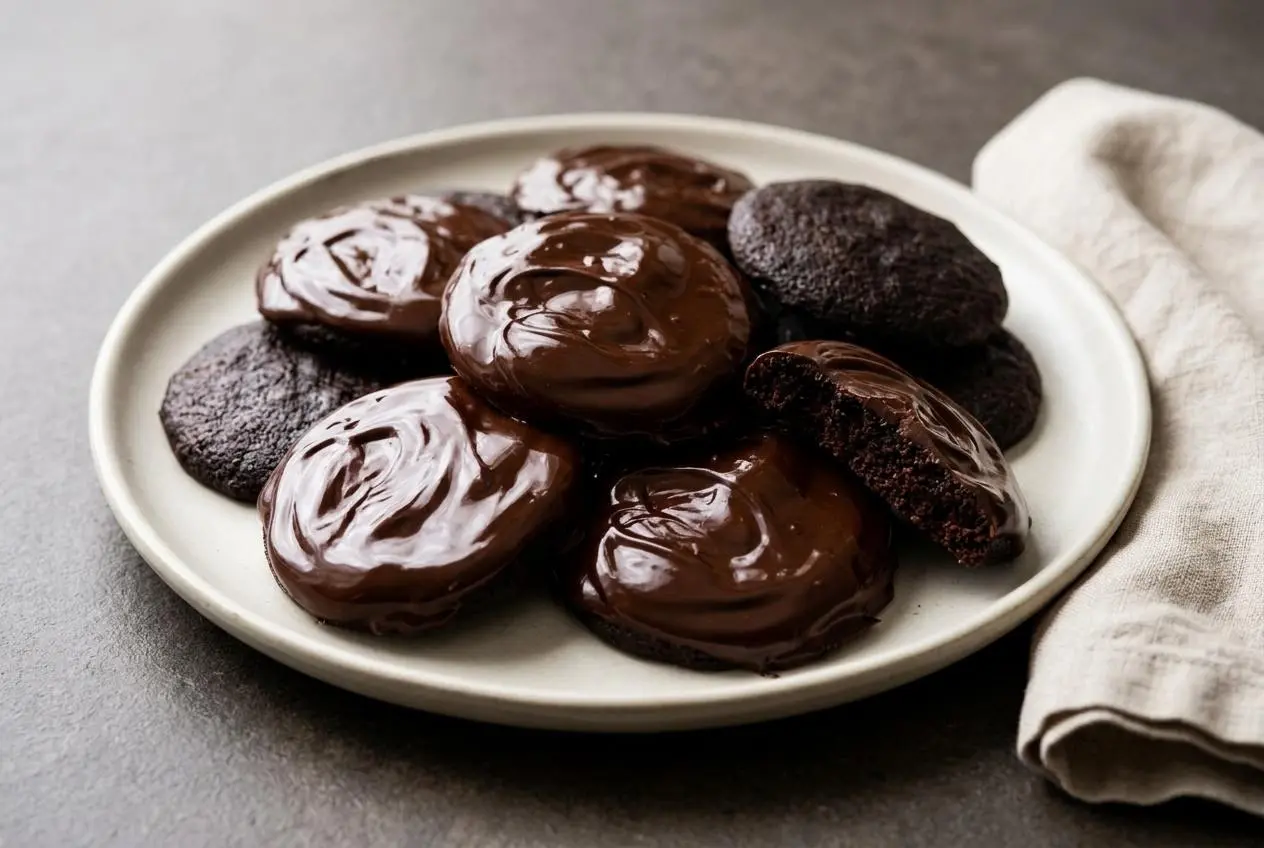
Homemade keto thin mints pair crisp almond flour chocolate wafers with a glossy peppermint chocolate coating. Erythritol helps the cookies develop their crunchy snap as they cool, while coconut oil thins the melted chocolate for easier dipping.
These chocolate mint cookies capture the appeal of a Thin Mint copycat: a thin cocoa center, refreshing peppermint, and a coating that breaks cleanly when chilled.
The dough needs chilling, and the wafers need patient cooling before coating. Those pauses make delicate cookies easier to handle and give the texture time to develop. The snap is worth the wait.
Clear space in the freezer for the baking tray before you start cutting the dough.
Essential Ingredients for Crisp Chocolate Mint Wafers
Almond flour, egg, and xanthan gum build the wafer’s structure; butter adds richness, and erythritol supports crunch. Cocoa and dark chocolate supply depth, salt balances sweetness, baking soda provides lift, and peppermint brightens the coconut-oil-thinned coating.
- 130 g almond flour
- 65 g cocoa powder
- 1/2 teaspoon kosher salt
- 1/2 teaspoon xanthan gum
- 1/2 teaspoon baking soda
- 80 g unsalted (grass-fed!) butter (at room temperature)
- 128 g erythritol
- 1 egg
- 340 g dark chocolate (such as Lily’s, melted)
- 1-3 teaspoons coconut oil (as needed (to adjust thickness))
- 1/4-1 teaspoon peppermint extract (to taste)
Choose superfine blanched almond flour for a smoother wafer rather than coarse almond meal. Xanthan gum helps hold the grain-free dough together during rolling and dipping. For the gram measurements, use a kitchen scale rather than estimating cup equivalents.
Granular erythritol matters here: it recrystallizes during cooling and contributes to the crisp texture. Allulose and xylitol tend to produce softer cookies, so they aren’t equivalent swaps when crunch is the goal.
Dutch-processed cocoa gives a darker color and mellower flavor; natural cocoa tastes brighter and sharper. Choose sugar-free dark chocolate for the intended coating. Coconut oil loosens it into a flowing ribbon, while peppermint extract supplies the mint flavor. The milk chocolate variation below describes a milder direction.
I’d choose finely ground almond flour over almond meal here; a smooth dough makes thin rounds easier to cut cleanly.
How to Make Keto Thin Mints Step-by-Step
This batch makes 24 cookies. Plan beyond the hands-on mixing and baking time: the dough must chill, and the baked wafers must become completely cool and crunchy before dipping.
- Whisk the almond flour, cocoa, xanthan gum, salt, and baking soda together in a medium bowl, then reserve the mixture.
The dry ingredients should look uniform, without visible pockets of gum or cocoa. - Use an electric mixer to beat the softened butter in a large bowl for 1 minute, then beat in the erythritol for about 8 minutes.
A pale, fluffy mixture signals that the creaming stage has developed the needed aeration. - Beat in the egg only until it disappears into the butter mixture.
A slightly curdled appearance at this stage is expected. - Set the mixer to low and incorporate the dry mixture in two equal additions, stopping as soon as each addition blends in.
The finished dough should have an even chocolate color with no dry streaks. - Enclose the dough in plastic wrap and refrigerate for 1 hour or overnight.
Chilled dough feels firmer and is easier to roll without sticking. - Heat the oven to 350°F/180°C and cover a baking tray with parchment paper.
The parchment provides a surface from which the delicate baked wafers can release. - Sandwich the chilled dough between two sheets of parchment, roll it out, and cut rounds roughly 2 inches across.
A thin, even sheet helps the cookies bake consistently. - Arrange the rounds on the lined tray and freeze them for 15 minutes before baking.
The cutouts should feel firm enough to hold their shape. - Bake for 8–12 minutes, using a single test cookie first if possible to judge the baking window.
Look for a slight puff and a pronounced chocolate aroma rather than browning, and watch closely toward the end to develop crispness without scorching. - Leave the cookies on the tray for 10 minutes, then carefully move them to a wire rack and let them cool completely.
The warm wafers remain fragile, and reaching their full crunch can take a few hours as the erythritol firms. - Once the wafers are crunchy, melt the chocolate with coconut oil in a water bath or microwave, add peppermint extract gradually to taste, and fork-dip each cookie onto parchment to set, using a brief freezer chill if desired.
The coating should flow off the fork rather than cling in a heavy mound. - Pack the finished cookies into an airtight container for storage, or freeze them; freeze shaped unbaked cutouts separately if preparing dough ahead and bake those directly from frozen.
Let the coating become firm before packing so the cookies retain their clean finish.
Troubleshooting & Pro Tips for Crisp Wafers
Judge the wafer’s texture only after it has cooled completely, not while it’s still warm on the tray.
- Soft after baking: Warm almond flour wafers are delicate. Give the erythritol time to recrystallize before deciding they need more baking; chilled chocolate cannot compensate for an underbaked center.
- Sticky dough: Warm dough clings to parchment and cutters. Return it to the cold until manageable, then roll between parchment again rather than working extra flour into it.
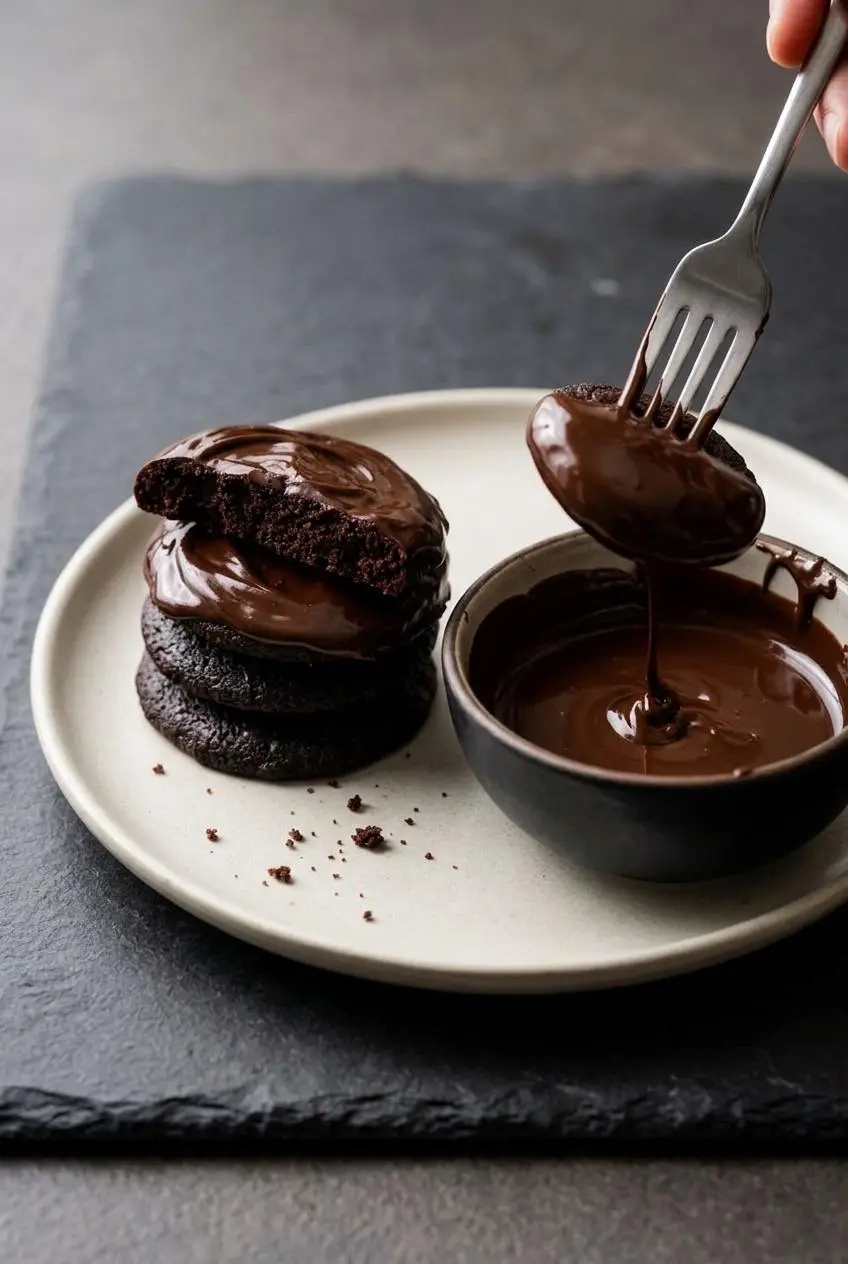
- Broken cookies during dipping: Cool them fully and optionally chill the cooled wafers briefly. Support each cookie across the flat tines of a fork, lower it into fluid chocolate, then lift from underneath.
- Thick coating or puddles: Use coconut oil within the listed range to adjust flow. Gently tap the fork against the bowl and let excess chocolate drain before sliding the cookie onto parchment.
- Grainy or seized chocolate: Liquid extract can make melted chocolate thicken abruptly. Keep utensils dry and add the extract gradually; coconut oil helps adjust fluidity but doesn’t guarantee that seized chocolate will recover.
Flavor Variations & Dietary Adaptations
Keep these optional directions separate from the measured dough above, since changes to flour, fat, or binders can alter the snap.
Milk Chocolate Style Keto Thin Mints
For a gentler chocolate profile, consider a sugar-free milk-chocolate-style coating and less intense cocoa notes in the wafer. Changing the dough’s cocoa balance requires a separately balanced formula, rather than simply removing cocoa from these measurements.
Dairy-Free & Vegan Low-Carb Thin Mints
A dairy-free direction would require plant-based butter and chocolate without dairy ingredients. A vegan version also needs an egg-free binder formulation, which isn’t established here. Choose a recipe designed for those changes rather than expecting direct swaps to preserve this wafer’s structure.
No-Bake Freezer Mint Chocolate Bites
Nut or coconut flour, cacao, coconut oil, and peppermint can form the basis of a separate no-bake freezer treat. Expect a chilled bite rather than a baked wafer’s crisp snap; nut and coconut flours aren’t interchangeable without adjusting the formula.
How to Store and Freeze Homemade Mint Chocolate Cookies
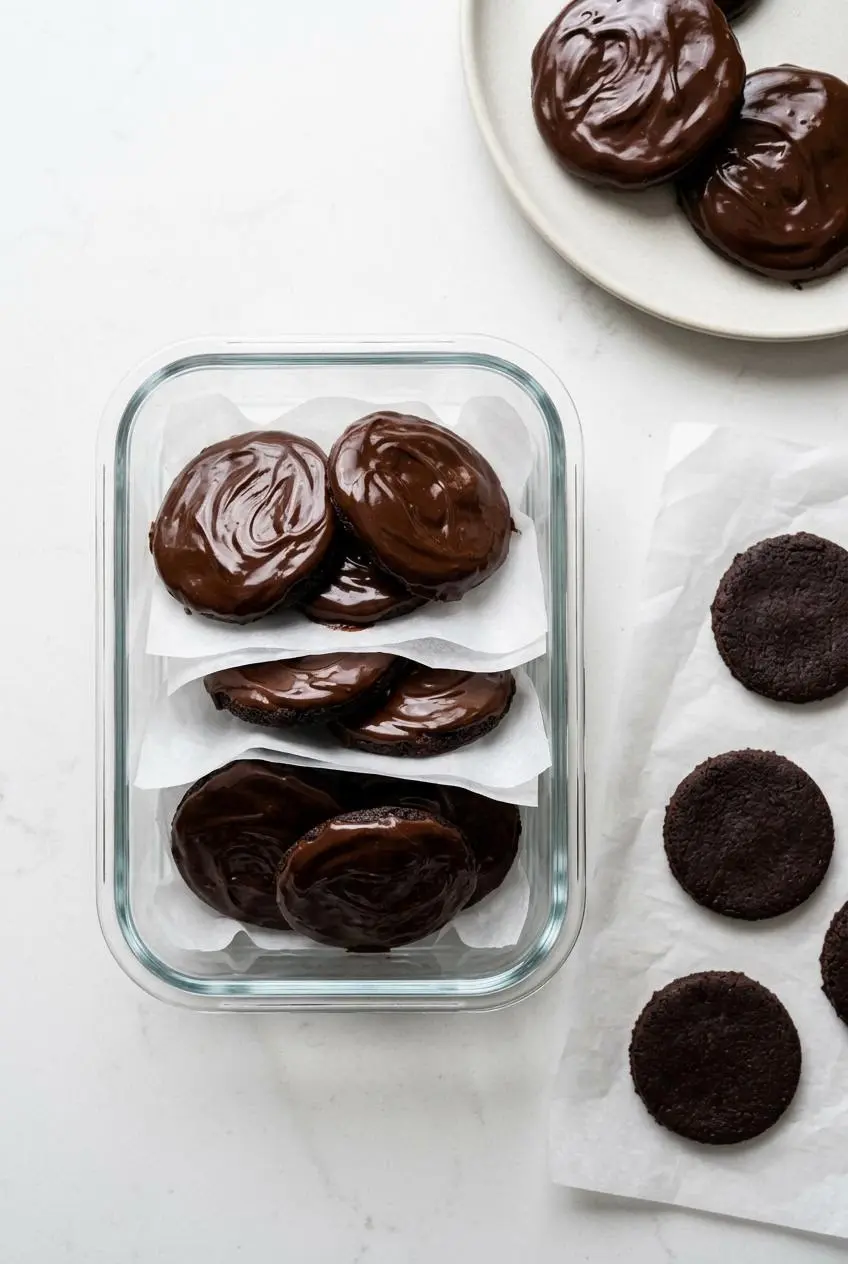
Pack the cookies only after the chocolate coating sets, so the layers don’t smear together.
Use an airtight container and protect it from warmth and moisture. Room-temperature storage suits a cool kitchen; freezer storage gives the coating a firmer, chilled snap. Separate layers with parchment to make individual cookies easier to remove.
For make-ahead baking, freeze shaped unbaked cutouts and protect them in a closed freezer container. Bake them straight from frozen, checking the same puffing and aroma cues rather than assuming every oven will finish them identically.
Best Ways to Serve Crisp Mint Chocolate Wafers

Serve these chilled when you want the firmest chocolate snap.
- Pair whole cookies with unsweetened almond milk for dunking.
- Set them alongside espresso for a contrasting bitter, minty finish.
- Crumble them over low-carb vanilla ice cream just before serving to preserve the crunch.
Final Thoughts on Homemade Chilled Mint Cookies
Thorough creaming, chilled dough, and complete cooling give these chocolate peppermint wafers their best chance at a clean snap.
Wait until the centers feel crunchy before reaching for the dipping fork. Then enjoy them chilled, with that crisp wafer tucked beneath a thin chocolate shell.
Frequently Asked Questions
How Do I Dip Keto Thin Mints in Chocolate Without Breaking Them?
Let the wafers cool completely until firm and crunchy. Thin the chocolate with the listed coconut oil, then support each cookie on a fork and gently drain the excess coating.
Why Are My Keto Thin Mints Soft After Baking, and How Do I Make Them Crisp?
Warm wafers remain delicate; erythritol contributes more crunch as they cool. Let them cool fully before evaluating texture, and use the test cookie to calibrate baking rather than repeatedly baking the whole batch.
Can I Use Regular Peppermint Extract in Melted Sugar-Free Chocolate?
Yes, peppermint extract is the flavoring used here; stir it in gradually after melting the chocolate with coconut oil. Extract and concentrated peppermint oil aren’t interchangeable amounts, and liquid extract can still cause thickening.
Do Thin Mints Have Gluten, and Are Keto Thin Mints Gluten-Free?
Check packaged Thin Mints for wheat ingredients and their current allergen statement rather than assuming they’re gluten-free. This dough uses almond flour instead of wheat flour, but verify every packaged ingredient and cross-contact information when strict gluten avoidance matters.
Is It Okay to Freeze Homemade Keto Thin Mints?
Yes, the finished cookies can go into an airtight freezer container once the coating sets. You can also freeze shaped unbaked cutouts and bake them directly from frozen.
Keto Thin Mints

Equipment
- Electric mixer
- Baking tray
- Parchment paper
- Wire rack
Ingredients
- 130 g almond flour
- 65 g cocoa powder
- 1/2 teaspoon kosher salt
- 1/2 teaspoon xanthan gum
- 1/2 teaspoon baking soda
- 80 g unsalted (grass-fed!) butter (at room temperature)
- 128 g erythritol
- 1 egg
- 340 g dark chocolate (such as Lily’s, melted)
- 1-3 teaspoons coconut oil (as needed (to adjust thickness))
- 1/4-1 teaspoon peppermint extract (to taste)
Instructions
- Whisk the almond flour, cocoa, xanthan gum, salt, and baking soda together in a medium bowl, then reserve the mixture. The dry ingredients should look uniform, without visible pockets of gum or cocoa.
- Use an electric mixer to beat the softened butter in a large bowl for 1 minute, then beat in the erythritol for about 8 minutes. A pale, fluffy mixture signals that the creaming stage has developed the needed aeration.
- Beat in the egg only until it disappears into the butter mixture. A slightly curdled appearance at this stage is expected.
- Set the mixer to low and incorporate the dry mixture in two equal additions, stopping as soon as each addition blends in. The finished dough should have an even chocolate color with no dry streaks.
- Enclose the dough in plastic wrap and refrigerate for 1 hour or overnight. Chilled dough feels firmer and is easier to roll without sticking.
- Heat the oven to 350°F/180°C and cover a baking tray with parchment paper. The parchment provides a surface from which the delicate baked wafers can release.
- Sandwich the chilled dough between two sheets of parchment, roll it out, and cut rounds roughly 2 inches across. A thin, even sheet helps the cookies bake consistently.
- Arrange the rounds on the lined tray and freeze them for 15 minutes before baking. The cutouts should feel firm enough to hold their shape.
- Bake for 8–12 minutes, using a single test cookie first if possible to judge the baking window. Look for a slight puff and a pronounced chocolate aroma rather than browning, and watch closely toward the end to develop crispness without scorching.
- Leave the cookies on the tray for 10 minutes, then carefully move them to a wire rack and let them cool completely. The warm wafers remain fragile, and reaching their full crunch can take a few hours as the erythritol firms.
- Once the wafers are crunchy, melt the chocolate with coconut oil in a water bath or microwave, add peppermint extract gradually to taste, and fork-dip each cookie onto parchment to set, using a brief freezer chill if desired. The coating should flow off the fork rather than cling in a heavy mound.
- Pack the finished cookies into an airtight container for storage, or freeze them; freeze shaped unbaked cutouts separately if preparing dough ahead and bake those directly from frozen. Let the coating become firm before packing so the cookies retain their clean finish.