Skip to content
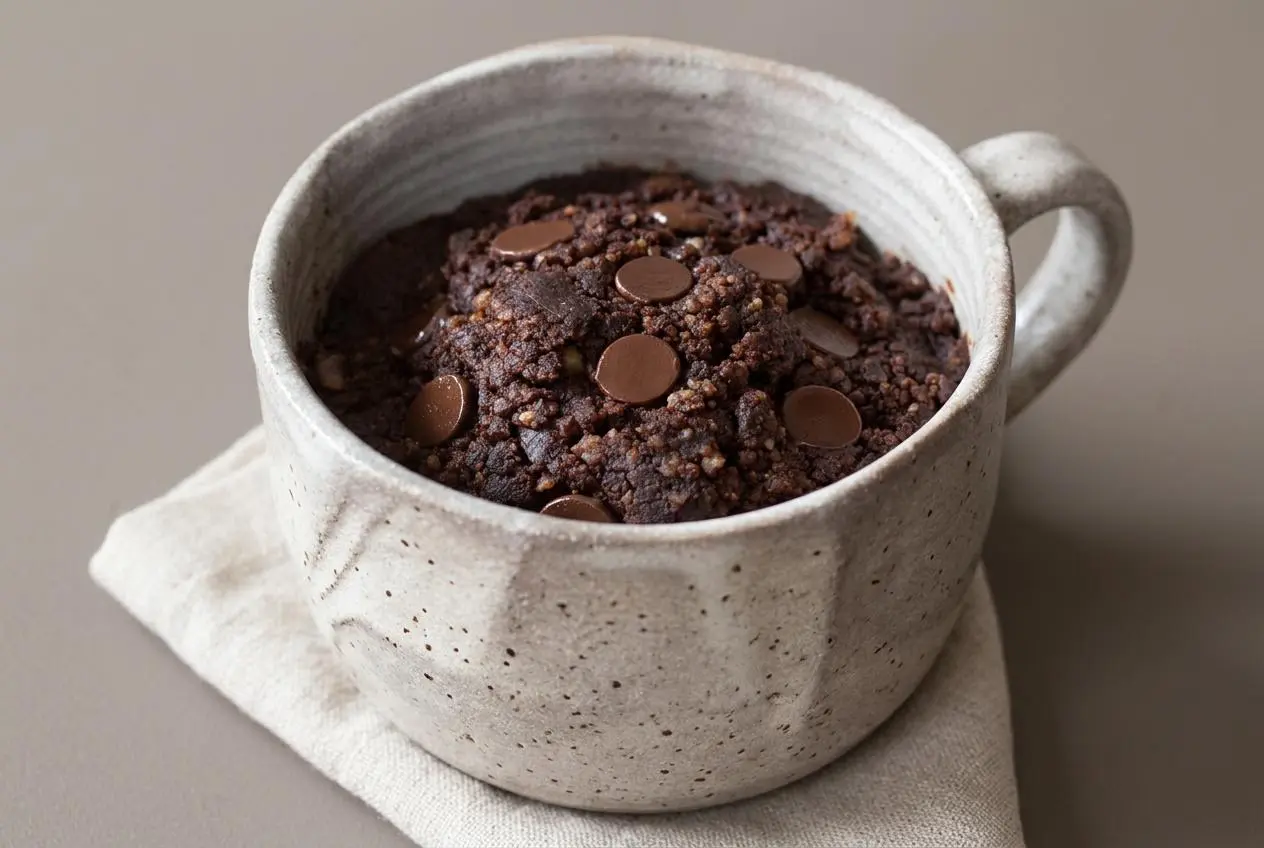
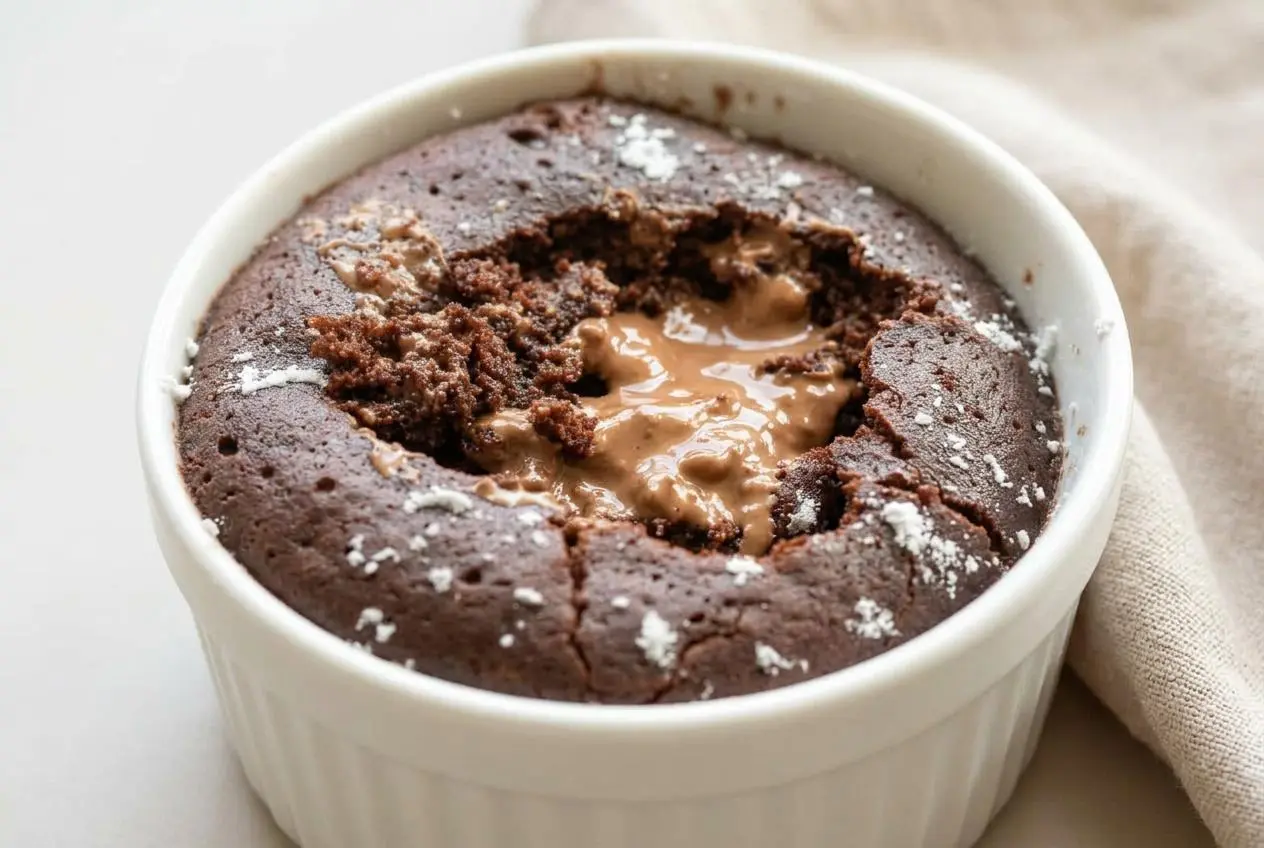
This eggless chocolate keto mug cake recipe makes one warm, fudgy dessert with a tender crumb, using ground nuts or almond flour and a brief microwave cook.
This keto mug cake recipe is a quick single-serving chocolate treat made with cocoa, nuts, milk, and leavening rather than eggs. The center stays pleasantly soft when you stop cooking while it still looks slightly underdone.
It’s rich enough for a chocolate craving, yet easy to tailor with the milk and sweetener you prefer. The mug shape makes a real difference.
Choose a wide, heat-safe mug or ramekin with plenty of empty space above the batter so it can rise without spilling over.
Essential Low-Carb Ingredients for Tender Mug Cake
Each ingredient contributes something useful: nuts provide structure, cocoa brings chocolate depth, milk adds moisture, and baking powder gives the batter a lighter lift without eggs.
- 1/3 cup almonds or pecans,
- 1 tbsp + 2 tsp cocoa powder
- 1 tbsp granulated erythritol or sugar or sweetener of choice
- pinch stevia, (or additional 2 tsp sugar)
- 1/8 tsp salt
- 1/4 tsp baking powder
- 3 tbsp milk of choice, (or 2 if using liquid sweetener)
- 1/4 tsp pure vanilla extract
- optional
I prefer a cocoa powder that smells deeply chocolatey as soon as the container opens. It gives a small cake a fuller, more satisfying flavor.
Ground Nuts Versus Blanched Almond Flour
Freshly ground almonds or pecans make a more rustic cake, with tiny nut flecks and a dense, brownie-like bite. Fine blanched almond flour creates a smoother, more even crumb because its particles absorb moisture more uniformly. Either choice works, but grind whole almonds until they resemble flour rather than leaving large pieces behind.
Selecting Unsweetened Cocoa Powder
Use unsweetened cocoa powder for concentrated chocolate flavor without the added sugar and milk solids found in hot cocoa mixes. Cocoa also helps balance the richness of the nuts, while vanilla rounds out any sharper roasted notes.
Keto Sweeteners and Moisture Balance
Granulated erythritol adds sweetness and a faintly crisp texture around the edges, while stevia supplies stronger sweetness in a much smaller amount. Stir the batter thoroughly so the sweetener disperses through the milk instead of sitting in grainy pockets.
How to Make Keto Mug Cake
- If using almonds, process them in a blender or food processor until they resemble a coarse flour.
The mixture should look sandy with fine pieces, not chunky like chopped nuts. - Grease a ramekin or small mug, whisk the dry ingredients well, then stir in the milk and vanilla until no dry cocoa remains.
The batter should be thick but spoonable and should sit below the halfway point of the vessel. - For oven baking, place the ramekin in a preheated 350 °F oven and bake for about 10 minutes.
Remove it when the center has set softly and the chocolate aroma is warm and pronounced. - For microwave baking, heat the batter for 30 seconds, then check it and continue with two 15-second intervals as needed.
The center should shift from liquid to softly set while still looking a little gooey. - Let the cake stand briefly after heating before digging in.
Residual heat finishes setting the crumb, leaving the middle tender instead of dry.
Keto Dietary Context and Smart Ingredient Choices
This cake uses nuts in place of wheat flour, creating a rich structure that works especially well in a small, eggless batter. Almond flour gives the most uniform texture, while ground almonds or pecans bring more noticeable nut character.
Granulated low-carb sweeteners can dissolve in the modest amount of liquid used here, although some retain a light crystalline texture after cooking. Choose unsweetened cocoa powder rather than a sweetened beverage mix so the chocolate flavor stays focused and you control the sweetness yourself.
The baking powder matters in an eggless mug cake. It creates a little lift as the batter heats, while the nut meal and milk hold that lift in place. Avoid packing fine almond flour tightly into the measuring cup, which can make the crumb heavier.
Troubleshooting Crumb Texture and Preventing Overflows
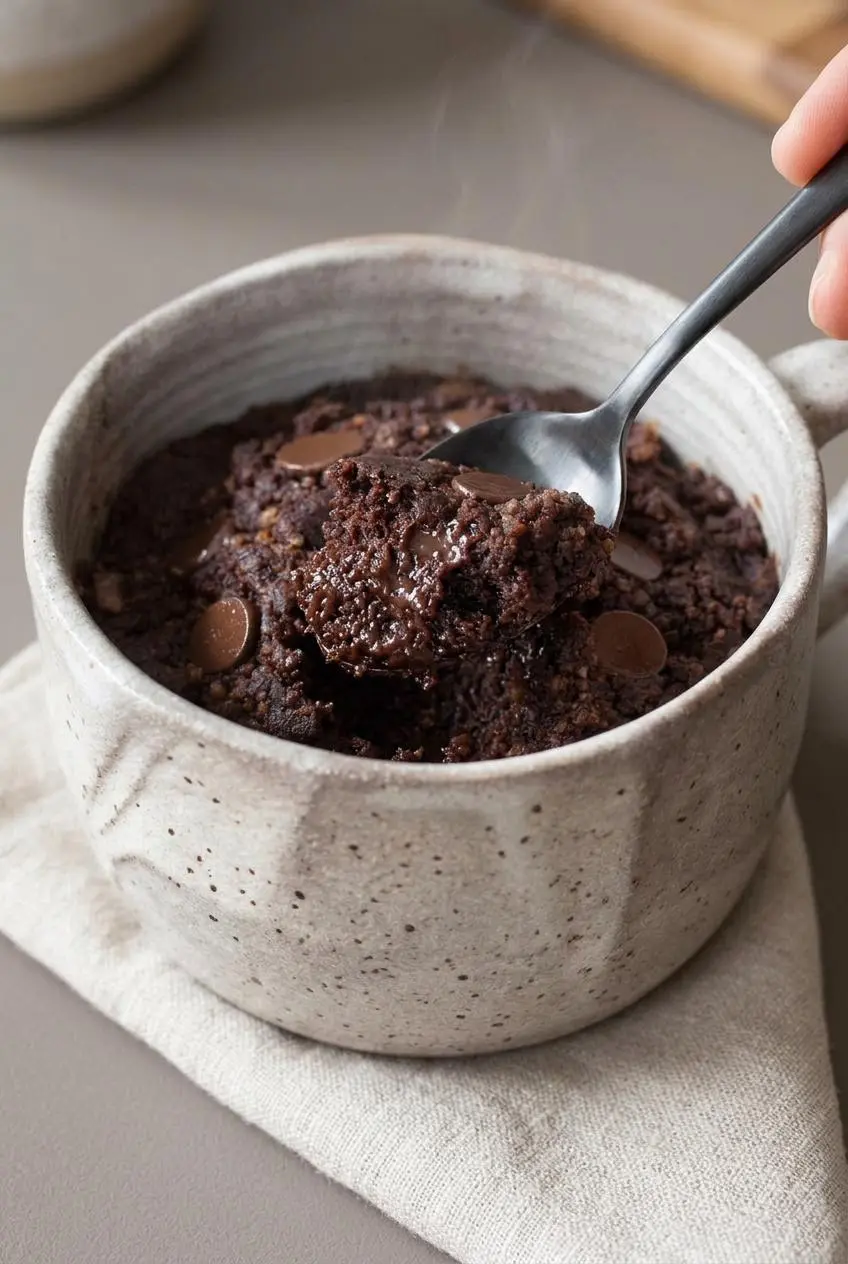
Most mug cake mishaps come down to vessel shape and heat control. A soft center is the goal, because the cake continues to firm after the microwave stops.
- Dry or rubbery cake: Excess heat is usually the culprit. Stop while the middle is softly set rather than waiting for it to look completely dry.
- Dense texture: Dry cocoa or baking powder lumps can weigh down the batter. Whisk those ingredients thoroughly before adding milk.
- Sticking: Grease the mug or ramekin well before mixing. Nut-based cakes can cling to ungreased ceramic.
Managing Microwave Wattage and Heating Intervals
Microwaves vary widely in power, so the listed intervals are a starting point rather than a rigid finish line. Short bursts give you time to assess the center, while one long blast can push the crumb from fudgy to chewy before you notice.
Pause when the cake smells like baked cocoa and the surface loses its wet shine. A gentle touch in the center should feel softly springy, not liquid.
Vessel Geometry and Preventing Spills
Tall, narrow mugs concentrate the rising batter and can encourage an overflow at the rim. A wider mug or shallow ceramic ramekin lets the batter spread into a thinner layer, which promotes more even heating and gives the rise room to happen.
Keep the batter at or below halfway up the vessel. Thick-walled ceramic may heat a little more gently than thin ceramic, so check the center rather than relying only on the clock.
Carryover Cooking and Texture Setting
Take the cake out when it still appears slightly gooey in the middle. The stored heat in the mug continues to set the delicate crumb as it rests, which is the difference between a fudgy spoon cake and a dry puck.
Creative Flavor Variations and Dietary Swaps
Keep the core batter unchanged, then use a small optional addition to steer the flavor in a new direction. These ideas work best when you want a different finish without turning a quick dessert into a complicated project.
Espresso Chocolate Enhancement
Add a subtle pinch of instant espresso powder to deepen the cocoa flavor. It should make the chocolate taste darker and rounder rather than giving the cake a pronounced coffee flavor.
Nut Butter Swirl
Drop creamy nut butter over the surface of the mixed batter and lightly swirl it before cooking. The streaks add richness and create soft pockets through the warm crumb without changing the main method.
Chocolate Chip Inclusions
Fold in sugar-free chocolate chips for little molten spots throughout the cake. Chopped nuts are another optional route when you want extra crunch against the soft center.
For a larger baked dessert instead of a single portion, try this chocolate keto cake.
Make-Ahead Tips and Fresh Storage Practices
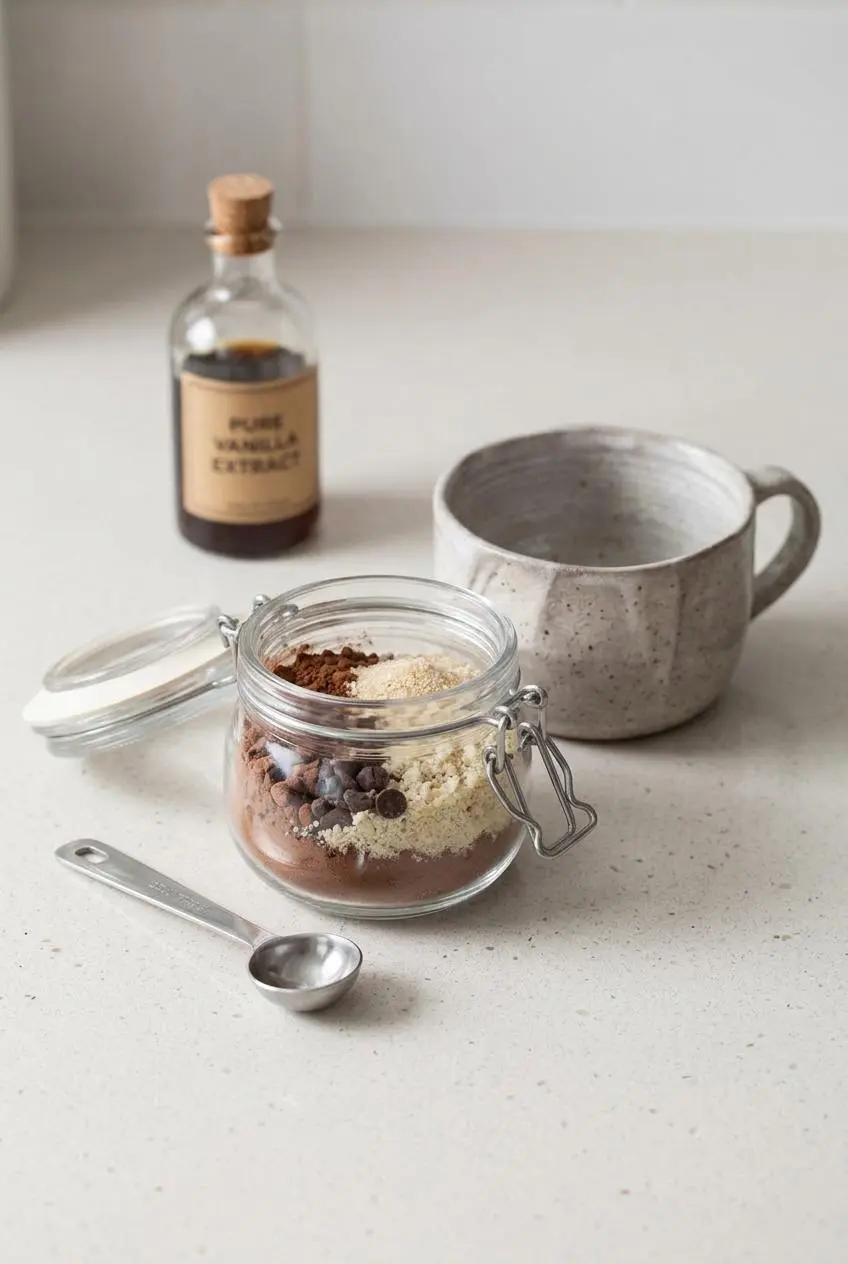
For faster prep, combine the dry ingredients in individual covered jars, then add the milk and vanilla when you are ready to cook. This keeps the baking powder and cocoa evenly distributed before the wet ingredients go in.
If you have leftover cooked cake, let it cool completely, cover it airtight, and keep it chilled. Warm it gently only until soft again, since prolonged reheating can dry the edges and toughen the nut-based crumb.
Serving Suggestions and Decadent Low-Carb Toppings
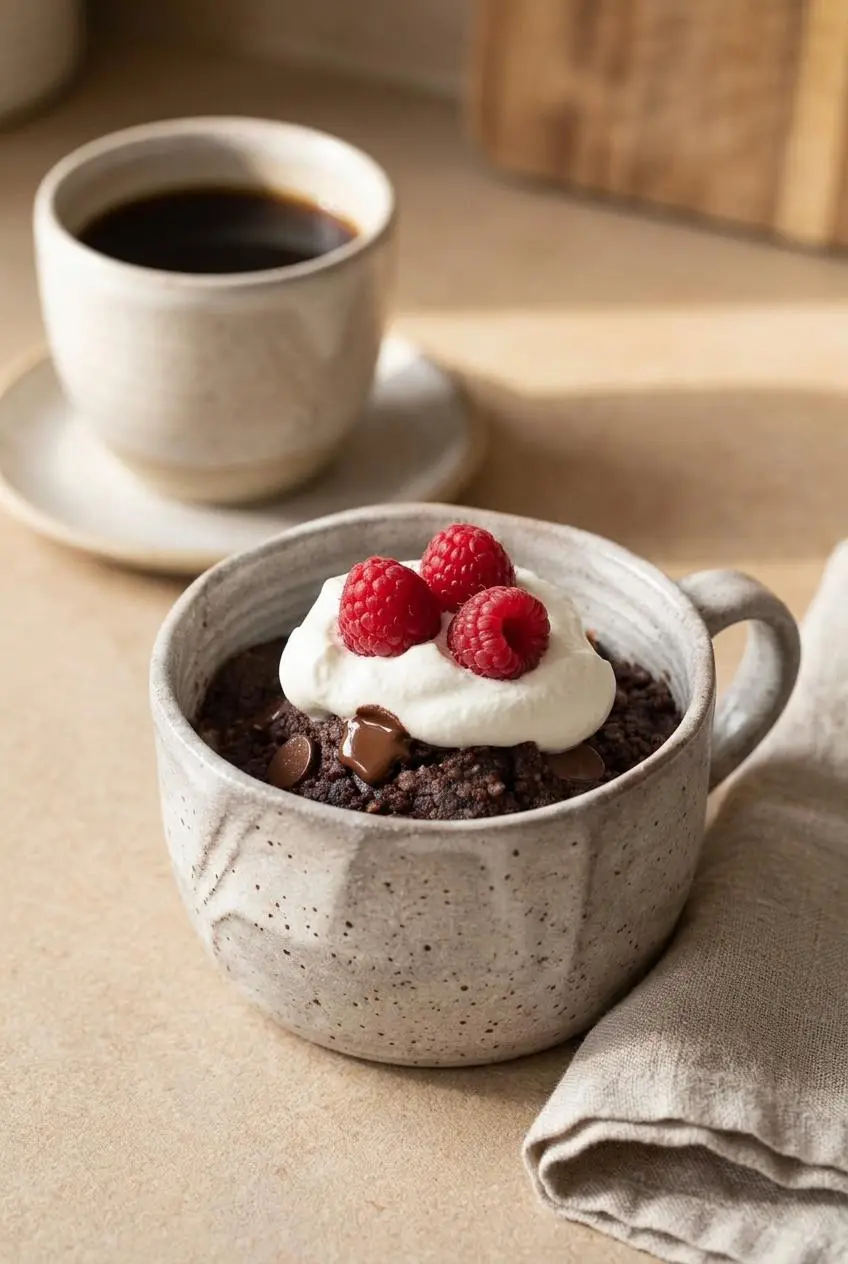
This cake is especially good warm from the mug with a spoon, when the center is still soft and the cocoa aroma is strongest. Add a topping just before serving so the contrast stays fresh.
- Finish with unsweetened whipped cream for a cool, airy contrast.
- Use dairy-free coconut cream when you prefer a plant-based topping.
- Add tart raspberries or sliced strawberries to cut through the deep chocolate flavor.
- Pair the warm cake with a scoop of keto ice cream for a hot-and-cold dessert.
- Serve with black coffee or unsweetened almond milk for a calm, cozy finish.
Final Thoughts on Quick Low-Carb Mug Baking
A tender mug cake depends less on complicated technique than on stopping the heat at the right moment. Short microwave intervals and a brief rest protect the soft, fudgy center.
Once you know how your favorite mug and microwave behave, this becomes an easy way to enjoy a warm chocolate dessert in a single portion. Try a new topping when the craving strikes.
Frequently Asked Questions About Keto Mug Cakes
How do I prevent my keto mug cake from turning rubbery?
Use short microwave intervals and stop while the center is still softly set. Overheating is the main reason an eggless nut-based mug cake becomes tough. Let residual heat finish the crumb during a brief rest.
Can I use commercial almond flour instead of ground nuts?
Yes. Fine blanched almond flour produces a softer, more uniform texture, while freshly ground almonds or pecans give the cake a rustic, brownie-like bite. Both versions work in the batter.
Can I bake this keto mug cake in an oven?
Yes. Use an oven-safe ramekin and bake in a preheated 350 °F oven for about 10 minutes. Remove it when the center is softly set rather than fully dry.
Is this keto mug cake dairy-free?
It can be dairy-free when you use an unsweetened plant-based milk, such as almond or coconut milk. The remaining listed ingredients do not require dairy.
What size mug should I use?
Choose a wide mug or ceramic ramekin with generous headspace. Keep the batter no higher than halfway up the vessel so it has room to rise without overflowing.
Keto Mug Cake Recipe

Equipment
- Microwave-safe mug or ramekin
- Blender or food processor
- Small whisk or fork
Ingredients
- 1/3 cup almonds or pecans,
- 1 tbsp + 2 tsp cocoa powder
- 1 tbsp granulated erythritol or sugar or sweetener of choice
- pinch stevia, (or additional 2 tsp sugar)
- 1/8 tsp salt
- 1/4 tsp baking powder
- 3 tbsp milk of choice, (or 2 if using liquid sweetener)
- 1/4 tsp pure vanilla extract
- optional
Instructions
- If using almonds, process them in a blender or food processor until they resemble a coarse flour. The mixture should look sandy with fine pieces, not chunky like chopped nuts.
- Grease a ramekin or small mug, whisk the dry ingredients well, then stir in the milk and vanilla until no dry cocoa remains. The batter should be thick but spoonable and should sit below the halfway point of the vessel.
- For oven baking, place the ramekin in a preheated 350 °F oven and bake for about 10 minutes. Remove it when the center has set softly and the chocolate aroma is warm and pronounced.
- For microwave baking, heat the batter for 30 seconds, then check it and continue with two 15-second intervals as needed. The center should shift from liquid to softly set while still looking a little gooey.
- Let the cake stand briefly after heating before digging in. Residual heat finishes setting the crumb, leaving the middle tender instead of dry.