Skip to content

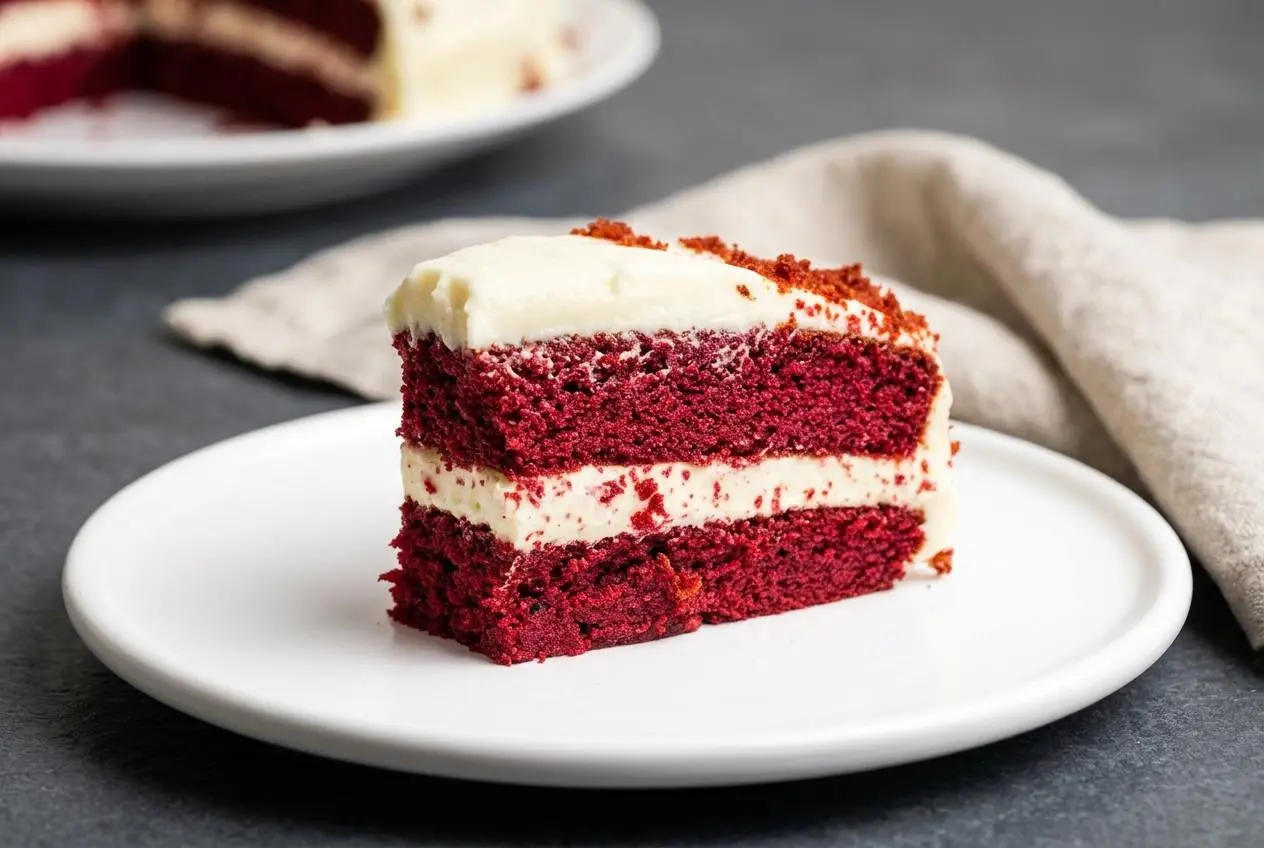
This keto red velvet cake combines almond and coconut flour for a moist, velvety crumb, with subtle cocoa, vanilla, and tangy cream cheese frosting. Bake it as two round layers, cool them completely, then frost and chill for neat slices.
A celebration-worthy keto red velvet cake should taste like red velvet, with gentle chocolate flavor rather than the intensity of a chocolate cake. Vinegar adds a little brightness, while cream cheese frosting brings the familiar tang.
The batter comes together with a mixer, and the decoration can stay relaxed. The biggest difference between tender layers and dry ones comes down to recognizing doneness. Watch for moist crumbs.
Let the eggs, butter, cream, and cream cheese lose their refrigerator chill before mixing so they blend more evenly.
Key Ingredients and Smart Substitutions
Eggs and baking powder support the layers, almond and coconut flours shape the crumb, and butter and cream supply richness. Cocoa, vanilla, and vinegar balance the flavor, while powdered sweetener, coloring, and cream cheese give the cake its sweetness, appearance, and tangy finish.
- 5 large eggs (room temperature)
- 2 cups almond flour
- 1/4 cup coconut flour
- 1/2 cup unsalted butter (softened)
- 2 tablespoons cocoa powder
- 2 teaspoons baking powder
- 1/4 cup heavy whipping cream
- 1 cup powdered sweetener
- 1 1/2 tablespoons natural liquid or gel red food coloring (or as needed)
- 2 teaspoons vanilla extract
- 1 teaspoon apple cider vinegar
- 16 oz cream cheese (room temperature)
- 4 oz unsalted butter (room temperature)
- 1 1/2 cups powdered sweetener
Almond and coconut flours: Choose blanched, finely ground almond flour for a less gritty crumb. Almond flour contributes richness, while coconut flour absorbs liquid and helps the layers hold together. They aren’t interchangeable cup for cup, so keep their proportions unchanged.
Cream and apple cider vinegar: These provide richness and acidity in place of buttermilk. The vinegar supplies tang without making the cake taste vinegary. Don’t replace the cream with additional vinegar or pour in buttermilk without adjusting the whole formula.
Cocoa and vanilla: Cocoa should remain a background flavor here. Natural cocoa generally gives a lighter color than Dutch-processed cocoa, which can make the batter darker. Adding extra cocoa for a stronger chocolate flavor also changes the batter’s moisture balance.
Powdered sweetener: Use a powdered low-carb sweetener suitable for baking. Its fine texture blends more readily into butter and cream cheese than coarse granules. Sweetener blends vary in sweetness, so check the product’s sugar-equivalence information rather than assuming every product behaves alike.
Food coloring: Liquid coloring disperses easily, while concentrated gel usually delivers a stronger shade with less added liquid. Follow the “or as needed” guidance and add it gradually. A cocoa-brown cake is also an option if you prefer to skip coloring.
I favor finely ground almond flour here; a coarse almond meal makes it harder to get that soft, velvety bite.
How to Make the Keto Red Velvet Cake Step by Step
This cake makes 16 servings. Allow about 15 minutes for preparation and 20 to 25 minutes for baking, plus complete cooling and the chilling time below. Keep the cake and frosting portions of butter and sweetener separate as you measure.
- Set the oven to 350°F / 180°C and prepare two 9-inch round cake pans with parchment circles on the bottoms and well-greased sides.
The parchment should sit flat so the delicate layers release more easily. - Whip the softened cake butter with the 1 cup powdered sweetener in a large mixing bowl.
Stop when the mixture looks pale and fluffy, with no obvious butter lumps. - Beat in each egg separately before adding the next.
The mixture should become evenly blended after each addition rather than showing streaks of egg. - Turn the mixer to low and incorporate the apple cider vinegar, vanilla extract, and heavy whipping cream.
A slightly separated appearance at this stage can settle once the flours enter the mixture. - Work the almond flour into the wet mixture in several additions using low speed.
Each addition should disappear into the batter before the next goes in. - Mix in the coconut flour, cocoa powder, and baking powder just until evenly incorporated.
Look for a cohesive batter with a silky surface and a slightly thick consistency. - Tint the batter gradually with the red food coloring, stopping at your preferred shade.
Color strength varies by product, so judge the batter rather than adding the full amount automatically. - Portion the batter equally into the two pans and level each surface.
Even batter depth helps both layers bake at a similar pace. - Bake the layers for 20 to 25 minutes, checking the centers before removing them.
The tops should look set, and a toothpick should carry a few damp crumbs without wet batter. - Leave the baked layers in their pans until completely cool.
The pans support the tender cakes while their structure firms.
Make the Keto Cream Cheese Frosting
- Whip the cream cheese, frosting butter, powdered sweetener, and vanilla extract in a large bowl at medium speed for about 3 minutes.
The finished frosting should look fluffy and uniform, without visible pieces of butter or cream cheese.
Assemble and Frost the Cake
- Center the first cooled layer on a serving plate or cake stand and cover its top with about half the frosting.
An even filling gives the upper layer a level surface to rest on. - Stack the second layer and use an offset or icing spatula to spread the remaining frosting across the top and around the sides.
Light pressure helps keep loose crumbs from dragging through the frosting. - Chill the assembled cake in the refrigerator for at least 60 minutes before cutting.
The frosting should feel firmer and hold the layers steady. - Cut the chilled cake into slices and serve.
The filling should stay between the layers rather than squeeze out beneath the knife.
Expert Tips and Common Mistakes to Avoid
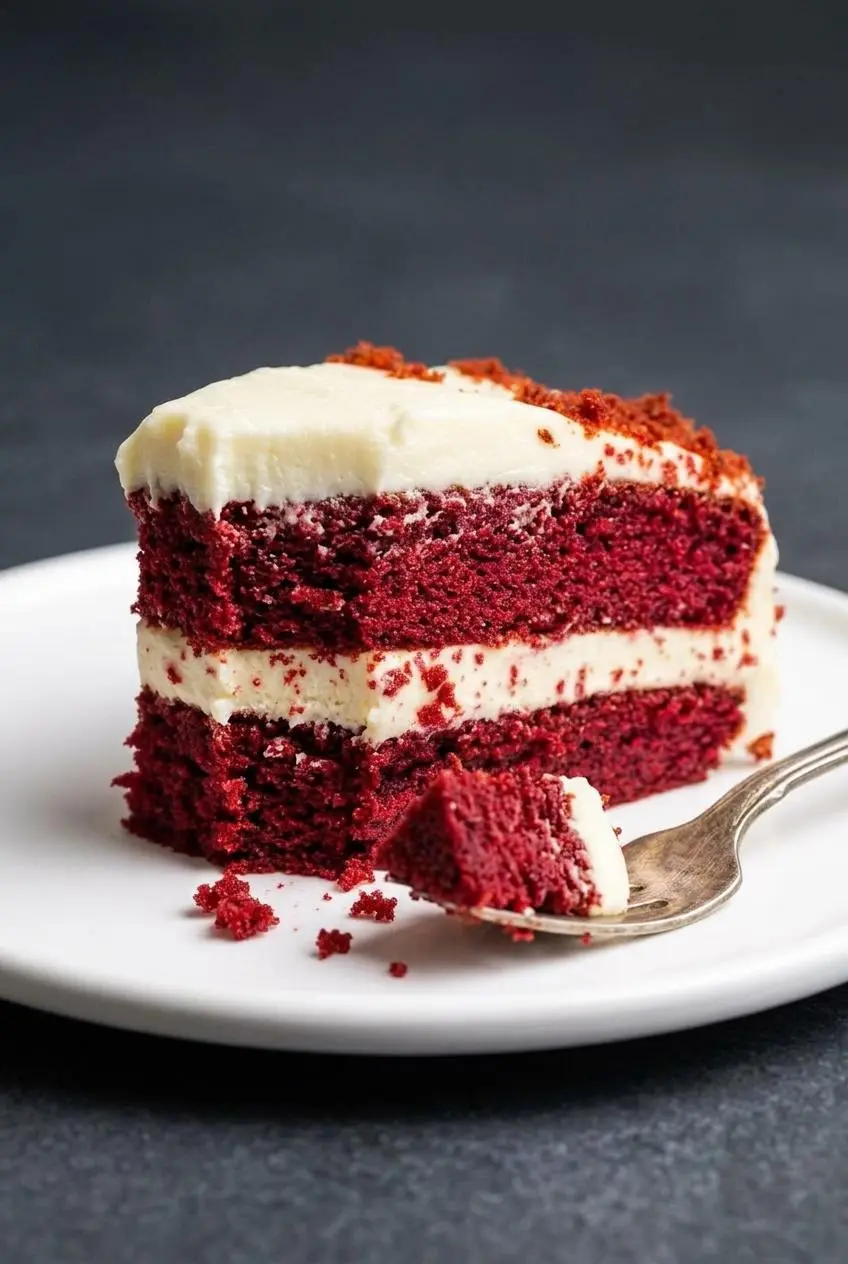
Most texture problems start with flour measurement, baking time, or ingredient temperature. These are the places to pay attention.
- Heavy or dense layers: Packed flour adds more dry material than intended. Fluff the flour, spoon it into the measuring cup, and level it without pressing down.
- Dry pockets in the crumb: Break up or sift clumpy almond and coconut flours before adding them at their respective stages. Don’t combine everything ahead if that changes the mixing sequence.
- Dry, crumbly cake: Overbaking removes moisture. Start checking at the beginning of the baking range and remove the layers when the centers are set, not when the toothpick is completely dry.
- Uneven batter: Cold eggs and cream can make softened butter firm into little pieces. Use ingredients without a refrigerator chill and mix only until the batter becomes cohesive.
- Lumpy frosting: Firm butter or cream cheese won’t whip smoothly. Both should be soft enough to blend but still hold their shape, rather than look melted or greasy.
- Sliding layers or messy slices: Warm cake softens frosting. Cool the layers fully, assemble gently, and complete the final chill before slicing.
Easy Variations and Pan Adaptations
Keep the two-layer version as your reference point. These optional changes affect appearance or format, so rely on the batter’s texture and baking cues rather than treating every pan alike.
Dye-Free or Naturally Colored Keto Red Velvet Cake
- No coloring: Omit the red coloring for a cocoa-toned cake with the same intended cocoa, vanilla, and tangy flavor profile.
- Natural liquid coloring: Add gradually and expect the final shade to vary with the product and cocoa.
- Concentrated natural gel: Choose a product intended for baking when you want stronger color without adding much liquid.
Natural red colors may bake into muted reddish-brown tones rather than bright scarlet. Avoid chasing a deeper shade with large amounts of juice, which can thin the batter.
Keto Red Velvet Cupcakes
For individual portions, divide the batter among paper-lined muffin cups. Check earlier than you would for full cake layers, since smaller portions bake differently.
Look for set tops and moist crumbs on a toothpick, then let the cupcakes cool completely before frosting. The layer-cake baking time isn’t a cupcake timing guide.
Alternative Pan Sizes and Bundt Cake Format
Smaller round pans create deeper layers when given the same amount of batter, while wider pans create thinner layers. Don’t overfill a smaller pan or assume the centers will finish on the same schedule.
A Bundt format changes both batter depth and the surface touching the pan. Pay particular attention to greasing the contours and checking the thickest part for doneness; its baking time needs separate evaluation.
For a single portion, use a dedicated keto mug cake rather than microwaving a scoop of this layer-cake batter and expecting the same result.
Serving, Decorating, and Leftover Ideas
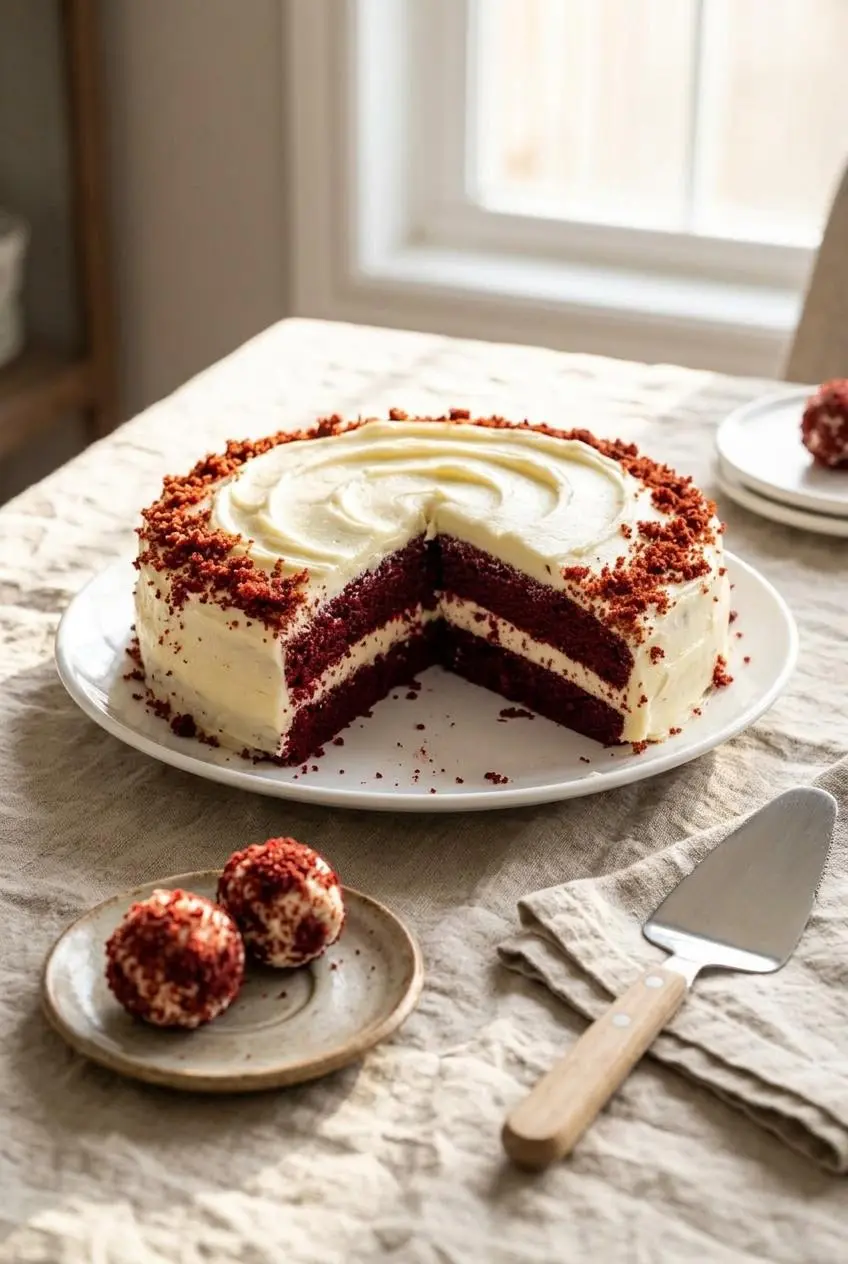
Chilling gives the frosting enough body to hold a clean edge, so finish that step before decorating further or cutting.
- Relaxed frosting: Use an offset spatula to make soft swoops instead of trying to achieve perfectly straight sides.
- Bakery-style crumbs: If you level the cooled layers, reserve the trimmings and crumble them finely over the top border or press them gently onto the frosted sides.
- Piped swirls: Use a piping bag for decorative frosting swirls, reserving some frosting before covering the cake.
- Leftover bites: Crumble cake trimmings with enough leftover frosting to make a mixture that holds together, then shape it into bite-sized cake pops.
Serve slightly chilled so the filling stays defined. For another way to use broken pieces, a low-carb dessert trifle offers a forgiving layered presentation.
How to Store and Protect the Frosted Cake
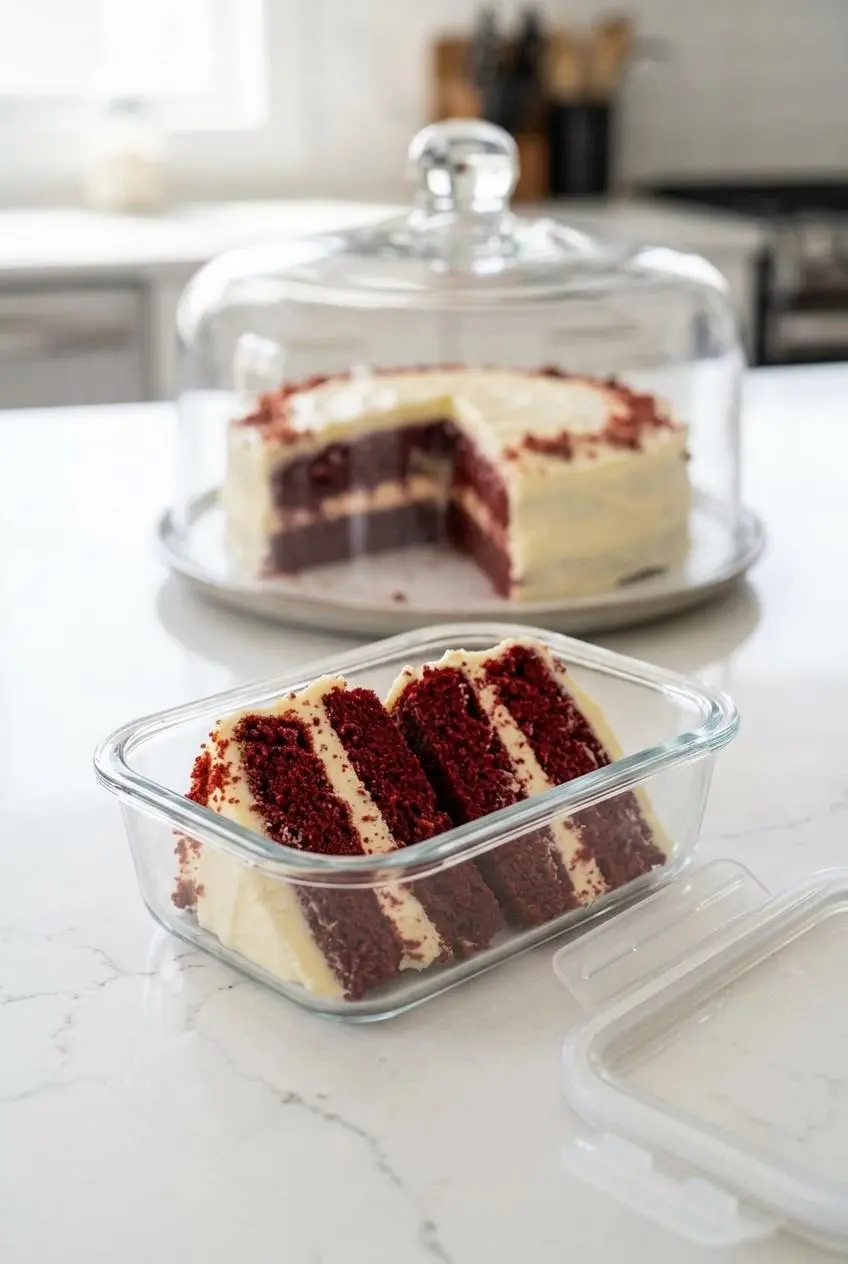
Keep the cream-cheese-frosted cake covered in the refrigerator. A cake carrier or container tall enough to clear the frosting protects the decoration without pressing against it.
For cut portions, use a covered container that limits exposed surfaces so the crumb doesn’t dry out. Keep the remaining cake chilled while you serve individual slices.
Let cake layers cool completely before enclosing them or assembling the cake. Trapped warmth can create condensation, making the surfaces damp and harder to frost neatly.
Final Thoughts on Making Keto Red Velvet Cake
Almond and coconut flours give this cake its tender structure, while restrained cocoa and tangy cream cheese frosting keep the red velvet flavor balanced.
Measure the flours gently, watch for moist crumbs, and give the layers time to cool completely. Finish with the refrigerator chill, and let those clean slices do the celebrating.
Frequently Asked Questions
Can I Make This Keto Red Velvet Cake Without Food Coloring?
Yes. Leave out the coloring for a cocoa-brown cake, or choose a concentrated natural coloring intended for baking. The coloring supplies the red appearance, not the signature cocoa and tangy flavor.
Why Is My Keto Red Velvet Cake Dry or Crumbly?
Overbaking and packed flour measurements are common causes. Measure without compressing the flour, don’t add extra coconut flour, and remove the layers when the centers are set with moist crumbs on a toothpick.
What Replaces Buttermilk in a Keto Red Velvet Cake?
Heavy whipping cream and apple cider vinegar take its place here. The cream provides richness, and the vinegar contributes the acidity associated with red velvet cake.
Can I Make Keto Red Velvet Cupcakes With This Batter?
Yes. Use paper-lined muffin cups and begin checking before the full-layer baking time. Cool the cupcakes completely before adding frosting.
How Do I Store Low-Carb Red Velvet Cake?
Keep the frosted cake covered and refrigerated. Protect individual slices in a covered container, and avoid pressing wrapping directly against the frosting.
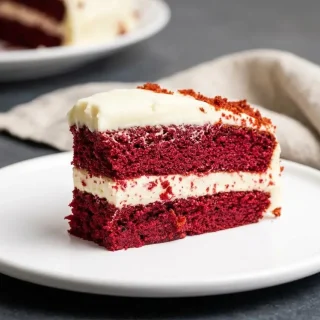
Keto Red Velvet Cake

Equipment
- 9-inch round cake pans
- Parchment paper
- Electric mixer
- Mixing bowls
- Offset spatula
Ingredients
- 5 large eggs (room temperature)
- 2 cups almond flour
- 1/4 cup coconut flour
- 1/2 cup unsalted butter (softened)
- 2 tablespoons cocoa powder
- 2 teaspoons baking powder
- 1/4 cup heavy whipping cream
- 1 cup powdered sweetener
- 1 1/2 tablespoons natural liquid or gel red food coloring (or as needed)
- 2 teaspoons vanilla extract
- 1 teaspoon apple cider vinegar
- 16 oz cream cheese (room temperature)
- 4 oz unsalted butter (room temperature)
- 1 1/2 cups powdered sweetener
Instructions
- Set the oven to 350°F / 180°C and prepare two 9-inch round cake pans with parchment circles on the bottoms and well-greased sides. The parchment should sit flat so the delicate layers release more easily.
- Whip the softened cake butter with the 1 cup powdered sweetener in a large mixing bowl. Stop when the mixture looks pale and fluffy, with no obvious butter lumps.
- Beat in each egg separately before adding the next. The mixture should become evenly blended after each addition rather than showing streaks of egg.
- Turn the mixer to low and incorporate the apple cider vinegar, vanilla extract, and heavy whipping cream. A slightly separated appearance at this stage can settle once the flours enter the mixture.
- Work the almond flour into the wet mixture in several additions using low speed. Each addition should disappear into the batter before the next goes in.
- Mix in the coconut flour, cocoa powder, and baking powder just until evenly incorporated. Look for a cohesive batter with a silky surface and a slightly thick consistency.
- Tint the batter gradually with the red food coloring, stopping at your preferred shade. Color strength varies by product, so judge the batter rather than adding the full amount automatically.
- Portion the batter equally into the two pans and level each surface. Even batter depth helps both layers bake at a similar pace.
- Bake the layers for 20 to 25 minutes, checking the centers before removing them. The tops should look set, and a toothpick should carry a few damp crumbs without wet batter.
- Leave the baked layers in their pans until completely cool. The pans support the tender cakes while their structure firms.
Make the Keto Cream Cheese Frosting
- Whip the cream cheese, frosting butter, powdered sweetener, and vanilla extract in a large bowl at medium speed for about 3 minutes. The finished frosting should look fluffy and uniform, without visible pieces of butter or cream cheese.
Assemble and Frost the Cake
- Center the first cooled layer on a serving plate or cake stand and cover its top with about half the frosting. An even filling gives the upper layer a level surface to rest on.
- Stack the second layer and use an offset or icing spatula to spread the remaining frosting across the top and around the sides. Light pressure helps keep loose crumbs from dragging through the frosting.
- Chill the assembled cake in the refrigerator for at least 60 minutes before cutting. The frosting should feel firmer and hold the layers steady.
- Cut the chilled cake into slices and serve. The filling should stay between the layers rather than squeeze out beneath the knife.