Skip to content
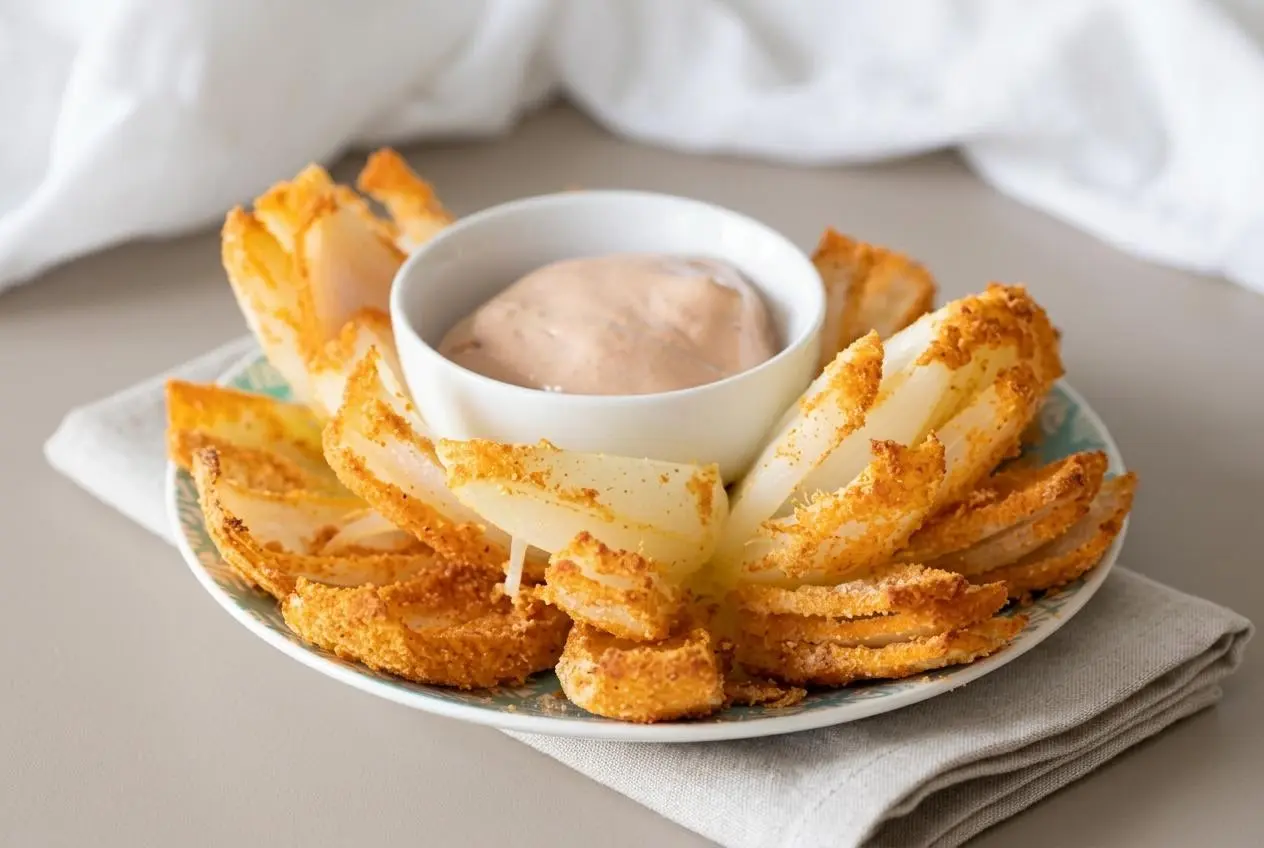
A keto blooming onion uses seasoned coconut flour and egg wash instead of wheat flour batter. Keep the root intact, coat between the petals, then bake covered before finishing uncovered. Look for golden edges and a tender center for a crisp spiced exterior with soft onion petals.
This keto blooming onion brings the familiar steakhouse appetizer home with an oven-baked coating. Paprika, garlic, and cayenne give the petals a savory kick, while coconut flour creates a crust that’s different from traditional fried batter.
The covered baking stage helps soften the thick inner layers before the outside browns. You get a shareable appetizer without managing a pot of frying oil. The trick is reaching those inner petals.
Set out bowls wide enough to hold the onion so you can coat it without squeezing the petals together.
Key Ingredients for a Crisp Blooming Onion
The onion supplies tender petals, coconut flour builds the coating, and eggs help it adhere. Paprika, garlic, cayenne, salt, and pepper add color and savory balance, while olive oil helps the exposed coating brown.
- 1 onion (extra large)
- 1/2 cup coconut flour
- 2 teaspoons paprika
- 1 teaspoon garlic powder
- 1/2 teaspoon cayenne pepper
- 1/4 teaspoon salt
- 1/4 teaspoon pepper
- 2 eggs
- 1 Tablespoon olive oil
Onion: Choose a firm, extra-large onion with an intact root base. Yellow or sweet varieties give you generous petals; the important feature is a sturdy base that holds the sections together.
Coconut flour and eggs: Coconut flour absorbs moisture readily, so an even egg layer matters more than a heavy dusting of flour. The beaten eggs provide the adhesive surface. Bare inner layers won’t hold the coating as well as thoroughly wetted ones.
Seasonings and oil: Paprika adds warm color, garlic powder provides savory depth, and cayenne brings heat. Salt and pepper balance the coating. Brush the olive oil gently so you moisten the exterior without scraping away the breading.
I’d prioritize an intact root over a perfectly round onion. A sturdy blossom is much easier to handle than one that starts separating in the coating bowl.
Step-by-Step Guide to Making a Keto Blooming Onion
Protect the uncut base, reach between the layers with egg, and let the covered bake soften the onion before you chase crispness. Follow the measurements above and the cooking sequence below.
Prep: 10 minutes. Cook: 40 minutes, plus optional broiling. Total: 50 minutes, plus optional broiling. Servings: 8.
- Set the oven to 350°F and allow it to heat while you prepare the onion.
A fully heated oven gives the covered baking stage a consistent start. - Remove the papery outer layer and trim about a half inch from the stem end, leaving the root base untouched.
The exposed top should reveal clean onion layers without disturbing their attachment at the bottom. - With the root base down, divide the onion from the top into eight equal sections, ending each cut about an inch above the base.
The uncut lower portion should remain solid enough to anchor every section. - Ease the sections outward with your fingers to open the blossom.
The petals should separate enough for coating while staying connected at the bottom. - Use a fork to blend the coconut flour with the paprika, garlic powder, cayenne, salt, and pepper in a mixing bowl.
The mixture should have an even color with no concentrated pockets of spice. - Beat the eggs in a separate bowl, roll the onion through them, and spoon egg into the gaps between sections.
Both the outer petals and the recessed inner surfaces should look wet. - Roll the onion gently in the seasoned flour, transfer it to a prepared baking sheet, and sprinkle the remaining mixture into uncovered areas.
A light, even coating should reach the inner layers as well as the outside. - Apply the olive oil with a brush over the top and outer petals using light strokes.
The exposed coating should look lightly moistened rather than scraped or streaked. - Enclose the onion in foil for a 30-minute bake, then remove the foil and continue baking uncovered for 10 minutes.
The petals should soften during the covered stage and begin drying and coloring once exposed. - For extra crispness, finish under the broiler for 3–5 minutes while watching continuously.
Stop when the exposed edges turn golden to rust-gold, before the fine tips blacken.
Think of the root area as the blossom’s hinge. Don’t cut through it or pull the petals flat against the pan. Open them only enough to let egg and seasoned flour reach the spaces between layers.
Covered heat traps moisture around the dense center; uncovered heat lets the coating dry. Browning alone doesn’t tell you whether the onion is tender. Before broiling, check a thick inner petal near the base with the tip of a paring knife: it should yield readily rather than feel firm and raw.
Understanding Carbohydrates and Low-Carb Swaps
Changing the coating is the main low-carb adjustment, but the onion still matters when planning portions. This version replaces the usual wheat flour batter with coconut flour rather than treating the whole appetizer as carbohydrate-free.
Onions contain naturally occurring sugars. Share the blossom and account for both the onion and dipping sauce within your own eating plan. The onion’s size, flour brand, and amount of coating that actually adheres affect a nutrition calculation.
Baking changes the cooking technique, not the onion’s carbohydrate content. It uses brushed oil rather than submerging the appetizer in frying oil, but that alone doesn’t establish an exact calorie or fat comparison. Expect crisp exposed edges, not an identical replica of a thick deep-fried crust.
Troubleshooting Common Blooming Onion Mistakes
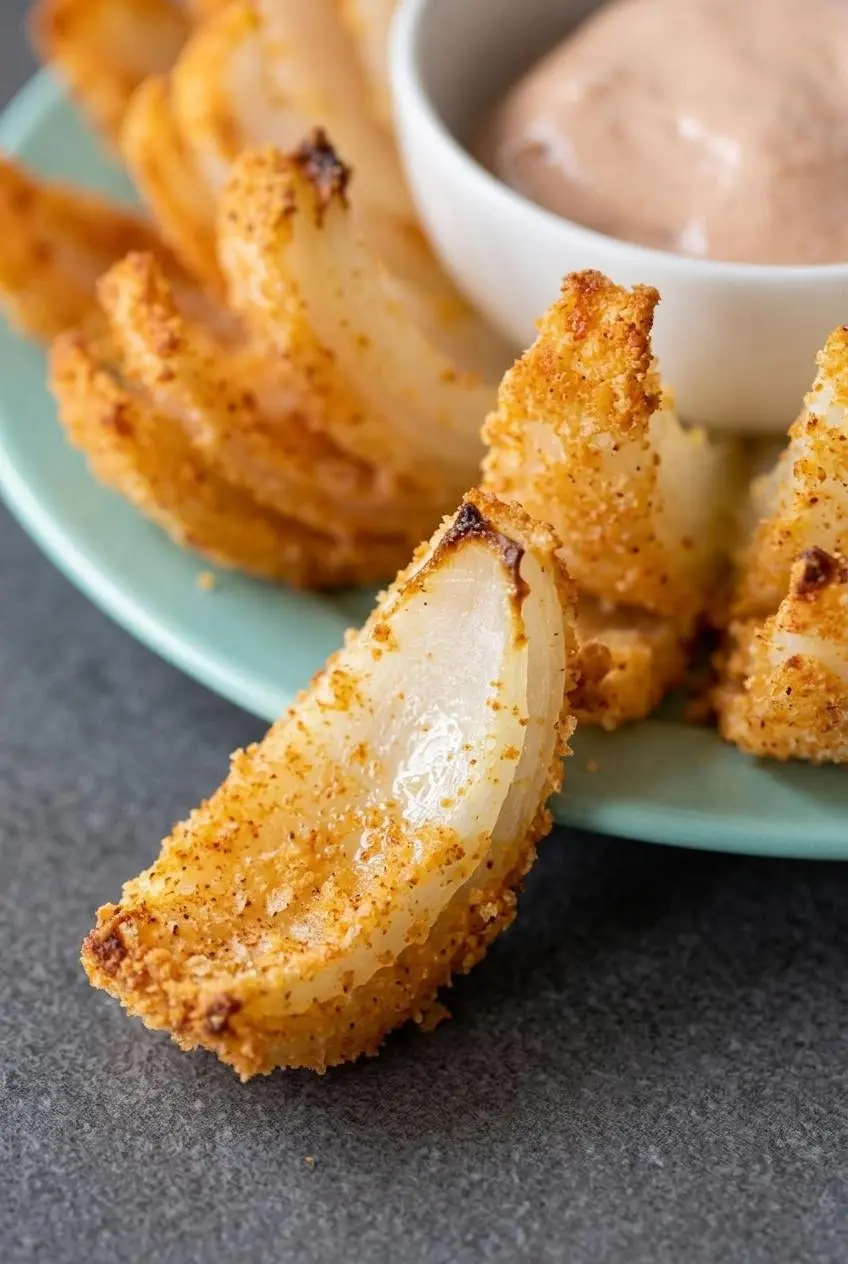
Most texture problems begin with the cut or the coating. Identify the problem before adding more flour or more heat.
- Petals fall apart: Cuts reached too close to the root, or the sections were pulled too far outward. Leave the lower buffer intact and support the onion underneath as you move it between bowls.
- Breading slides off: Egg missed the inner surfaces, or rough handling disturbed the coating. Spoon egg into the recesses first, then roll and sprinkle gently instead of pressing the flour onto the petals.
- Dry, powdery patches remain: Flour landed on bare onion or piled up in thick pockets. Aim for complete egg coverage and an even dusting rather than a mound of dredge.
- The coating looks pale or soft: Moisture remains after the covered stage. Remove the foil for the uncovered bake, then use the optional broiler finish while watching the tips closely.
- The tips brown but the center stays firm: The outside heated faster than the thick inner layers. Preserve the covered baking stage and check inner-petal tenderness before broiling; more intense surface heat won’t solve a tough center.
Low-Carb Coating Variations and Cooking Methods
Different coatings and appliances change the texture. Treat these as optional adaptations, not direct replacements for the oven method or its measured coconut-flour coating.
Air-Fryer Crisped Blooming Onion
An air fryer circulates dry heat around exposed surfaces, making it useful for crisping petals. Place the coated onion root-side down in a basket with space around it, and make sure its tallest tips clear the heating element. A crowded basket limits airflow.
Use the same care with egg coverage and seasoning, but don’t transfer the oven timing automatically. Basket shape, onion size, and distance from the heating element vary, so there isn’t a validated air-fryer time or temperature for this formulation.
Check both the center and the edges. Golden tips with a firm center mean the onion needs gentler cooking, not stronger crisping. For the most predictable result, follow the covered oven bake above.
Almond Flour or Pork Panko Crunchy Coating
- Superfine almond flour: An optional choice for a milder, nutty coating with a less absorbent texture than coconut flour.
- Crushed pork rinds or pork panko: An optional choice for a coarser, savory crunch; seasoned products may also contribute substantial salt.
These coatings behave differently, so don’t assume the coconut-flour quantity is a tested substitution ratio. Almond flour changes the moisture balance, while pork crumbs create a more textured crust. Keep either experiment separate from the measured recipe above.
Homemade Keto Steakhouse Dipping Sauce and Serving Ideas
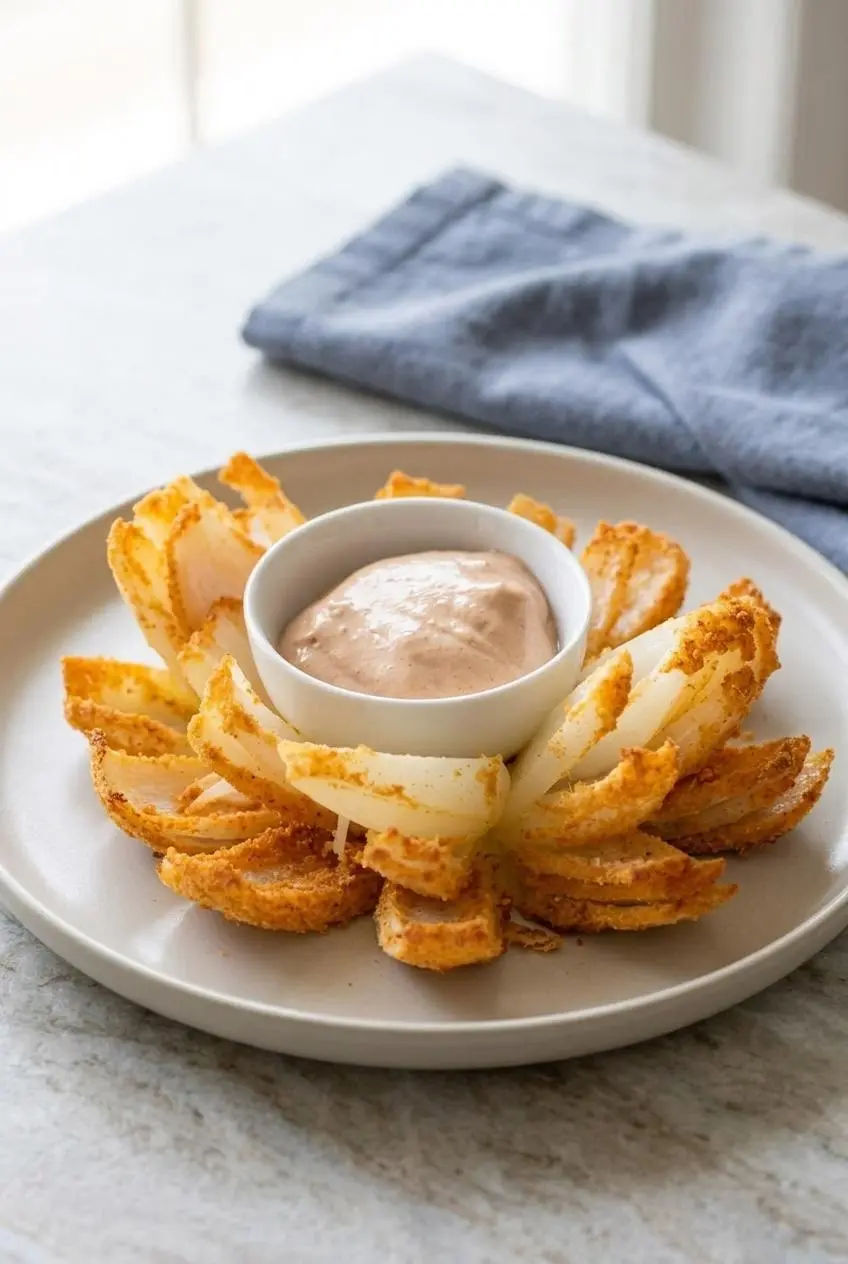
A cool, tangy dip balances the warm cayenne-spiced coating. Keep the sauce separate until serving so it doesn’t soften the petals.
Classic Copycat Creamy Horseradish Sauce
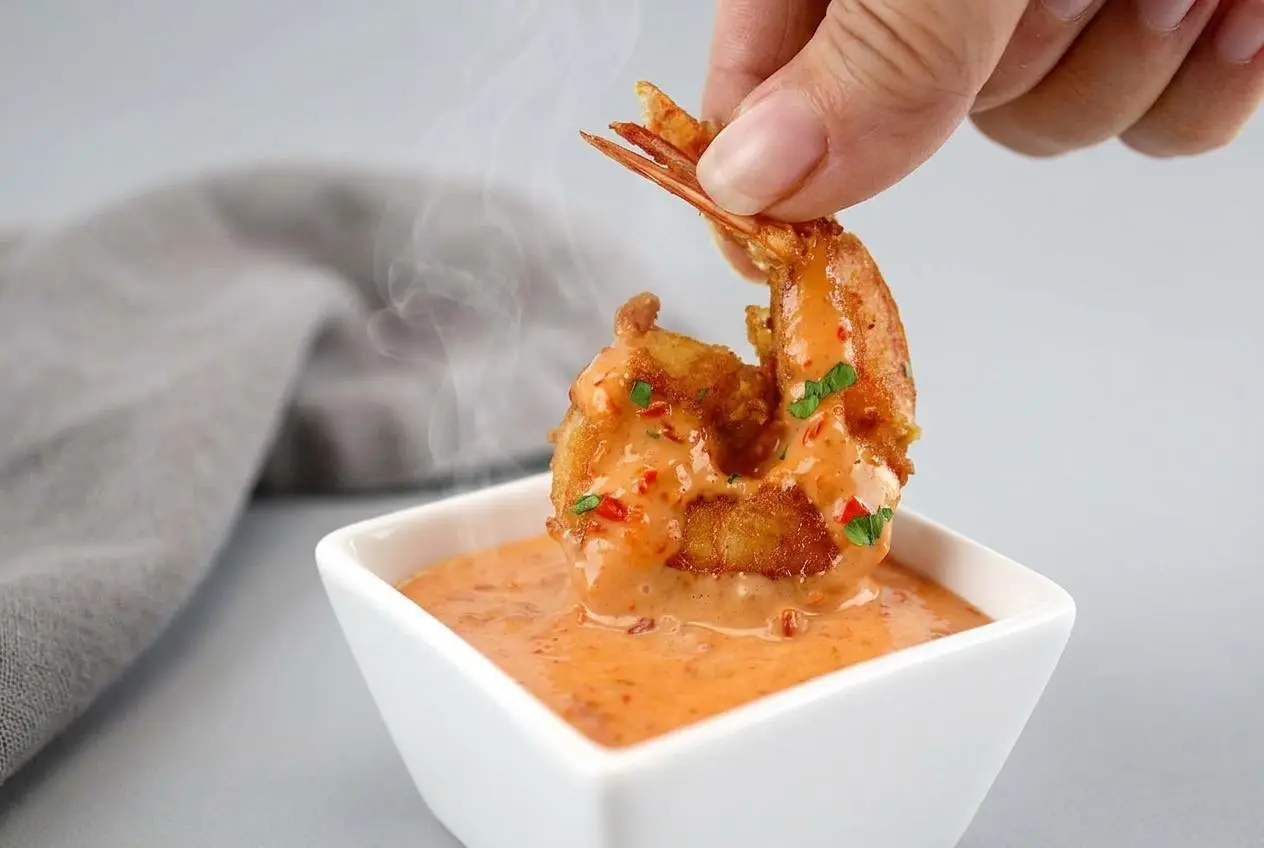
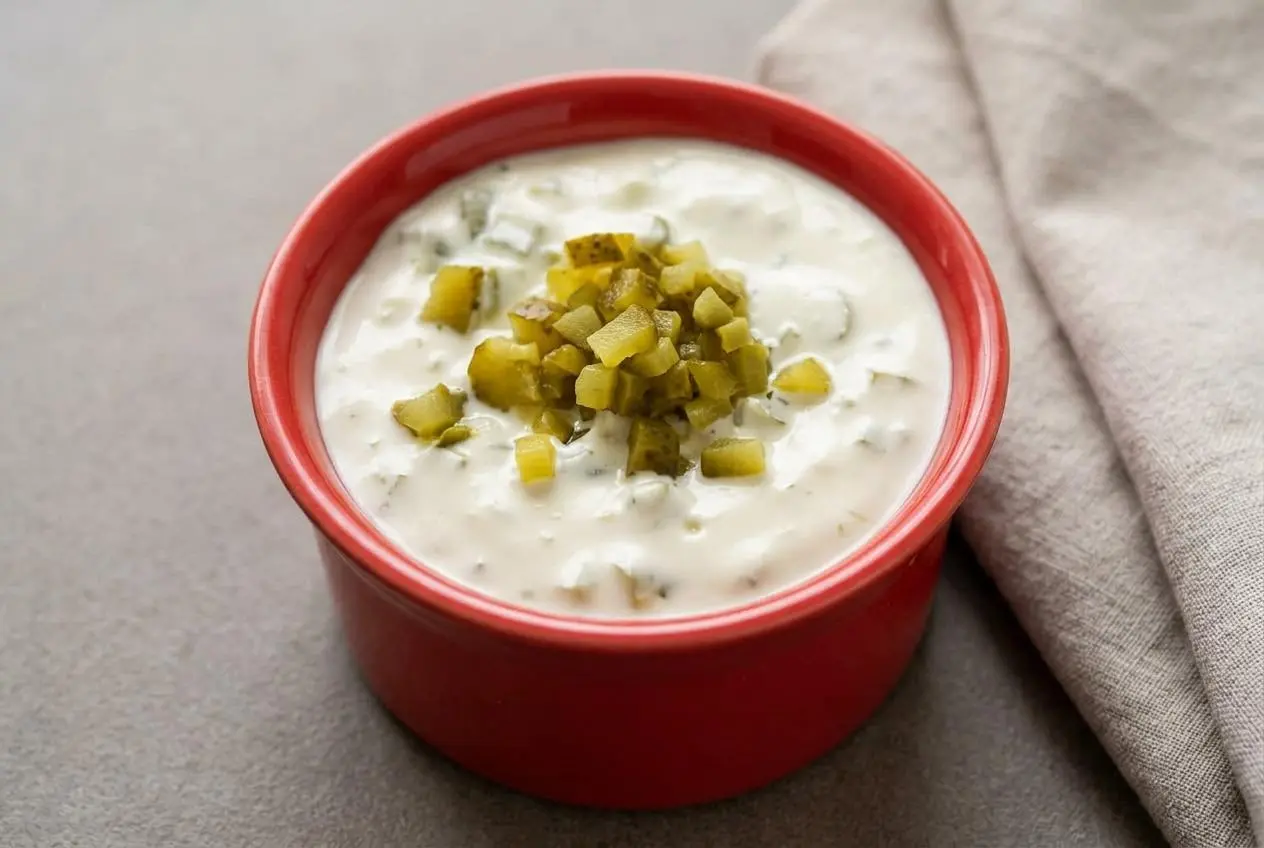
For an optional steakhouse-style dip, stir mayonnaise and sour cream into a smooth, creamy mixture. Add prepared horseradish gradually, then season with paprika, garlic powder, pepper, and a little cayenne if you want more heat.
Taste as you mix. More sour cream brings tang and softens the horseradish bite; more horseradish makes the dip sharper. Check condiment labels for added sugar rather than assuming every prepared product fits your plan.
Other optional directions include spicy mayonnaise or a creamy buffalo-style dip made with a sauce without added sugar. Neither requires sweet ketchup to complement the onion.
Presentation and Plating for Game Day
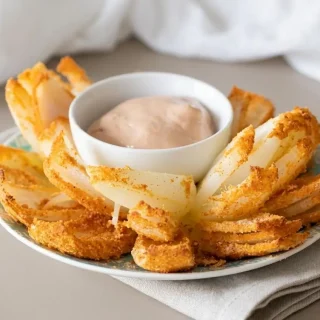
Transfer the blossom to a wide platter that leaves room to pull away petals. If the center naturally opens enough, nestle a small dipping ramekin there without forcing the onion apart. Otherwise, set it alongside.
Serve with bunless burgers, grilled chicken, or steak. For a finger-food spread, add keto taco cups so guests have another handheld option alongside the shared blossom.
Storage, Make-Ahead Prep, and Reheating Tips
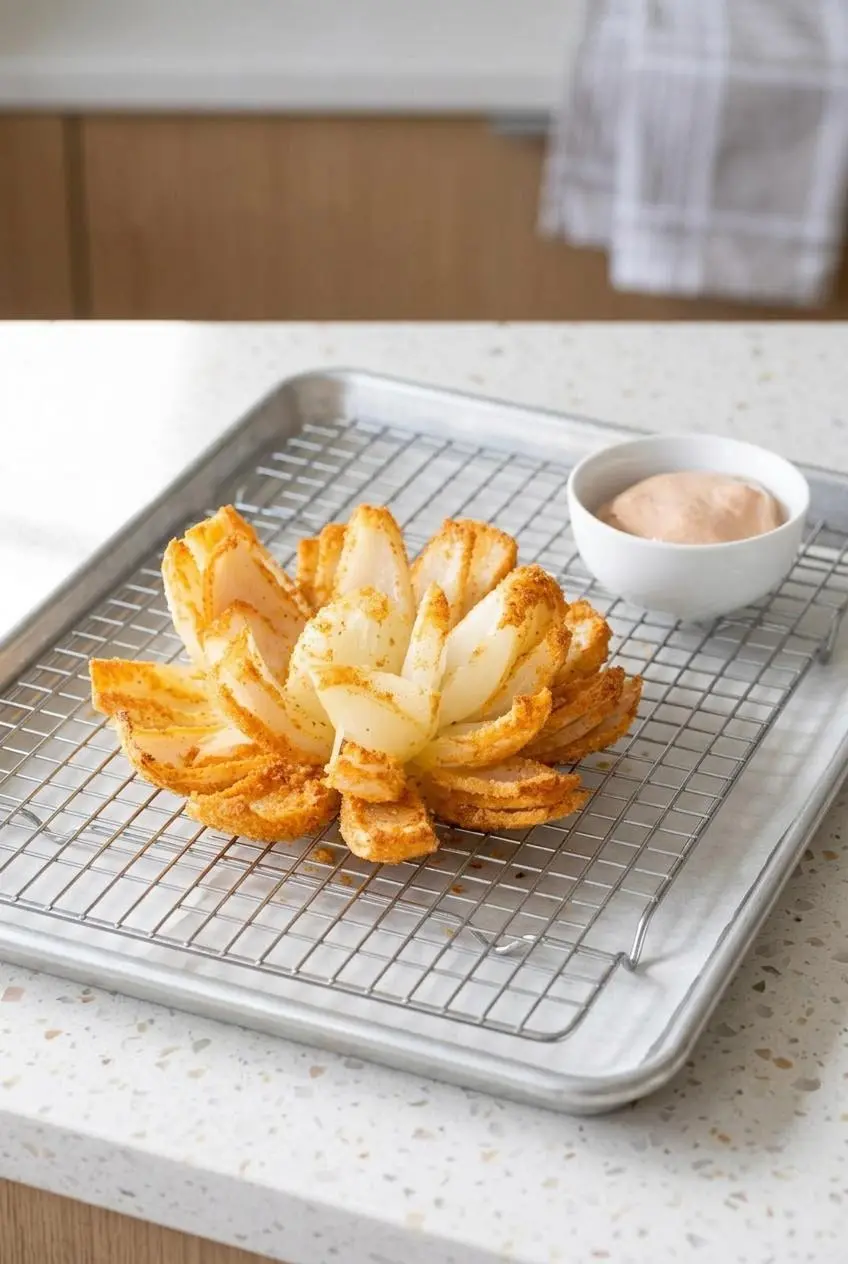
Keep moisture away from the coating as much as practical. Refrigerate leftovers promptly in a covered container, with the dip stored separately. A paper-towel-lined container can help absorb surface moisture, but don’t tightly pack the petals.
For an organized cooking setup, keep the dry coating mixture separate from the eggs and onion until coating time. Keep any prepared creamy dip covered and chilled. Complete the coating and baking close to serving for better texture.
Reheat the onion with dry heat in an oven, toaster oven, or air fryer, leaving room around the petals. Check that the center heats through while the edges regain crispness, and watch for overbrowning. The microwave is less useful when crunch matters because it tends to soften the coating.
Bring the Steakhouse Experience Home
An intact root, thorough egg coverage, and a covered-to-uncovered bake make this blossom easier to manage. Look for tender inner petals and golden edges rather than judging the whole onion by its browned tips.
Use the measured ingredients and method above, then choose a dip that matches your preferred heat level. Serve it warm, with plenty of room for everyone to pull off a petal.
Frequently Asked Questions
How Do You Cut an Onion So It Blooms Without Falling Apart?
Trim the stem end and leave the root base intact. Cut downward from the top into equal sections, stopping short of the base. Fan the sections gently rather than pulling them flat or twisting them away from the root.
Can I Make This Keto Blooming Onion in an Air Fryer?
An air fryer is an optional adaptation, but this formulation has a specified oven method rather than tested air-fryer settings. Position the onion root-side down with clearance around the petals and below the heating element. Check inner-petal tenderness as well as browning; don’t copy the oven timing automatically.
How Do I Prevent the Low-Carb Breading From Falling Off?
Open the petals enough to spoon egg onto the recessed surfaces. Apply the seasoned flour evenly and handle the coated onion gently. Brush the oil with light strokes so you don’t drag the coating off.
How Many Carbs Are in a Keto Blooming Onion Compared to the Restaurant Version?
An exact comparison requires nutrition information for the specific restaurant item and a calculation for your homemade portion. This version replaces wheat flour with coconut flour, but onions and the coating still contribute carbohydrates. Use your ingredient labels, onion size, portion size, and dipping sauce when calculating total or net carbs.
What Is the Best Way to Reheat Leftover Blooming Onion?
Use an oven, toaster oven, or air fryer to warm the center and restore some edge crispness. Leave space around the petals and watch for excessive browning. Avoid the microwave if your priority is a crisp coating, and keep the dip separate.
Keto Blooming Onion

Equipment
- Baking sheet
- Mixing bowls
- Pastry brush
- Aluminum foil
Ingredients
- 1 onion extra large
- 1/2 cup coconut flour
- 2 teaspoons paprika
- 1 teaspoon garlic powder
- 1/2 teaspoon cayenne pepper
- 1/4 teaspoon salt
- 1/4 teaspoon pepper
- 2 eggs
- 1 Tablespoon olive oil
Instructions
- Set the oven to 350°F and allow it to heat while you prepare the onion. A fully heated oven gives the covered baking stage a consistent start.
- Remove the papery outer layer and trim about a half inch from the stem end, leaving the root base untouched. The exposed top should reveal clean onion layers without disturbing their attachment at the bottom.
- With the root base down, divide the onion from the top into eight equal sections, ending each cut about an inch above the base. The uncut lower portion should remain solid enough to anchor every section.
- Ease the sections outward with your fingers to open the blossom. The petals should separate enough for coating while staying connected at the bottom.
- Use a fork to blend the coconut flour with the paprika, garlic powder, cayenne, salt, and pepper in a mixing bowl. The mixture should have an even color with no concentrated pockets of spice.
- Beat the eggs in a separate bowl, roll the onion through them, and spoon egg into the gaps between sections. Both the outer petals and the recessed inner surfaces should look wet.
- Roll the onion gently in the seasoned flour, transfer it to a prepared baking sheet, and sprinkle the remaining mixture into uncovered areas. A light, even coating should reach the inner layers as well as the outside.
- Apply the olive oil with a brush over the top and outer petals using light strokes. The exposed coating should look lightly moistened rather than scraped or streaked.
- Enclose the onion in foil for a 30-minute bake, then remove the foil and continue baking uncovered for 10 minutes. The petals should soften during the covered stage and begin drying and coloring once exposed.
- For extra crispness, finish under the broiler for 3–5 minutes while watching continuously. Stop when the exposed edges turn golden to rust-gold, before the fine tips blacken.