Skip to content
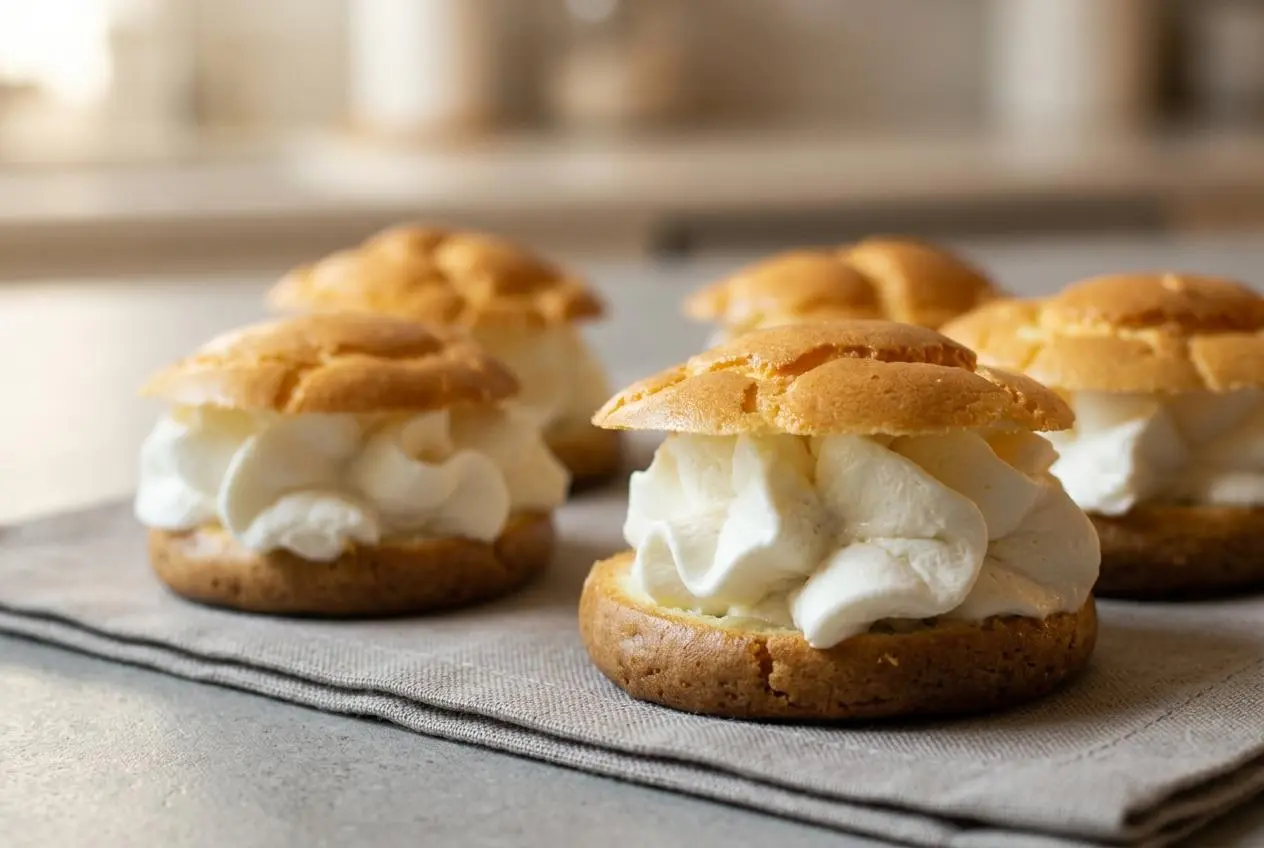
Keto cream puffs are delicate low-carb pastries with golden, airy egg-white shells and a rich vanilla whipped cream filling.
These keto cream puffs use a meringue-style shell rather than a flour-based choux dough. The result is light, softly crisp at the edges, and creamy in the center.
The two-temperature bake helps the shells rise first, then dry enough to hold their shape. That dry golden finish is the goal.
Use a spotless, grease-free bowl and beaters before whipping the egg white. Even a trace of fat can keep the meringue from reaching firm peaks.
Ingredients and Equipment Overview
Each ingredient supports the puff’s structure, sweetness, richness, or aroma: the egg builds lift, cream cheese smooths the batter, and cream creates the cool, creamy filling.
- 1 large Raw Egg
- ⅛ teaspoon Cream Of Tartar
- 1-½ ounce Cream Cheese
- 1 package Stevia Leaf Noncaloric Sweetener (green Packet)
- ½ cup Heavy Cream
- ¼ teaspoon Vanilla Extract
Key Ingredients for Structure and Aeration
The separated egg does most of the structural work. Whipped egg white creates the tiny air pockets that expand in the oven, while the yolk and cream cheese form a smooth, rich base around that foam.
Cream of tartar helps stabilize the egg white meringue so it can hold stiff, glossy peaks during folding. Let the cream cheese soften before mixing it with the yolk. Cold cream cheese can leave lumps that make folding harder and weigh down the batter.
The stevia sweetens both the shell and filling, while vanilla rounds out the dairy flavor. Heavy cream becomes the fluffy filling, but stop mixing as soon as it reaches firm, smooth peaks.
I prefer piping the filling into completely cooled shells because the tip meets gentle resistance, and the cream stays tall instead of loosening against warm pastry.
Essential Kitchen Tools for Meringue Success
A stand mixer or electric hand mixer makes the meringue and whipped cream much easier to control. You will also need a parchment-lined sheet pan, a clean mixing bowl, and a piping bag. A zip-top bag with one corner snipped off works if needed.
Mastering the Step-by-Step Preparation for Keto Cream Puffs
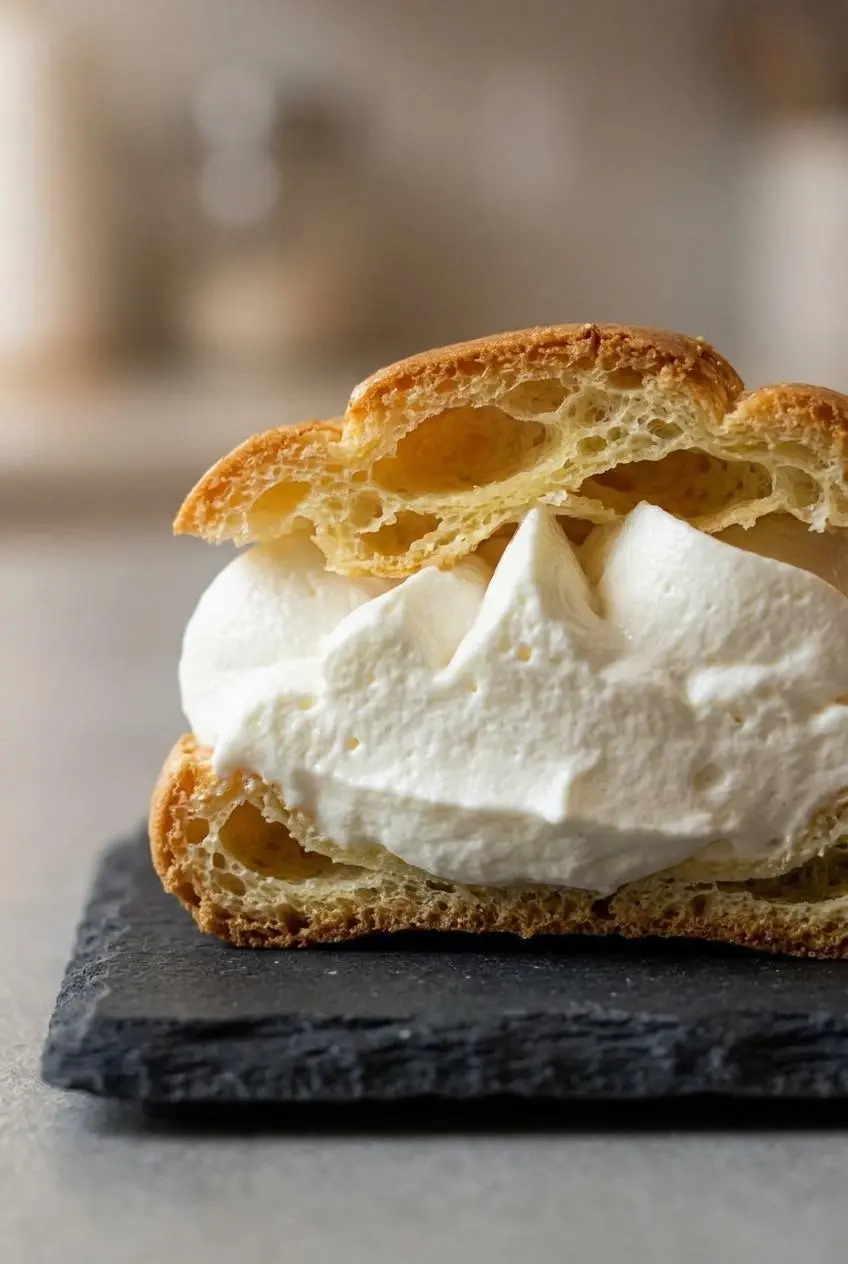
Success comes from protecting the whipped egg white, piping evenly sized mounds, and resisting the urge to open the oven during the rise. Work gently once the meringue is ready.
- Heat the oven to 375 °F and line a sheet pan with parchment paper, then separate the egg.
Keep the white in a completely clean bowl so it can whip to full volume. - Beat the egg white with the cream of tartar until stiff peaks stand upright, then set the meringue aside in another bowl.
The peaks should look glossy and hold their shape rather than curl over at the tip. - Clean the mixing bowl, then beat the egg yolk, cream cheese, and stevia until smooth and pale yellow.
The mixture should look creamy with no visible cream cheese lumps. - Fold the meringue into the yolk mixture with a light scoop-and-turn motion, then transfer the batter to a piping bag or snipped zip-top bag.
Stop folding when the batter looks evenly blended and still feels airy. - Pipe about 10 round mounds, each about 2 inches wide, onto the prepared pan.
Leave space between the mounds so heat can circulate and the puffs can expand. - Bake for 10 minutes, then lower the oven to 300 °F without opening the door and bake for 15 minutes more.
The finished shells should be golden brown with a dry sheen and release easily from the parchment. - While the shells bake, whip the heavy cream, vanilla extract, and stevia until firm peaks form.
Stop when the cream is thick and glossy, before it becomes grainy or starts turning buttery. - Cool the shells completely, split each one in half, and pipe in the whipped cream before replacing the tops.
The finished puffs should feel light in the hand, with filling that stays neatly between the shells.
Whipping Whites and Folding the Batter
Stiff peaks should stand tall when the whisk is lifted. If the whites look wet, slide around the bowl, or form soft bends at the tips, keep beating briefly. If they look clumpy, dry, or separated, they have gone too far and will not fold as smoothly.
Fold in small additions rather than stirring hard. Drag the spatula down through the center, sweep underneath the batter, and turn it over itself. The goal is an even mixture without knocking out the air that gives these cloud bread puffs their lift.
The Two-Stage Oven Temperature Method
The hotter opening stage expands the air trapped in the meringue and begins setting the shell. Lowering the heat afterward lets the center dry without scorching the outside. Keep the door closed during this change, since a sudden temperature drop can deflate fragile shells.
Ovens vary, so watch for golden color and a dry-looking crust. A properly baked shell may give a faint hollow tap when you gently flick its base after cooling.
Whipping and Piping the Cream Filling
Whip the cream while the shells bake, then keep it cold until assembly. Pipe from the center outward for a tidy mound, rather than overfilling the edges where the top shell can slide off.
Troubleshooting Common Baking Pitfalls
These puffs are delicate, but most problems trace back to aeration, moisture, or mixing.
- Flat or collapsed shells: The whites may have been underwhipped, the batter may have been stirred too firmly, or the shells may not have dried enough in the oven. Whip to stable stiff peaks, fold lightly, and keep the oven closed during baking.
- Meringue that will not stiffen: Grease, yolk, or moisture on the bowl or beaters can interfere with the foam. Start with thoroughly clean, dry equipment and separate the egg carefully.
- Eggy flavor: Underbaked shells can taste more noticeably egg-forward. Bake until golden and dry-looking, then use the vanilla filling to soften the flavor.
- Shells sticking to the pan: Use parchment rather than bare metal. Let the puffs cool before lifting them, since warm shells are more fragile.
- Whipped cream turning grainy: It has been beaten too far. Watch closely once the cream thickens and stop at firm, glossy peaks.
Creative Flavor and Filling Variations
Keep the shell method unchanged, then customize the filling or finish after baking for a different dessert without sacrificing the puff’s airy structure.
Chocolate Glazed Profiteroles
For a chocolate finish, drizzle assembled puffs with an optional sugar-free dark chocolate glaze or ganache. Let the topping cool slightly before adding it so it stays on the shell instead of melting the whipped filling.
For more ideas on flavoring and sweetening the filling, try this keto whipped cream guide.
Dairy-Free Coconut Chantilly Puffs
Replace the dairy filling with chilled whipped coconut cream sweetened with low-carb drops. The coconut version brings a mild tropical note and may be softer than dairy chantilly, so fill the shells close to serving.
Berry Infused Cream Puffs
Fold a small amount of fresh berry puree into the whipped filling for color and a bright, tart contrast. Finely grated lemon zest also works well when you want freshness without adding extra moisture.
Storage and Make-Ahead Best Practices
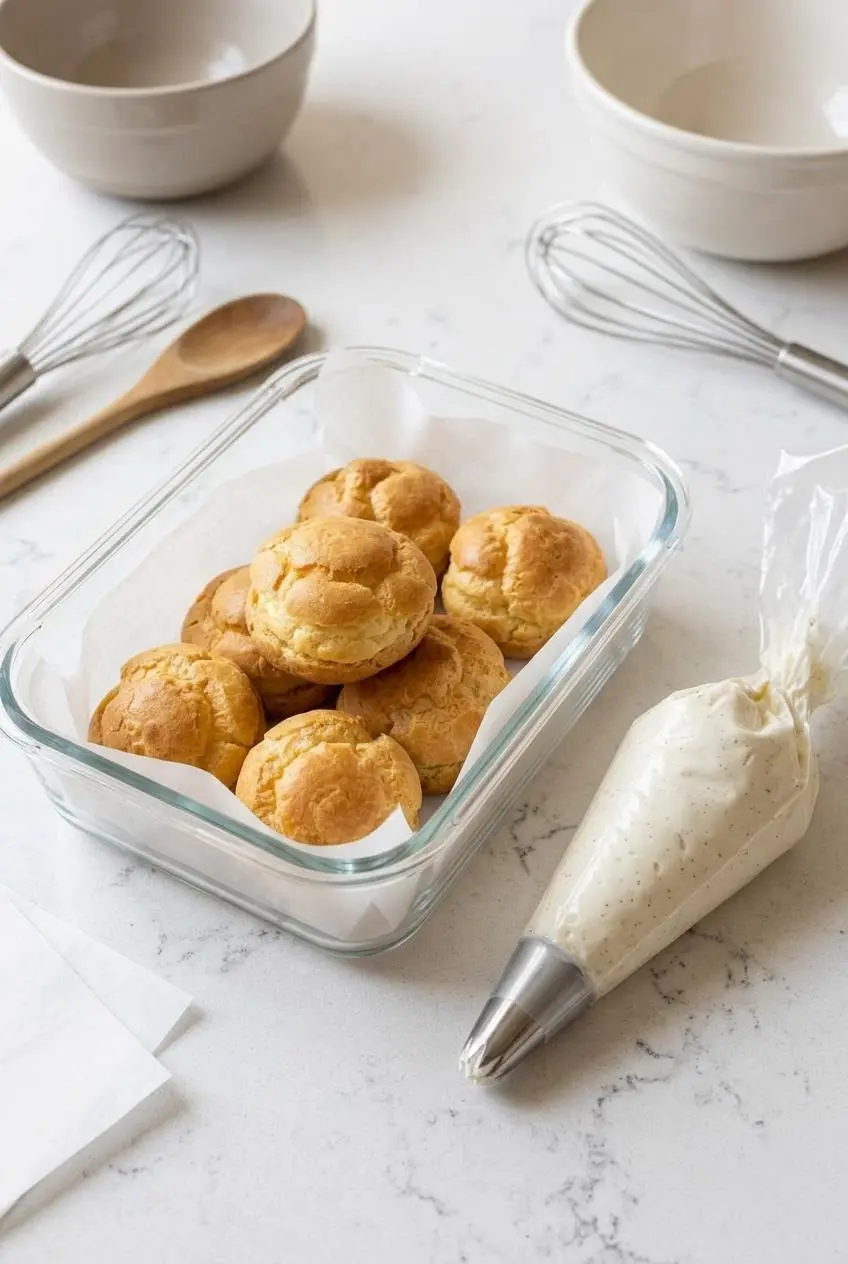
Moisture is the enemy of a crisp shell. Keep baked shells and whipped filling separate until close to serving, since the cream gradually softens the delicate exterior.
Keeping Unfilled Shells Crisp
Cool the shells fully before placing them in an airtight container, away from humidity. Refrigerate the dairy filling in a covered container, then pipe it into the shells just before serving for the best contrast between airy shell and creamy center.
If assembled puffs remain, keep them covered and chilled. Their texture will soften over time, so they are at their best when enjoyed soon after filling.
Refreshing Shell Texture
If unfilled shells lose their dry exterior, warm them briefly in the oven before cooling completely and filling. This refreshes the surface without exposing the whipped cream to heat.
Nutritional Profile and Dietary Context
These puffs are designed as a low-carb alternative to classic bakery cream puffs, which usually rely on wheat flour and sugar. Here, the shell gets its lift from egg-white meringue and cream cheese rather than a cooked flour paste.
The ingredients are naturally gluten-free, but packaged ingredients can vary, so check labels if gluten avoidance is necessary. Carb counts also depend on the exact sweetener and dairy products used, so use your own package labels for a precise calculation.
Serving Suggestions and Presentation
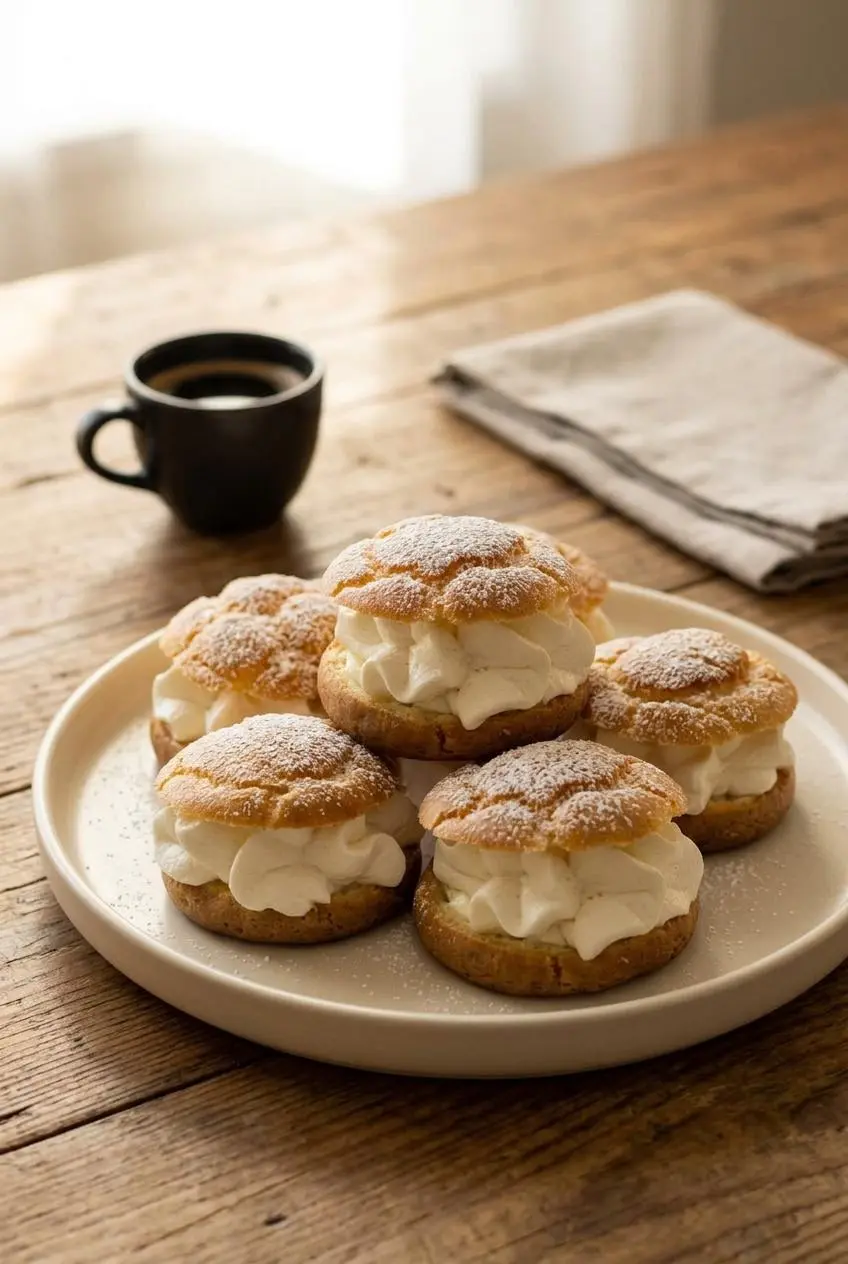
Serve the puffs cold or lightly chilled after filling, when the vanilla cream is firm and the shells still have their best texture.
- Dust cooled, filled puffs lightly with powdered low-carb sweetener immediately before serving.
- Arrange them on a chilled platter in a loose pyramid for a party-ready dessert display.
- Pair them with espresso, hot tea, or coffee finished with keto coffee creamer.
- Add them to a low-carb dessert tray with keto cream cheese cookies for a mix of creamy and crisp bites.
Achieving Patisserie-Quality Keto Desserts
Clean equipment, properly whipped egg whites, gentle folding, and the two-stage oven heat are the details that give these shells their delicate lift. Let them cool fully before filling so the cream stays plush and defined.
Once the technique feels familiar, optional sugar-free finishes and flavored fillings can make each batch feel a little different. Keep the shell light, keep the cream cold, and enjoy the contrast.
Frequently Asked Questions
Why Did My Keto Cream Puffs Collapse After Cooling?
Collapse usually means the meringue lost too much air during folding or the shells did not dry enough before leaving the oven. Whip the whites to glossy stiff peaks, fold gently, and keep the oven door closed during the temperature change.
Can I Assemble Keto Cream Puffs Ahead of Time?
For the best texture, keep the shells and filling separate until close to serving. Whipped cream adds moisture to the shell, so filled puffs become softer as they sit.
How Do Keto Cream Puffs Differ From Classic French Choux Pastry?
Classic French choux pastry starts with a cooked dough made from flour, butter, and eggs. These keto puffs use whipped egg whites and cream cheese for an airy cloud-style shell without wheat flour.
How Should I Store Leftover Keto Cream Puffs?
Keep filled leftovers covered and chilled because they contain whipped dairy cream. Store unfilled shells in an airtight container away from humidity, then fill them only when ready to serve.
How Many Carbs Are in a Cream Puff?
The exact carb count depends on the brands of cream cheese, heavy cream, and sweetener used. Compared with conventional cream puffs made with flour and sugar, this version is formulated to be lower in carbohydrates, but package labels give the most accurate total.
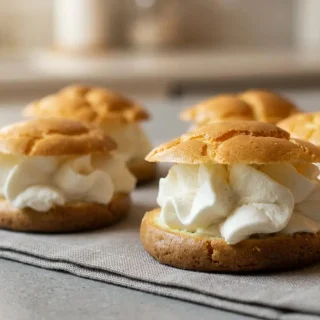
Keto Cream Puffs

Equipment
- Stand mixer or electric hand mixer
- Sheet pan
- Parchment paper
- Mixing bowl
- Piping bag
Ingredients
- 1 large Raw Egg
- 1/8 teaspoon Cream Of Tartar
- 1-1/2 ounce Cream Cheese
- 1 package Stevia Leaf Noncaloric Sweetener (green Packet)
- 1/2 cup Heavy Cream
- 1/4 teaspoon Vanilla Extract
Instructions
- Heat the oven to 375 °F and line a sheet pan with parchment paper, then separate the egg. Keep the white in a completely clean bowl so it can whip to full volume.
- Beat the egg white with the cream of tartar until stiff peaks stand upright, then set the meringue aside in another bowl. The peaks should look glossy and hold their shape rather than curl over at the tip.
- Clean the mixing bowl, then beat the egg yolk, cream cheese, and stevia until smooth and pale yellow. The mixture should look creamy with no visible cream cheese lumps.
- Fold the meringue into the yolk mixture with a light scoop-and-turn motion, then transfer the batter to a piping bag or snipped zip-top bag. Stop folding when the batter looks evenly blended and still feels airy.
- Pipe about 10 round mounds, each about 2 inches wide, onto the prepared pan. Leave space between the mounds so heat can circulate and the puffs can expand.
- Bake for 10 minutes, then lower the oven to 300 °F without opening the door and bake for 15 minutes more. The finished shells should be golden brown with a dry sheen and release easily from the parchment.
- While the shells bake, whip the heavy cream, vanilla extract, and stevia until firm peaks form. Stop when the cream is thick and glossy, before it becomes grainy or starts turning buttery.
- Cool the shells completely, split each one in half, and pipe in the whipped cream before replacing the tops. The finished puffs should feel light in the hand, with filling that stays neatly between the shells.