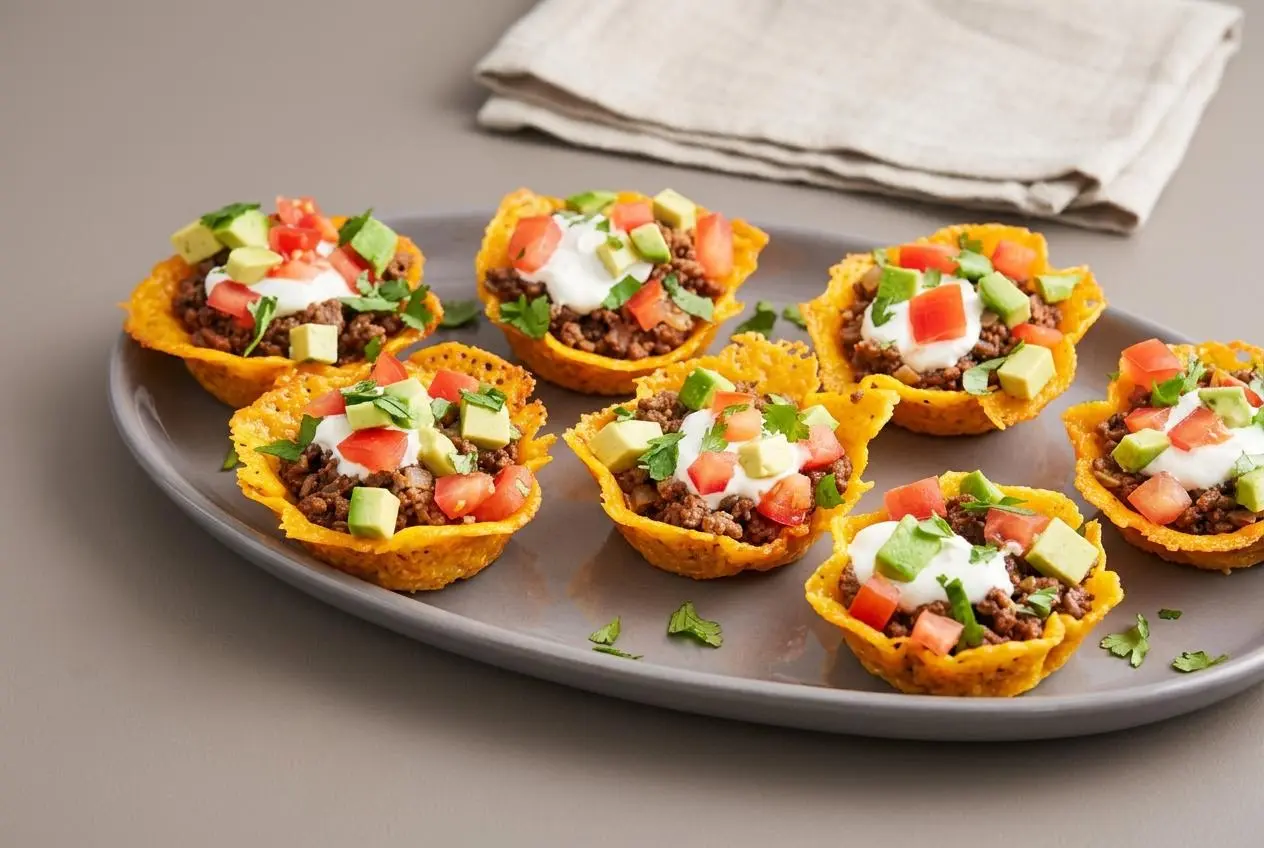
Keto taco cups are crisp, handheld cheese shells filled with savory seasoned beef and fresh toppings. Bake cheddar until bubbly, shape it over a muffin tin while pliable, and let it cool until each cup gives a firm little snap.
These taco cups trade tortillas for golden cheddar cups, so every bite brings a crunchy edge, warm spiced beef, and cool creamy toppings. They’re especially handy when you want taco-night flavor in grab-and-go form.
The key is timing the cheese between molten and brittle. That snap is the goal.
Grate cheddar from a block when possible. It melts into smoother rounds and is easier to shape than cheese coated with anti-caking ingredients.
Essential Ingredients for Authentic Low-Carb Flavor
Each ingredient earns its place: cheddar creates the crisp structure, beef brings savory richness, spices build warmth, and the toppings add creamy, fresh contrast to the golden shells.
- 2 c. shredded cheddar
- 1 tbsp. extra-virgin olive oil
- 1 small onion, chopped
- 3 cloves garlic, minced
- 1 lb. ground beef
- 1 tsp. chili powder
- 1/2 tsp. ground cumin
- 1/2 tsp. paprika
- Kosher salt
- Freshly ground black pepper
- Sour cream, for serving
- Diced avocado, for serving
- Freshly chopped cilantro, for serving
- Chopped tomatoes, for serving
Selecting the Best Cheese for Crispy Shells
Sharp cheddar is the workhorse here. It melts into an even disc, develops lacy amber edges, and firms into a sturdy frico-style shell as it cools. Freshly shredded cheddar usually gives the cleanest texture because it melts without the extra coating often found on bagged shreds.
Colby Jack makes a slightly softer, milder shell with a marbled look, while provolone can form a firm cup with a gentler flavor. Mozzarella is better used in a blend than alone because it tends to stay more flexible than cheddar.
I look for cheddar that is bubbling across the center with deeper golden edges, rather than cheese that has browned all over and turned fragile.
Crafting the Balanced Tex-Mex Spice Blend
Chili powder provides the main taco warmth, cumin adds earthy depth, and paprika rounds out the flavor with a subtle sweetness. Onion and garlic build a savory foundation before the beef goes in, so the spices taste integrated rather than dusty.
Choose ground beef with good flavor, then drain the rendered fat before seasoning. Removing the excess keeps the filling from pooling at the bottom of the cheese cups and dulling their crisp texture.
Fresh Low-Carb Topping Combinations
Sour cream cools the spice, avocado adds richness, cilantro brings a fresh herbal lift, and chopped tomatoes add color and brightness. Keep tomato juices off the cheese base when possible so the cups hold their crunch.
Step-by-Step Preparation and Assembly Guide for Keto Taco Cups
The method is straightforward, but the cheese has a narrow shaping window. Work when the rounds feel warm and tacky, not bubbling hot and not fully rigid.
Baking and Shaping the Cheese Cups
- Heat the oven to 375°F and cover a large baking sheet with parchment paper. Portion about 2 tablespoons of cheddar into separate mounds with space between them.
Keep the mounds evenly sized so the finished cups set at a similar rate. - Bake the cheddar for about 6 minutes, then leave the rounds on the sheet for 1 minute. The centers should be bubbling and the outer edges should be just beginning to turn golden.
- Coat the underside of a muffin tin with cooking spray, then lift each warm cheese round onto the inverted cups. Use a thin spatula if needed to check that the cheese disc holds together before moving it.
- Set a second inverted muffin tin over the cheese-covered tin and let the shells cool for 10 minutes. The nested pans create flatter bottoms that sit steadily on a platter.
- Use your hands to gently press the cheese around the inverted muffin cups if a second tin is unavailable. Handle the cheese only once it is warm and pliable rather than scorching hot.
- Warm the olive oil in a large skillet over medium heat and cook the onion for about 5 minutes. Stir occasionally until it softens and smells sweet rather than raw.
- Add the garlic, then crumble in the ground beef with a wooden spoon and cook for about 6 minutes. Break up larger pieces until the beef is no longer pink, then drain away the fat.
- Return the drained beef to the skillet and stir in the chili powder, cumin, paprika, salt, and pepper. The meat should be evenly coated with spices and look moist without sitting in grease.
- Move the cooled cheese cups to a serving platter and spoon in the seasoned beef. Finish with sour cream, avocado, cilantro, and chopped tomatoes.
Browning and Seasoning the Ground Beef
Let the onion soften before adding garlic so the garlic does not scorch. Once the beef has browned, drain it thoroughly before returning it to the skillet with the seasonings. This small pause makes a big difference to the final texture.
Assembling for Maximum Crunch
Fill the cups close to serving time. A small layer of dry shredded lettuce can sit beneath the warm beef as a moisture barrier, especially if tomatoes are particularly juicy. Spoon toppings over the meat instead of packing them tightly into the shell.
Troubleshooting Common Cheese Shell Mistakes
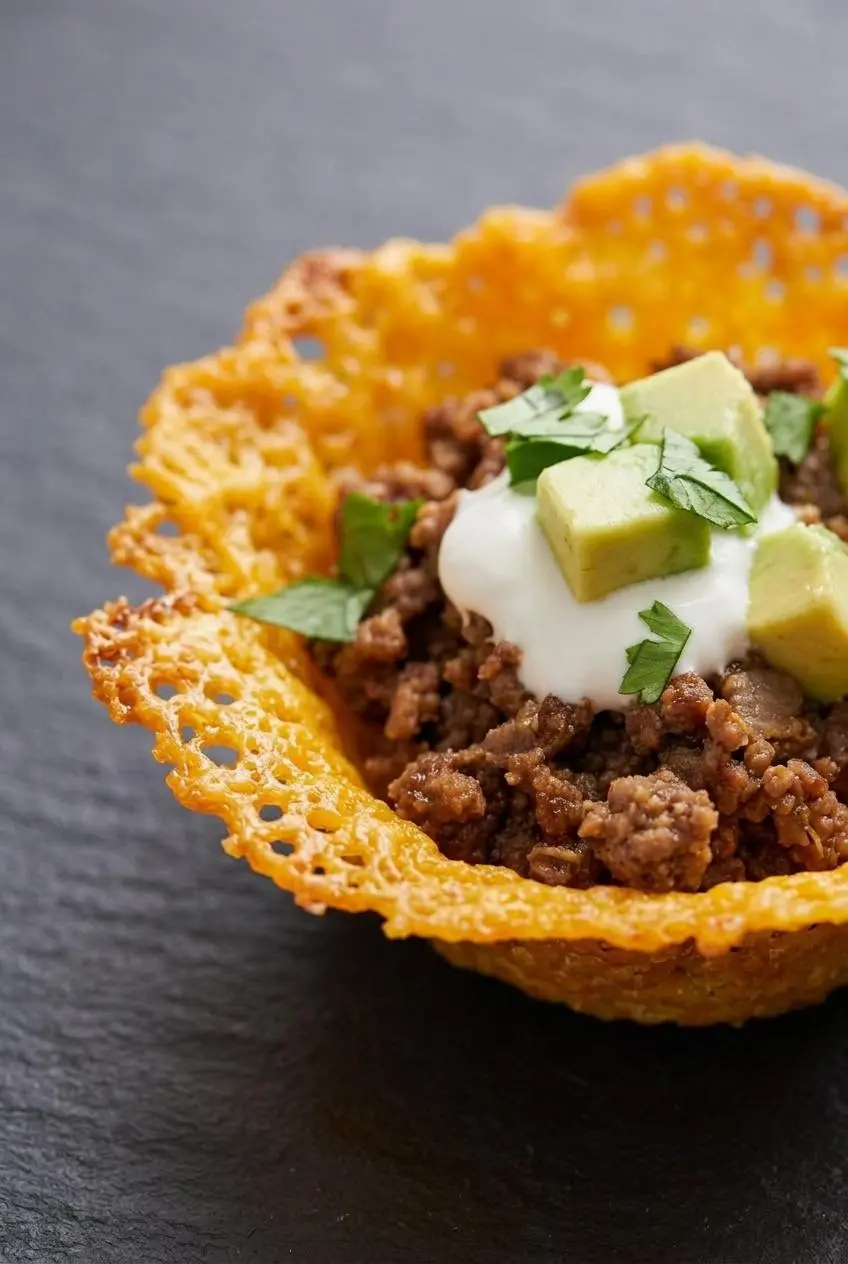
- The cheese cups crack while shaping: The rounds cooled too far before molding. Return the hardened rounds to the oven briefly, just until they soften enough to bend, then shape them again.
- The shells feel oily or soft: Cheddar can release fat as it melts. Carefully blot visible surface oil with parchment before shaping, then allow the cups to cool fully so they can crisp.
- The cheese sticks to the muffin tin: Coat the mold surface thoroughly with cooking spray before adding the cheese rounds. Give the shells time to firm before lifting them away.
- The cups tip over on the platter: Press the cheese snugly over the inverted muffin wells and use the second tin when available. The gentle pressure helps create a more stable, flatter base.
- The bottoms go limp after filling: Excess beef fat or wet toppings are usually the culprit. Drain the beef well, blot tomatoes if needed, and use shredded lettuce between the shell and filling.
Creative Flavor Variations and Dietary Swaps
Keep the cheddar-and-beef version as written, then use these optional directions when you want a different flavor or filling. They change the character of the cups without changing the main method.
Pepper Jack and Spicy Jalapeno Shells
Swap in pepper Jack for a shell with mild chile heat and pale flecks of pepper. A blend of pepper Jack and cheddar gives you sharper cheese flavor with more spice. Add sliced jalapeños as an optional topping for a brighter kick.
Seasoned Ground Turkey or Chicken Taco Cups
Ground turkey or seasoned chicken can replace the beef when you prefer poultry. Both benefit from the same aromatic spice profile, although they taste leaner and may need especially careful attention to keep the filling from drying out. For another seasoning direction, try this keto taco seasoning.
Dairy-Free Romaine Lettuce Taco Cups
For a dairy-free option, use crisp romaine leaves as small taco boats for the seasoned filling and fresh toppings. Butter lettuce works too, though romaine offers more crunch and a sturdier shape for handheld serving.
Storage, Make-Ahead Prep, and Re-Crisping Guidelines
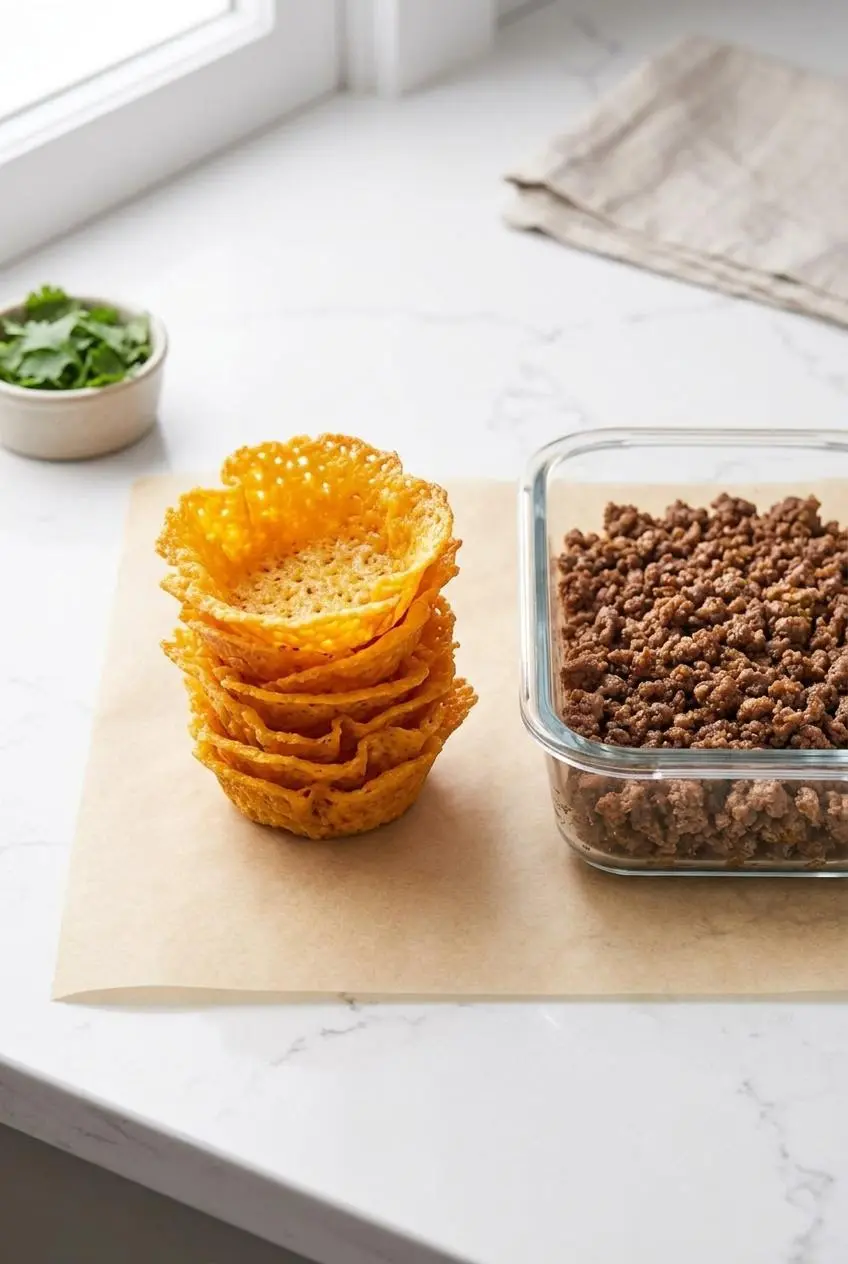
For party prep, keep the unfilled cheese cups and cooked beef in separate airtight containers. Keep the beef chilled, and protect the shells from humidity so they retain their crisp texture. Do not assemble the cups until close to serving.
If the shells soften, warm them in the oven just until their surface firms again, then let them cool before filling. Reheat the beef separately and drain away any collected moisture before it goes into the cups. Fully assembled taco cups are best enjoyed right away because the toppings gradually soften the cheese.
Serving Suggestions and Party Presentation
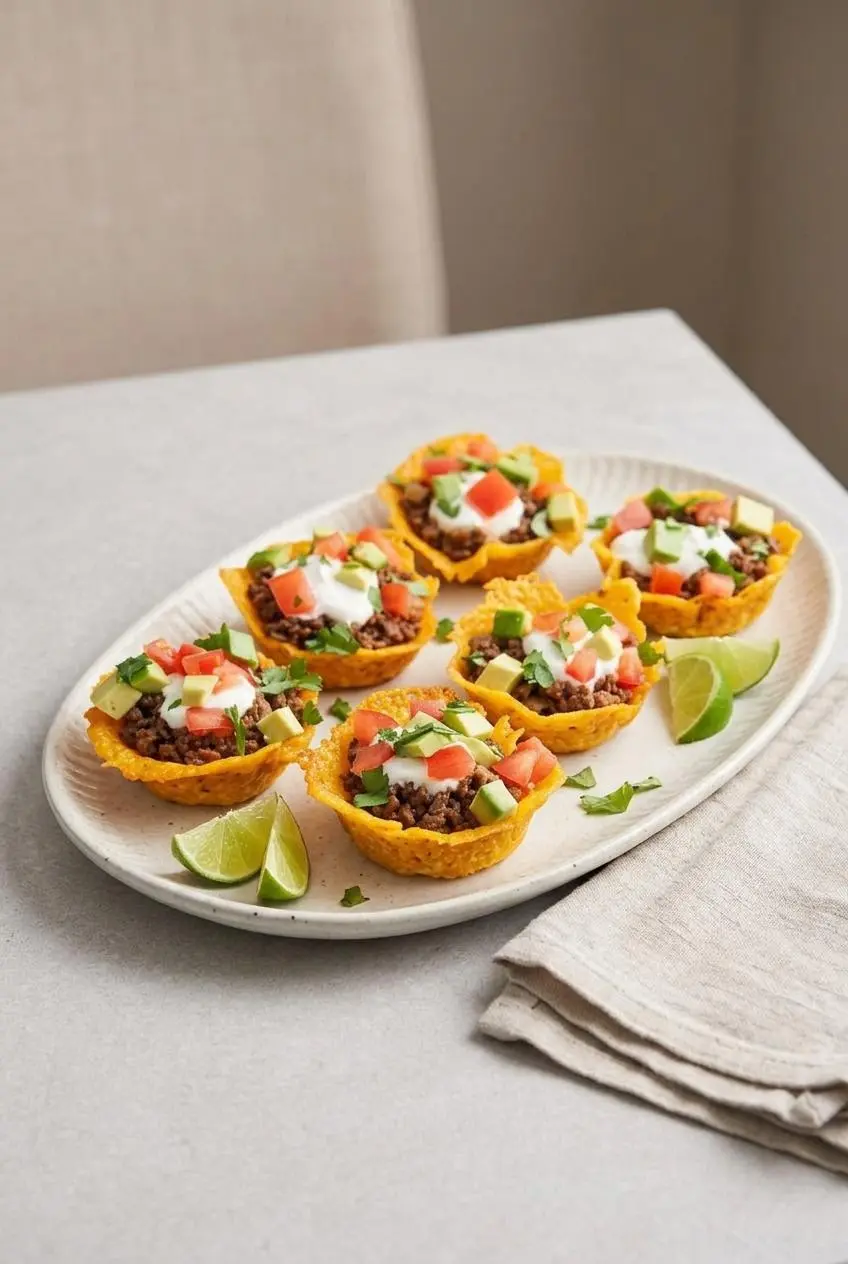
Arrange the cups on a platter with lime wedges and scattered cilantro for a bright game-day or Cinco de Mayo spread. Set out sour cream, avocado, cilantro, tomatoes, and jalapeños in separate bowls so everyone can finish their own cup without adding moisture too early.
For a fuller Tex-Mex spread, pair the cups with a keto taco casserole. Keep the taco cups as the crisp handheld option, and let the casserole handle the hearty centerpiece role.
The Ultimate Low-Carb Taco Night Solution
Golden cheddar shells and warmly seasoned beef make a satisfying contrast, especially with cool sour cream, avocado, cilantro, and tomatoes on top. The best cue is simple: a cooled shell should feel firm and give a crisp snap when tapped gently.
Keep the filling drained, add fresh toppings near serving time, and experiment with the flavors you enjoy most. A platter of crunchy taco cups tends to disappear quickly.
Frequently Asked Questions
What Is the Best Cheese to Use for Sturdy Keto Taco Cups?
Sharp cheddar is the strongest choice for a crisp, flavorful shell. Freshly grated cheddar melts evenly and firms well as it cools. Colby Jack and provolone can also work, though their texture and flavor are a little different.
How Do I Prevent Cheese Taco Cups From Breaking When Shaping Them?
Let the baked cheese rest briefly until it feels tacky and flexible. Shape it while it is still warm enough to bend. If it turns fully firm before molding, soften it gently in the oven and try again.
Can I Make Keto Taco Cups Ahead of Time for a Party?
Prepare the cheese shells and beef filling separately, then keep the filling chilled until serving. Re-crisp the shells if needed and assemble the cups near serving time. This protects the contrast between crunchy cheese and juicy filling.
How Do You Keep Keto Taco Cups From Getting Soggy?
Drain the cooked beef well and avoid adding tomato juices directly to the shell. A small layer of shredded lettuce under the meat helps shield the cheese from moisture. Add sour cream, avocado, cilantro, and tomatoes just before serving.
Are Keto Taco Cups Suitable for Strict Low-Carb Diets?
These cups use cheese instead of grain-based taco shells and rely on seasoned beef plus fresh toppings. Dietary needs and ingredient choices vary, so check labels on cheese, spices, and toppings for added starches or sugars if you follow a strict approach.
Keto Taco Cups

Equipment
- Baking sheet
- Parchment paper
- Muffin tin
- Large skillet
- Thin spatula
Ingredients
- 2 c. shredded cheddar
- 1 tbsp. extra-virgin olive oil
- 1 small onion chopped
- 3 cloves garlic minced
- 1 lb. ground beef
- 1 tsp. chili powder
- 1/2 tsp. ground cumin
- 1/2 tsp. paprika
- Kosher salt
- Freshly ground black pepper
- Sour cream for serving
- Diced avocado for serving
- Freshly chopped cilantro for serving
- Chopped tomatoes for serving
Instructions
- Heat the oven to 375°F and cover a large baking sheet with parchment paper. Portion about 2 tablespoons of cheddar into separate mounds with space between them. Keep the mounds evenly sized so the finished cups set at a similar rate.
- Bake the cheddar for about 6 minutes, then leave the rounds on the sheet for 1 minute. The centers should be bubbling and the outer edges should be just beginning to turn golden.
- Coat the underside of a muffin tin with cooking spray, then lift each warm cheese round onto the inverted cups. Use a thin spatula if needed to check that the cheese disc holds together before moving it.
- Set a second inverted muffin tin over the cheese-covered tin and let the shells cool for 10 minutes. The nested pans create flatter bottoms that sit steadily on a platter.
- Use your hands to gently press the cheese around the inverted muffin cups if a second tin is unavailable. Handle the cheese only once it is warm and pliable rather than scorching hot.
- Warm the olive oil in a large skillet over medium heat and cook the onion for about 5 minutes. Stir occasionally until it softens and smells sweet rather than raw.
- Add the garlic, then crumble in the ground beef with a wooden spoon and cook for about 6 minutes. Break up larger pieces until the beef is no longer pink, then drain away the fat.
- Return the drained beef to the skillet and stir in the chili powder, cumin, paprika, salt, and pepper. The meat should be evenly coated with spices and look moist without sitting in grease.
- Move the cooled cheese cups to a serving platter and spoon in the seasoned beef. Finish with sour cream, avocado, cilantro, and chopped tomatoes.