Skip to content
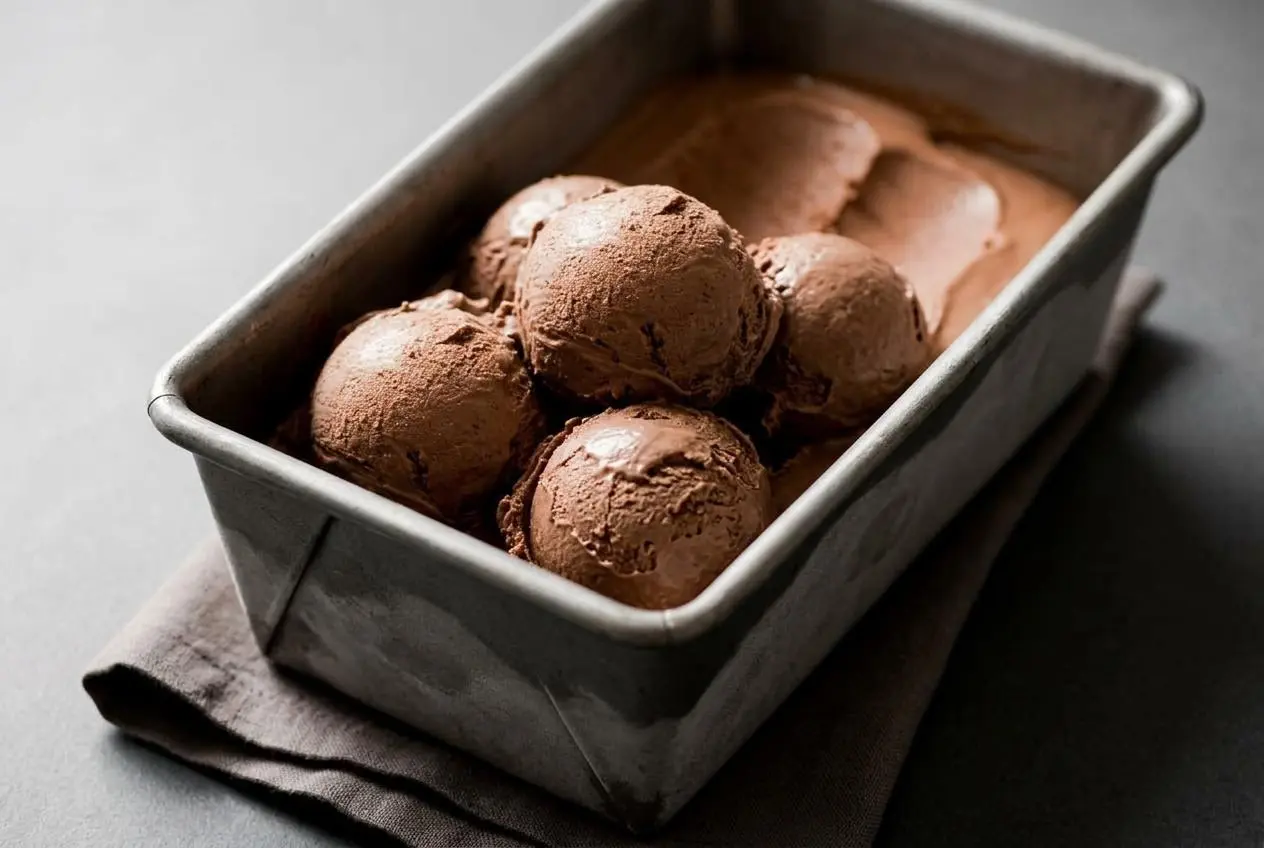
This keto chocolate ice cream recipe makes rich, velvety scoops with a cooked cocoa custard, heavy cream, egg yolks, allulose, gelatin, and MCT oil for a smooth, fudgy finish.
This keto chocolate ice cream recipe is for anyone who wants deep chocolate flavor without the brittle, icy texture that can plague sugar-free desserts. The custard base gives every scoop a lush, creamy body.
Allulose, gelatin, and a proper chill make a real difference in the final texture. That first spoonful should be soft, dark, and intensely cocoa-forward.
Whisk the cacao powder into a portion of the cream before heating so it hydrates fully and disappears into the custard without dry specks.
Essential Ingredients for Low-Carb Chocolate Ice Cream
Each ingredient contributes to the finished texture and flavor: cream brings richness, yolks build structure, cacao provides depth, and allulose, gelatin, and oil help keep the frozen custard smooth.
- 3 cups / 720 ml heavy cream
- 1/2 cup / 50 g cacao powder
- 1/3 cup / 80 ml almond milk (unsweetened)
- 4 large egg yolks
- 1 tbsp MCT oil
- 1.5 tsp powdered gelatin
- 2/3 cup / 120 g allulose (*** see notes, or powdered erythritol)
- 1 tbsp vanilla extract (sugar free)
- 1/4 tsp salt
Heavy cream is the backbone here, creating a full, luxurious mouthfeel that almond milk alone cannot provide. Egg yolks turn the liquid dairy mixture into a custard with a silky, spoon-coating texture. Vanilla and salt keep the cocoa flavor rounded instead of flat.
Gelatin acts as a gentle stabilizer, helping the custard hold a finer texture as it firms. MCT oil adds a small amount of liquid fat, which supports a softer scoop and reduces the sense of large ice crystals.
The Role of Allulose vs. Other Sweeteners
Allulose is especially useful in frozen desserts because it helps lower the mixture’s freezing point, so the ice cream is less likely to set into a solid block. It also dissolves smoothly into the yolks and custard.
Powdered erythritol can replace allulose as listed, but it tends to freeze firmer and can develop a slightly gritty texture after extended chilling. If using it, expect to let the container sit briefly at room temperature before scooping. Granular erythritol is more likely to feel crystalline, so powdered is the better fit.
I prefer allulose for this style of custard because the finished ice cream stays closer to that soft, dense scoop you expect from a good ice cream shop.Choosing the Best Cocoa Powder
Cacao powder gives this ice cream its bold, bittersweet chocolate character. Choose a fresh powder that smells deeply chocolatey rather than dusty or stale.
Dutch-process cocoa has a darker color and a mellow, rounded profile, making it a great choice for an almost brownie-like flavor. Raw cacao often tastes fruitier and more sharply bitter. Either works, but Dutch-process cocoa usually gives the fudgiest result.
Custard and Churning Method
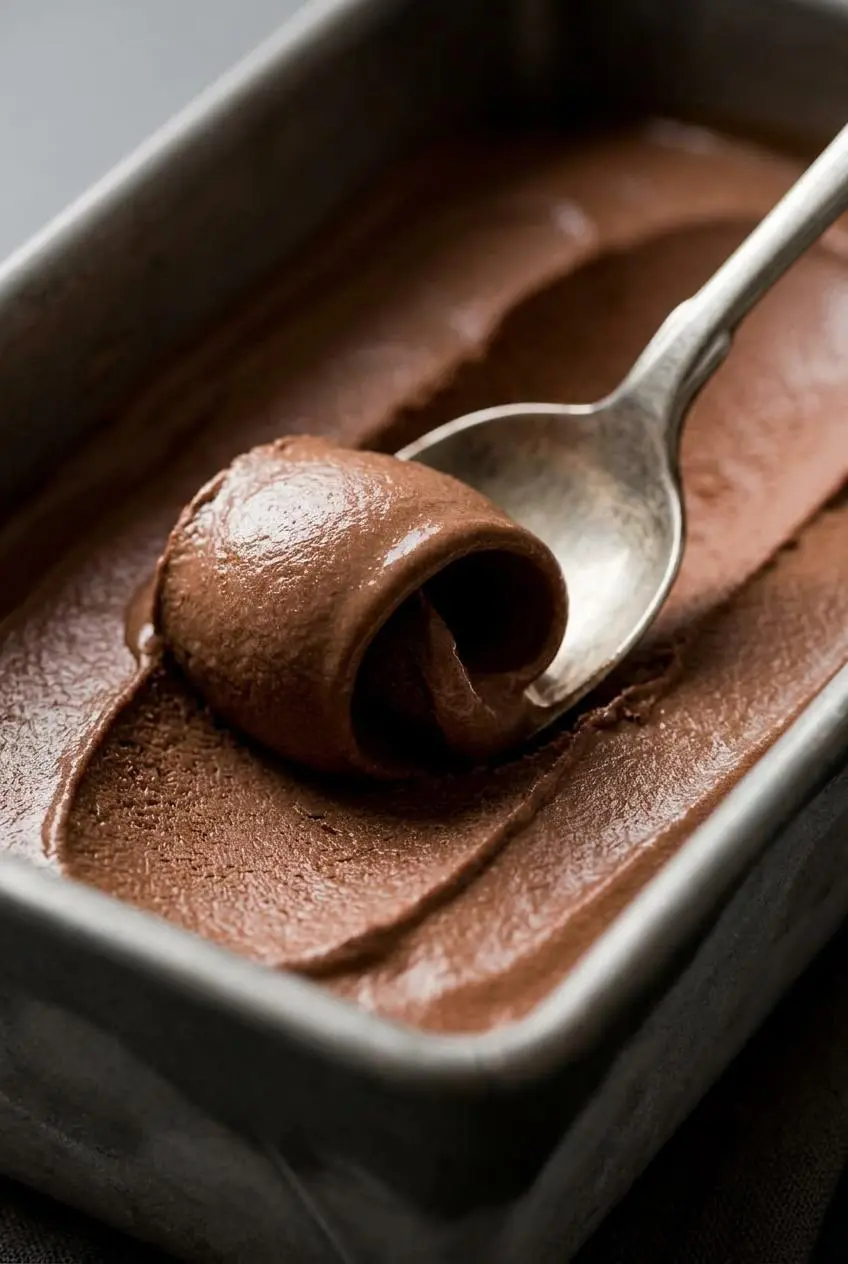
A gently cooked custard and a thoroughly chilled base are the keys to a smooth churn. Keep the heat low once the yolks enter the pan, and use the spoon-coating cue rather than rushing the process.
- Put the ice cream maker canister in the freezer overnight before making the custard.
The canister should be thoroughly frozen so the chilled base can begin thickening as soon as it starts churning. - Whisk the cacao powder with 1 cup of the heavy cream in a medium saucepan until no dry pockets remain, then whisk in the remaining cream and almond milk.
Warm the mixture over the stove, stirring continuously, until it reaches a gentle simmer and looks completely smooth. - Whisk the egg yolks with an electric mixer until pale and airy, then beat in the allulose or powdered erythritol.
The mixture should look lighter in color and slightly thickened before the warm dairy is added. - Pour the hot cream mixture into the yolks in a slow, steady stream while whisking constantly with a balloon whisk.
Adding the heat gradually keeps the yolks smooth instead of forming cooked egg bits. - Stir the powdered gelatin with 1 tbsp of water in a small bowl and leave it for about 5 minutes.
The gelatin will swell and look thick rather than dry and powdery. - Return the custard to the saucepan, add the bloomed gelatin, and cook over low heat for about 4 to 5 minutes.
Stop when the custard coats the back of a spoon and a finger drawn through it leaves a clean path. - Transfer the custard to a mixing bowl and stir in the vanilla extract and MCT oil.
Cover with cling film while leaving a small gap at the sides, then cool at room temperature for 30 minutes to prevent a skin from forming. - Chill the custard in the refrigerator for 1 to 2 hours, or overnight if preferred.
If it thickens during a longer chill, stir firmly with a spatula until it loosens and becomes pourable again. - Churn the cold custard in the ice cream maker according to the manufacturer’s directions for 20 minutes to 1 hour.
It should become lighter, thicker, and softly mounded, even if it is not fully firm when the machine stops. - Transfer the churned ice cream to a container and freeze for 2 hours, or until scoopable.
If it has been frozen overnight, let it stand at room temperature for about 30 minutes before serving.
Mastering the Egg Tempering Technique
Tempering means bringing the yolks up in temperature slowly. Start with a small stream of warm cream while whisking, then continue gradually until the egg mixture feels warm and fluid. Pouring everything in at once is the quickest route to curdled custard.
Once the custard returns to the pan, keep it over low heat and stir steadily, reaching into the corners of the pan. The goal is gentle thickening, not bubbling. A spoon coated in glossy custard is the sign to stop.
Machine Churning Method
Cold custard churns more efficiently than lukewarm custard, so do not skip the refrigerator chill. Pour it into the pre-frozen canister only when the mixture is cold throughout.
As the machine works, the sound often changes from a loose slosh to a heavier, quieter churn. Watch for a thick soft-serve consistency that clings to the paddle. The final freeze firms it enough for clean scoops.
No-Churn Freezer Method
For a no-churn version, pour the fully chilled custard into a shallow freezer-safe container instead of an ice cream maker. During the early stage of freezing, whisk or blend it vigorously at intervals to break up developing ice crystals, then return it to the container.
Keep the container covered between stirs and scrape the firmer edges into the softer center each time. This method will be denser than machine-churned ice cream, but careful stirring helps it stay smoother.
Troubleshooting Common Low-Carb Ice Cream Issues
Most texture problems come from too much heat, incomplete chilling, or exposure to air in the container. These fixes target the issues that matter most at scoop time.
- The custard looks grainy: It likely got too hot. Pour it through a fine-mesh strainer while it is still warm, then continue cooling it before churning.
- The custard is too thick after chilling: Stir it firmly with a spatula until it becomes fluid enough to pour into the machine. The gelatin can make a cold custard look set before churning.
- The ice cream is hard to scoop: Let the container rest at room temperature briefly. Allulose gives a softer result than erythritol, but home freezers can still firm any custard substantially.
- The texture is icy: Make sure the custard is well covered and fully chilled before churning. For the no-churn method, regular vigorous stirring during the initial freeze helps break up crystals.
- The cocoa has tiny lumps: Whisk the powder into the first portion of cream before heating, then keep whisking as the remaining dairy goes in.
Flavor Enhancements and Delicious Variations
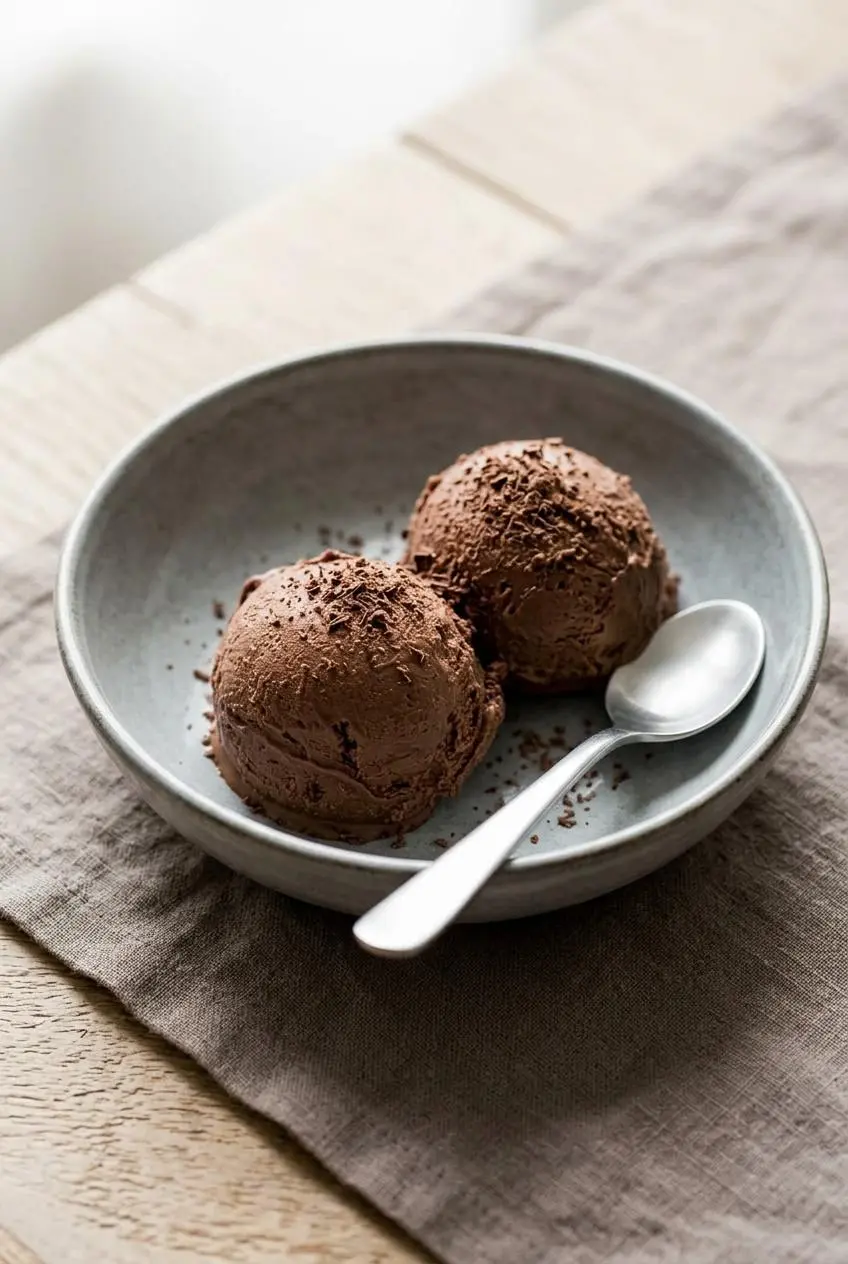
Keep the main custard unchanged, then use optional additions to steer it toward darker chocolate, coffeehouse mocha, or crunchy contrast.
Dairy-Free Coconut Adaptation
For a dairy-free direction, use full-fat canned coconut cream in place of the dairy cream and choose an unsweetened dairy-free milk in place of almond milk only if needed for your preference. Coconut cream makes a rich frozen dessert, though it brings a clear coconut aroma and may produce a slightly different firmness.
Choose canned culinary coconut cream with a thick, spoonable consistency rather than a thin coconut beverage. The higher fat content gives the custard a fuller body and better texture.
Mocha and Mix-In Options
Add a small amount of espresso powder for a mocha effect that makes the cacao taste darker and more complex without making the dessert taste like coffee. Stir it into the warm cream so it dissolves evenly.
- Fold in sugar-free chocolate chips or chopped sugar-free chocolate after churning for little firm chocolate pockets.
- Add chopped toasted pecans or walnuts for a nutty crunch against the creamy custard.
- Finish each bowl with sugar-free dark chocolate shavings for a dramatic chocolate finish.
- Swirl in keto caramel sauce after churning for a sweet, buttery contrast to the dark cocoa.
- Serve a scoop beside a warm slice of chocolate keto cake when you want a more celebratory dessert.
A spoonful of keto whipped cream also works beautifully on top, especially with a pinch of flaky salt.
Storage Guidelines and Thawing Tips
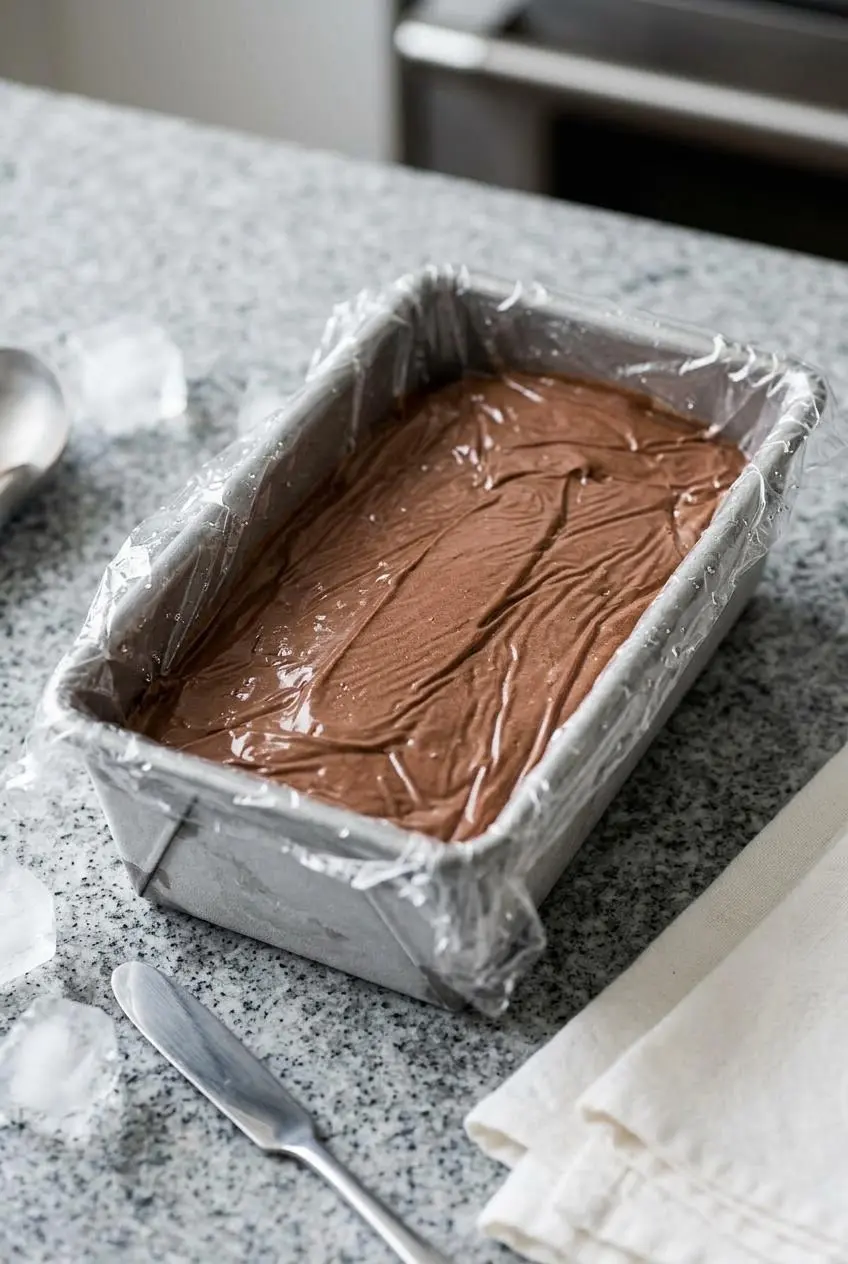
Protect the surface of the ice cream from air as soon as it goes into its storage container. Press cling film directly against the custard, then seal with a tight-fitting lid to limit frost and surface drying.
Store the container toward the back of the freezer, where the temperature stays steadier than near the door. When you are ready to serve, let the ice cream soften gradually at room temperature until a scoop can glide through it. Avoid high-heat warming, which can melt the custard unevenly and dull its creamy texture.
For the best flavor and texture, keep the container tightly sealed and use a clean scoop each time. If the surface develops ice crystals, scrape away the affected layer before serving.
Final Thoughts for Homemade Keto Dessert Success
For the creamiest result, hydrate the cacao fully, temper the yolks patiently, and chill the custard completely before churning. Those small details give the chocolate flavor a smooth, dense backdrop.
Serve it in chilled bowls with your favorite low-carb topping, or enjoy a plain scoop when the craving calls for serious chocolate. A little patience makes the difference.
Frequently Asked Questions
Why Does Keto Chocolate Ice Cream Get So Hard in the Freezer?
Traditional sugar keeps more of the water in an ice cream mixture from freezing solid. Many sugar substitutes do not behave the same way, so the dessert can become much firmer. Allulose helps maintain a softer texture, while gelatin and MCT oil support a finer, smoother frozen custard. Even so, a home freezer can make any ice cream firm, so allow it to soften briefly before scooping.
Can I Make This Recipe Without an Ice Cream Maker?
Yes. Use the no-churn freezer method by transferring the chilled custard to a shallow container and whisking or blending it vigorously at intervals during the early freeze. This breaks up ice crystals and improves texture. The result will be denser than machine-churned ice cream, but it can still be creamy and deeply chocolatey.
Can I Substitute Erythritol for Allulose?
Yes, powdered erythritol can be used as listed in the ingredients. Expect a firmer ice cream with a greater chance of a slightly crystalline texture after it sits frozen. Allulose is the stronger choice for softer, more scoopable results. If using erythritol, let the container sit at room temperature briefly before serving.
Is Keto Chocolate Ice Cream Suitable for Diabetics?
This dessert is made without regular sugar, but individual responses to sweeteners and dairy can vary. It should not be treated as medical nutrition advice or a substitute for a personalized eating plan. If you manage diabetes, take medication, or have questions about sugar substitutes, check with a qualified healthcare professional about how this dessert fits your needs.
How Long Can Homemade Keto Ice Cream Be Stored?
Keep it in a tightly sealed freezer-safe container with cling film pressed directly onto the surface. This limits frost, moisture loss, and the ice crystals that can make the texture less pleasant. For the best eating experience, serve it while the chocolate flavor is fresh and the custard still tastes smooth. If it becomes excessively icy or develops an off flavor, discard it.
Keto Chocolate Ice Cream Recipe

Equipment
- Ice Cream Maker
- medium saucepan
- Mixing bowl
- Electric mixer
- Balloon whisk
Ingredients
- 3 cups heavy cream 720 ml
- 1/2 cup cacao powder 50 g
- 1/3 cup almond milk unsweetened, 80 ml
- 4 large egg yolks
- 1 tbsp MCT oil
- 1.5 tsp powdered gelatin
- 2/3 cup allulose 120 g, or powdered erythritol
- 1 tbsp vanilla extract sugar free
- 1/4 tsp salt
Instructions
- Put the ice cream maker canister in the freezer overnight before making the custard. The canister should be thoroughly frozen so the chilled base can begin thickening as soon as it starts churning.
- Whisk the cacao powder with 1 cup of the heavy cream in a medium saucepan until no dry pockets remain, then whisk in the remaining cream and almond milk. Warm the mixture over the stove, stirring continuously, until it reaches a gentle simmer and looks completely smooth.
- Whisk the egg yolks with an electric mixer until pale and airy, then beat in the allulose or powdered erythritol. The mixture should look lighter in color and slightly thickened before the warm dairy is added.
- Pour the hot cream mixture into the yolks in a slow, steady stream while whisking constantly with a balloon whisk. Adding the heat gradually keeps the yolks smooth instead of forming cooked egg bits.
- Stir the powdered gelatin with 1 tbsp of water in a small bowl and leave it for about 5 minutes. The gelatin will swell and look thick rather than dry and powdery.
- Return the custard to the saucepan, add the bloomed gelatin, and cook over low heat for about 4 to 5 minutes. Stop when the custard coats the back of a spoon and a finger drawn through it leaves a clean path.
- Transfer the custard to a mixing bowl and stir in the vanilla extract and MCT oil. Cover with cling film while leaving a small gap at the sides, then cool at room temperature for 30 minutes to prevent a skin from forming.
- Chill the custard in the refrigerator for 1 to 2 hours, or overnight if preferred. If it thickens during a longer chill, stir firmly with a spatula until it loosens and becomes pourable again.
- Churn the cold custard in the ice cream maker according to the manufacturer’s directions for 20 minutes to 1 hour. It should become lighter, thicker, and softly mounded, even if it is not fully firm when the machine stops.
- Transfer the churned ice cream to a container and freeze for 2 hours, or until scoopable. If it has been frozen overnight, let it stand at room temperature for about 30 minutes before serving.