Skip to content
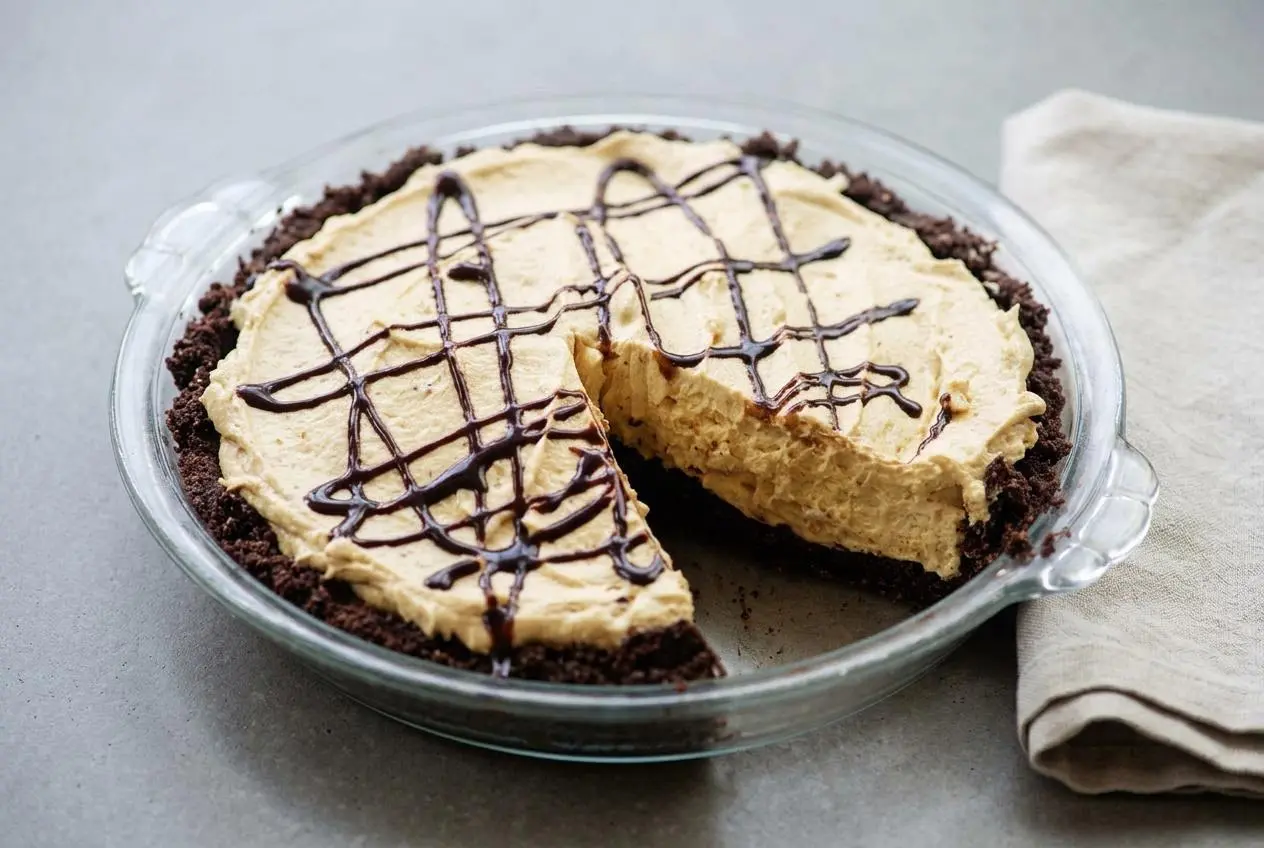
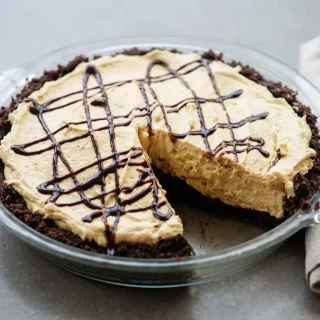
Keto peanut butter pie pairs a press-in cocoa almond flour crust with a no-bake filling of cream cheese, unsweetened peanut butter, powdered low-carb sweetener, and whipped cream folded in for lift. Chill until firm, then slice.
This keto peanut butter pie recipe leans on two textures working against each other: a dark, crumbly chocolate base and a filling so light it eats like mousse. Nothing goes in the oven, which makes it a reliable dessert in summer heat or on a crowded holiday stove day.
You get deep roasted peanut flavor, a whisper of cocoa bitterness, and enough richness that a thin wedge satisfies. The whole thing hinges on one detail most people rush, and it happens right before the whipped cream goes in.
Pull the cream cheese out early. Truly soft cream cheese blends into peanut butter without resistance, and that single habit prevents most of the lumps people fight later.
Essential Ingredients for Keto Peanut Butter Pie
Every component here carries weight. The cocoa and almond flour build structure, butter binds the base, cream cheese adds tang and body, peanut butter delivers flavor, and whipped cream brings the airy lift that makes each slice feel light instead of heavy.
- 1 3/4 cups almond flour
- 3 tablespoons cocoa powder
- 1/4 cup sweetener
- 6 tablespoons melted butter
- 8 ounces cream cheese (room temperature)
- 1 cup peanut butter
- ½ cup powdered sweetener
- 1 ½ cups heavy cream
- 1 teaspoon vanilla
A quick note on the peanut butter: choose a creamy, unsweetened variety and stir it thoroughly before measuring so the fat is evenly distributed.
Almond flour behaves nothing like wheat flour in a crust. It has no gluten to knit the base together, so the melted butter does that job, coating the ground almonds and setting firm once chilled. Cocoa powder adds color and a slightly bitter edge that keeps the sweet filling from tasting flat. Heavy cream whipped to stiff peaks is the only leavening this pie gets, which is why the folding stage matters more than the mixing stage.
Selecting the Right Peanut Butter
Look for a jar listing peanuts and salt, nothing else. Sweetened commercial spreads pile on sugar you do not want here, and the flavor turns candy-like rather than roasted.
Natural peanut butter separates in the jar. If you scoop from the top without stirring, you pull mostly oil, and that excess fat refuses to emulsify into the cream cheese. The result is a greasy, weepy filling that never firms up properly. Stir the jar until the texture is uniform from top to bottom, then measure.
I keep my natural jars stored upside down between uses. The oil migrates back through the solids on its own, and stirring takes about ten seconds instead of two frustrating minutes.
The Case for Powdered Keto Sweetener
Powdered low-carb sweetener dissolves seamlessly into a no-bake cream cheese filling without gritty residue. Granulated erythritol and monk fruit blends need heat and moisture to break down, and this filling offers neither.
Bite into a pie made with granular sweetener and you feel tiny crystals, almost like sand suspended in cream. Worse, erythritol has a cooling sensation that becomes obvious when the crystals stay intact on your tongue. Confectioners-style versions are milled fine enough to disappear the moment they hit the fat.
Almond Flour Crust Essentials
Finely ground blanched almond flour packs together far better than coarse almond meal. The smaller particles create more surface contact, which means the butter binds everything into a cohesive sheet rather than loose crumbs.
Mixed with cocoa powder and melted butter, the crumbs should look like damp dark sand and hold their shape when you squeeze a handful. If the mixture feels dry and refuses to clump, your almond flour may be coarser than average. A firm press and a solid chill in the freezer do the rest, no oven required.
Step-by-Step Keto Peanut Butter Pie Recipe
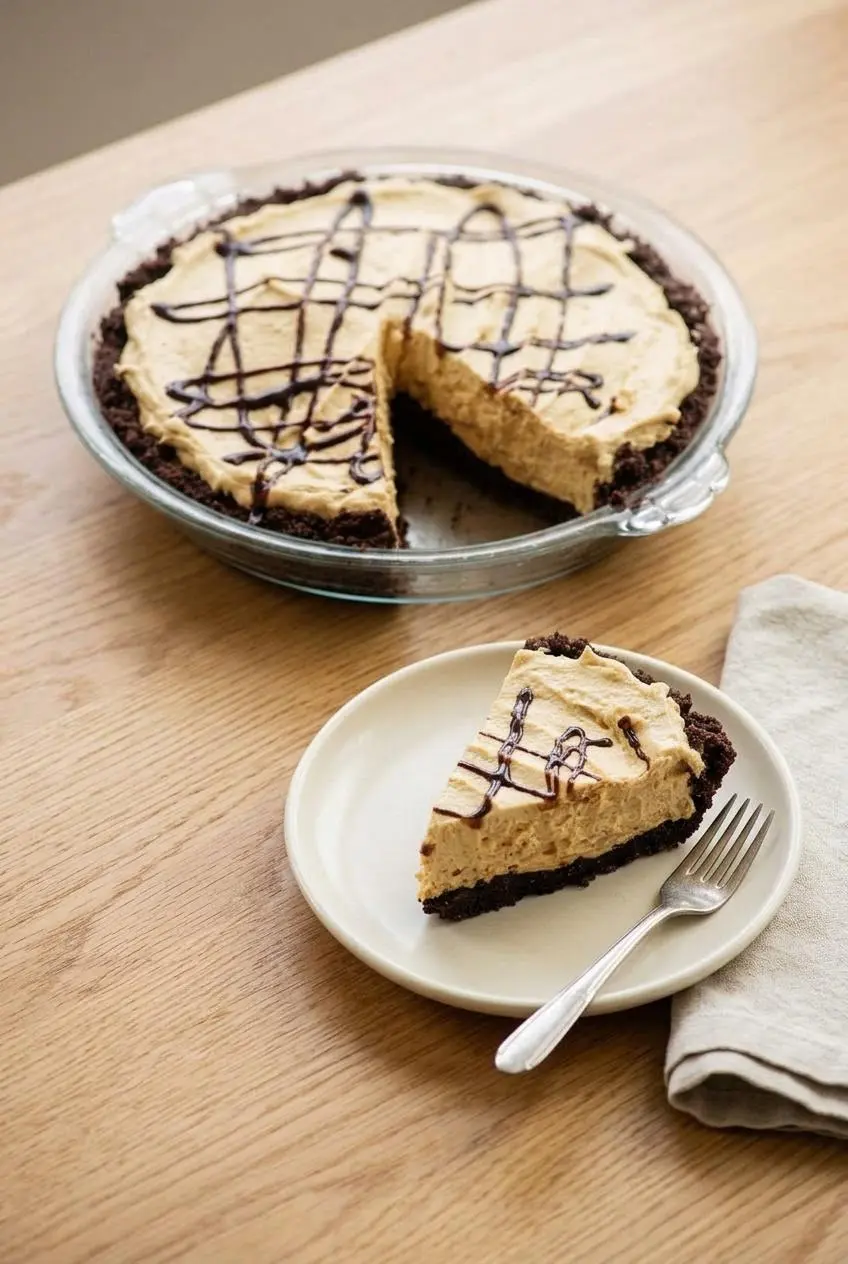
The order here is deliberate. Crust first, freezer next, then filling, because the filling comes together fast and you want a cold, firm base waiting for it.
To make the crust:
- Combine the almond flour, cocoa powder, sweetener, and melted butter in a bowl and mix until the color is evenly dark with no dry pockets.
The crumbs should clump when pinched and look like moist chocolate sand. - Transfer the mixture to a 9-inch pie plate and press it down hard across the bottom and up the sides, using the flat base of a measuring cup for even pressure.
The surface should feel compact and solid under your fingertips, not loose or powdery. - Slide the crust into the freezer and leave it there while you build the filling.
The butter firms up quickly in the cold, locking the base into a sliceable layer.
To make the filling:
- Beat the room-temperature cream cheese with the peanut butter and sweetener until the mixture turns completely smooth.
Expect a very thick, dense paste with a uniform tan color and no white streaks of cream cheese. - Using a separate bowl, whip the heavy cream with the vanilla until stiff peaks form.
The cream should hold a sharp point when you lift the beaters, with visible ridges that do not slump back down. - Fold the whipped cream into the peanut butter base, stopping the moment the streaks disappear.
The filling will lighten in color and feel billowy rather than stiff, so stop folding as soon as it looks uniform. - Pull the chilled crust from the freezer and spread the filling over it with a spatula, working gently toward the edges.
Smooth the top into an even layer with a soft matte finish. - Refrigerate for at least 1 hour before serving.
The surface turns from glossy to matte and the filling feels set when touched lightly at the center.
Pressing and chilling the chocolate crust
Pressure is what makes an almond flour crust behave. Push the crumbs into the corners of the pie plate first, then work outward and up the sides so the walls end up the same thickness as the floor. Thin spots crack, thick corners crumble.
Chilling the crust firmly before filling prevents the base from breaking apart during slicing. Warm butter is soft butter, and soft butter means a base that shifts under the knife.
Whipping the cream for maximum lift
Cold cream whips faster and holds more air. If your kitchen runs warm, chill the bowl and beaters for a few minutes before you start.
Stiff peaks are the target, and that is firmer than most people expect. The cream should stand upright without curling over. Soft peaks collapse the moment they meet the heavy peanut butter base, and you lose the mousse texture entirely. Stop as soon as the peaks hold, since pushing further starts turning the cream grainy on its way to butter.
The two-step folding technique
Folding whipped cream into the peanut butter base in two stages preserves an airy mousse consistency. The peanut butter mixture is dense enough to crush delicate air bubbles on contact, so a single dump-and-stir approach flattens everything.
Start by stirring roughly a third of the whipped cream into the base fairly vigorously. That first addition is a sacrifice, and it loosens the paste so it can accept the rest gently. Add the remaining cream and switch to a wide spatula, cutting down through the center, sweeping along the bowl, and turning the mixture over itself. Rotate the bowl as you go. Stop the instant the color is even.
Troubleshooting & Texture Success Tips
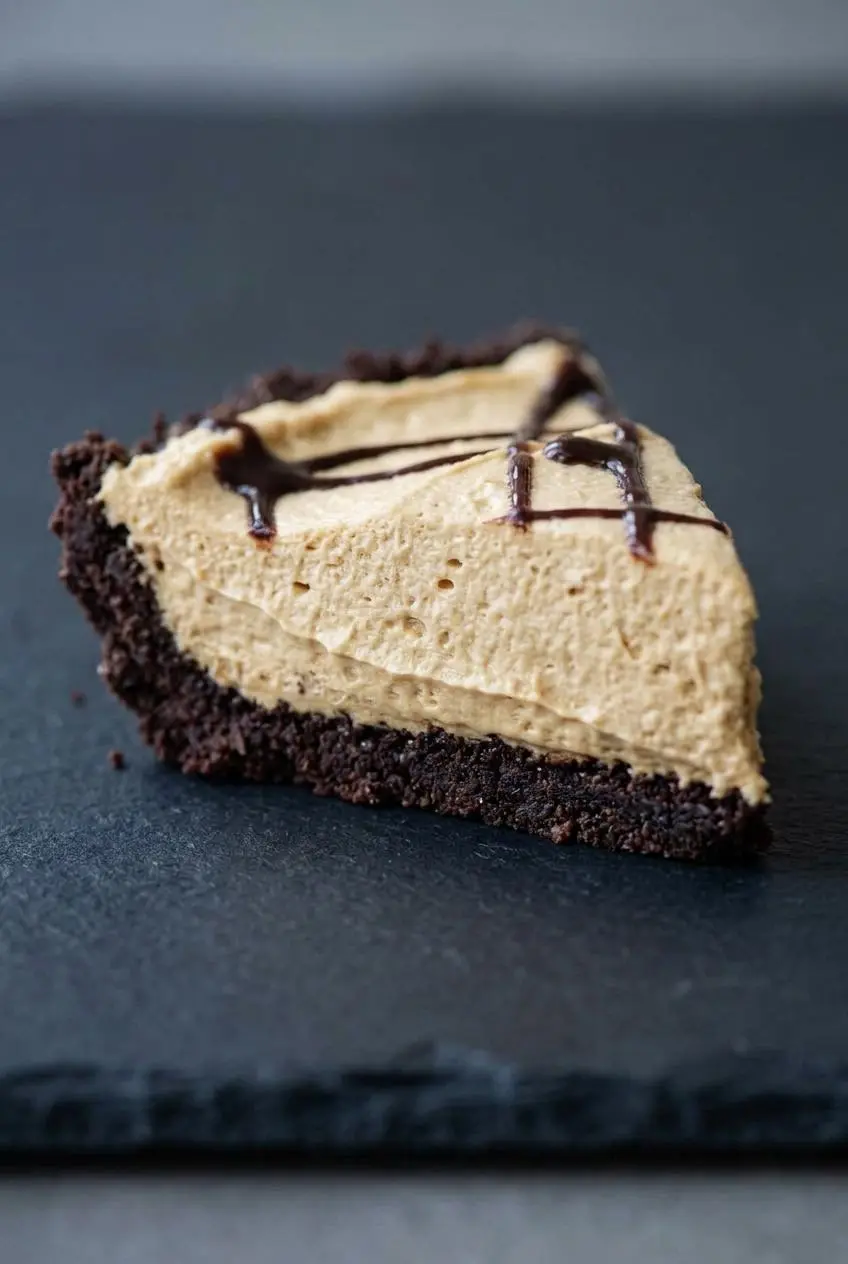
Most problems with this pie trace back to temperature or timing. Here are the fixes that actually work.
- White specks or lumps in the filling. Cold cream cheese never fully broke down. Beat the cream cheese alone first until perfectly smooth, then add the peanut butter. If lumps already formed, keep beating on medium and give it another minute before adding anything else.
- Greasy or separated filling. Unstirred natural peanut butter contributed too much loose oil. Stir the jar completely next time. If the batch is already made, chilling helps the fat resolidify, though the texture stays slightly heavier.
- Gritty mouthfeel. Granular sweetener was used somewhere in the filling. Nothing rescues this after the fact, so reach for confectioners-style sweetener from the start.
- Dense, heavy slices. The whipped cream was either underwhipped or overmixed after folding. Whip to firm stiff peaks and fold only until the streaks vanish.
- Crumbling crust. The base was not packed tightly enough or was still soft when filled. Press hard with a flat-bottomed cup and let the crust chill until it feels firm to the touch.
- Ragged slices. The pie was cut before setting. Give it the full chill, then run a chef’s knife under hot water, dry it, and wipe the blade between every cut.
Dietary Swaps & Delicious Variations
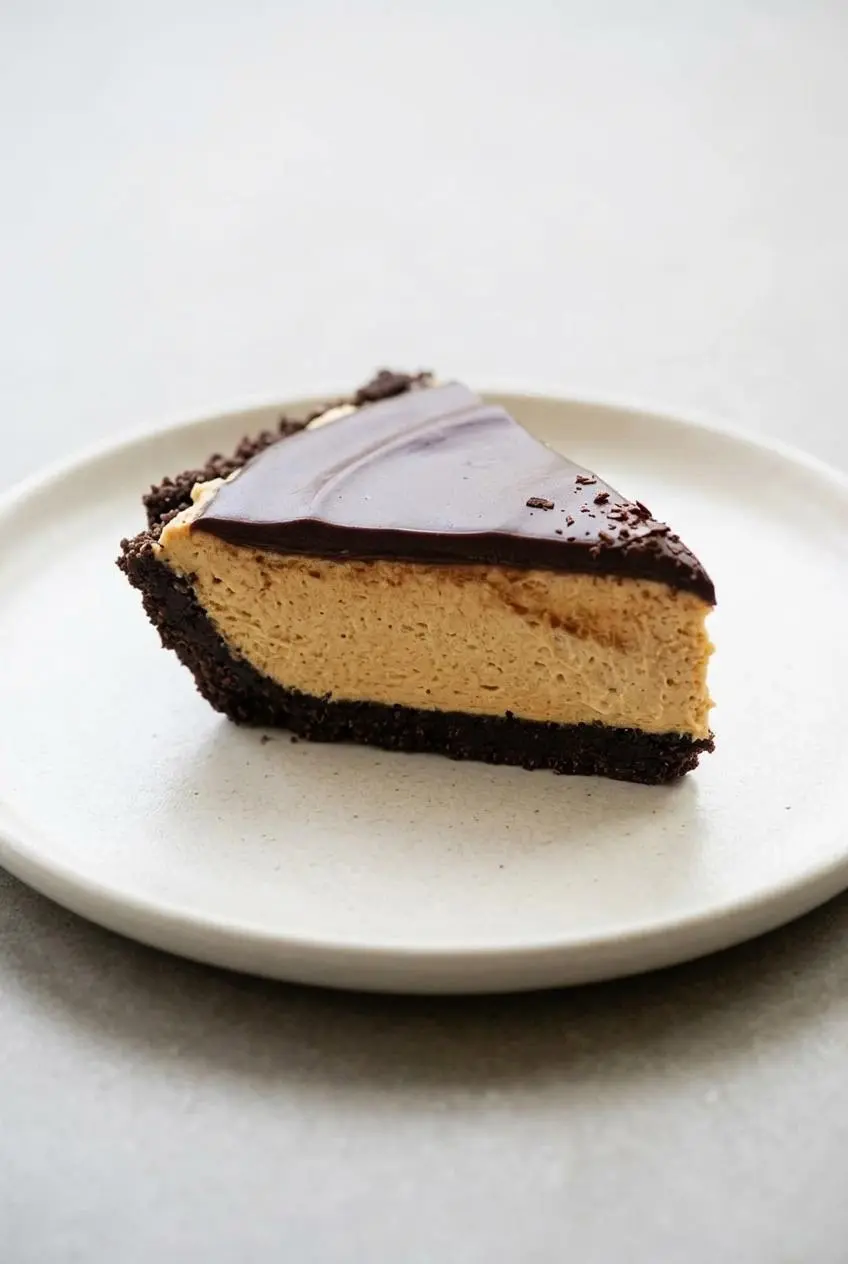
The base recipe stays exactly as written. These are optional directions to take it once you have made it once and know how the filling should feel.
For a different finish altogether, a drizzle of keto caramel sauce over each chilled slice brings a salted-butterscotch note that plays surprisingly well against the cocoa crust.
Dairy-Free Coconut Cream Version
Swap the cream cheese for a plant-based cultured cream cheese and replace the heavy cream with the thick solids from well-chilled full-fat coconut cream. Refrigerate the cans undisturbed so the cream separates cleanly from the water, then scoop only the firm white layer.
Coconut cream whips to a softer peak than dairy cream, so the filling sets a little less firmly and benefits from a longer chill. Expect a faint coconut note behind the peanut butter, which most people find pleasant. Use melted coconut oil or a dairy-free butter alternative in the crust to keep the whole pie dairy-free.
Keto Chocolate Ganache Topped Pie
A thin layer of sugar-free chocolate ganache spread across the chilled surface turns this into something closer to a giant peanut butter cup. Melt chopped sugar-free dark chocolate with a splash of warm heavy cream
Keto Peanut Butter Pie Recipe

Ingredients
- 1 3/4 cups almond flour
- 3 tablespoons cocoa powder
- 1/4 cup sweetener
- 6 tablespoons melted butter
- 8 ounces cream cheese room temperature
- 1 cup peanut butter
- ½ cup powdered sweetener
- 1 ½ cups heavy cream
- 1 teaspoon vanilla
Instructions
To make the crust:
- Combine the almond flour, cocoa powder, sweetener, and melted butter in a bowl and mix until the color is evenly dark with no dry pockets. The crumbs should clump when pinched and look like moist chocolate sand.
- Transfer the mixture to a 9-inch pie plate and press it down hard across the bottom and up the sides, using the flat base of a measuring cup for even pressure. The surface should feel compact and solid under your fingertips, not loose or powdery.
- Slide the crust into the freezer and leave it there while you build the filling. The butter firms up quickly in the cold, locking the base into a sliceable layer.
To make the filling:
- Beat the room-temperature cream cheese with the peanut butter and sweetener until the mixture turns completely smooth. Expect a very thick, dense paste with a uniform tan color and no white streaks of cream cheese.
- Using a separate bowl, whip the heavy cream with the vanilla until stiff peaks form. The cream should hold a sharp point when you lift the beaters, with visible ridges that do not slump back down.
- Fold the whipped cream into the peanut butter base, stopping the moment the streaks disappear. The filling will lighten in color and feel billowy rather than stiff, so stop folding as soon as it looks uniform.
- Pull the chilled crust from the freezer and spread the filling over it with a spatula, working gently toward the edges. Smooth the top into an even layer with a soft matte finish.
- Refrigerate for at least 1 hour before serving. The surface turns from glossy to matte and the filling feels set when touched lightly at the center.