Skip to content

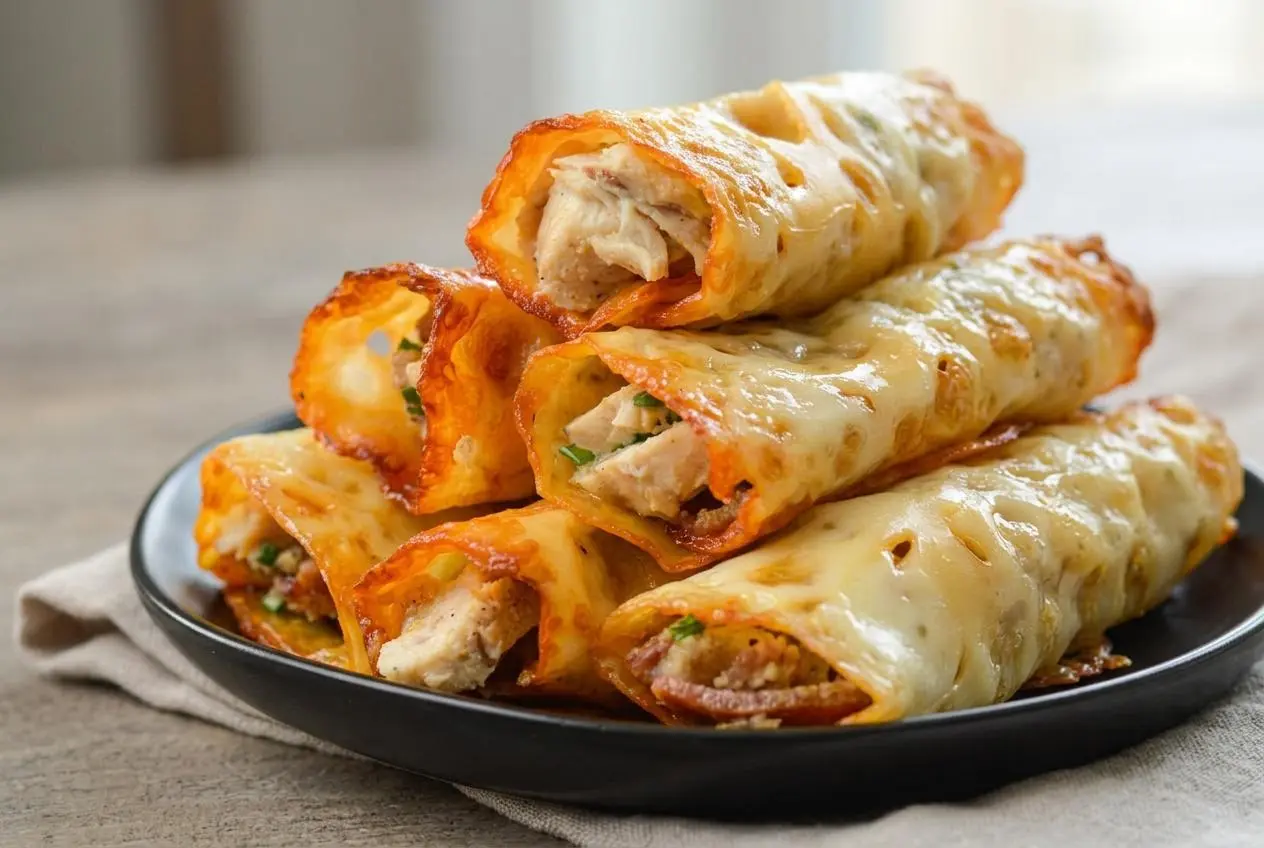
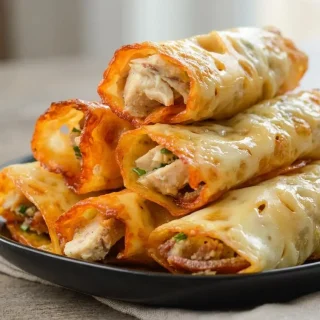
Keto chicken bacon ranch taquitos use baked mozzarella slices instead of tortillas, wrapped around cooked chicken, bacon, ranch, and green onion. For golden, crisp shells, bake until the edges brown, then let the cheese become warm and bendable before rolling.
These cheese-wrapped taquitos bring smoky bacon and creamy ranch together in a handheld bite. The mozzarella does double duty, adding savory flavor while holding the filling snugly inside.
With cooked chicken and bacon ready to go, you can focus on the part that matters most: catching the cheese between molten and firm. That golden edge is your cue.
Have the filling mixed and within reach before the cheese finishes baking so you can roll while the shells remain flexible.
Essential Ingredients for Cheese Taquitos
Mozzarella provides the shell and browned edges, chicken gives the filling substance, bacon adds smoky crunch, ranch binds everything with creamy herb flavor, and green onion brings freshness to balance the richness.
- 6 slices mozzarella cheese
- 1 ½ cups cooked shredded or grilled chicken
- ¼ cup cooked bacon (2-3 slices cooked)
- 1 tablespoon low carb ranch dressing
- 1 teaspoon green onion (chopped)
Selecting the Best Cheese for Rolling
Choose evenly cut mozzarella slices rather than fresh mozzarella packed in liquid. Consistent thickness helps the centers soften while the edges brown. Very thin slices can turn brittle quickly; unusually thick slices may stay soft longer and release more oil.
A silicone baking mat provides a flexible, nonstick surface for lifting the warm cheese. It’s the preferred surface here over parchment or greased foil, which can make releasing delicate shells less predictable.
Poultry and Bacon Texture Essentials
Use fully cooked chicken, pulled into fine strands or cut into small pieces. Long strips and chunky cubes make rolling awkward and can poke through the shell. If you’re cooking chicken for the filling, baked chicken breast is a useful starting point.
Crumble the cooked bacon finely and drain away surface grease. Crisp pieces add contrast without bringing extra moisture into the filling.
I’d keep the chicken pieces smaller than you think you need; a compact filling is much easier to tuck into warm cheese.
Choosing Keto-Compliant Ranch Dressing
Check the ranch label for carbohydrate content, serving size, and added sugars rather than relying on the product name. A thick, herb-forward dressing coats the chicken without making the mixture wet. The chopped green onion adds a fresh onion bite, so don’t leave it behind in the mixing bowl.
How to Make the Keto Chicken Bacon Ranch Taquitos
The cheese should develop browned edges while retaining a flexible center. Keep an eye on texture as well as the baking time, since slice thickness and ovens vary.
- Stir the cooked chicken, cooked bacon, ranch dressing, and chopped green onion together in a bowl, then set the filling aside.
Aim for an evenly coated mixture with the bacon and onion distributed throughout. - Set the oven to 350°F and cover a large baking sheet with a silicone baking mat.
The mat should lie flat so the melting cheese stays level. - Arrange the mozzarella in separate slices across the mat and bake for 5–7 minutes.
Leave gaps wide enough that the spreading cheese won’t join into one sheet. - Take the tray out once bubbling covers the cheese and the edges turn brown, then let it rest for about 1 minute.
The shells should lift and bend without flowing like liquid, but still feel warm and supple. - Position filling along one edge of each shell, curl the cheese around it into a snug roll, and rest each taquito on its seam.
Keep the filling tucked inside so the overlapping cheese can hold the roll closed.
During the brief rest, the cheese shifts from a loose melt to a flexible sheet. Test an edge gently with a thin spatula: it should peel from the mat and bend rather than stretch into strings or snap.
Troubleshooting Texture, Cracking, and Grease
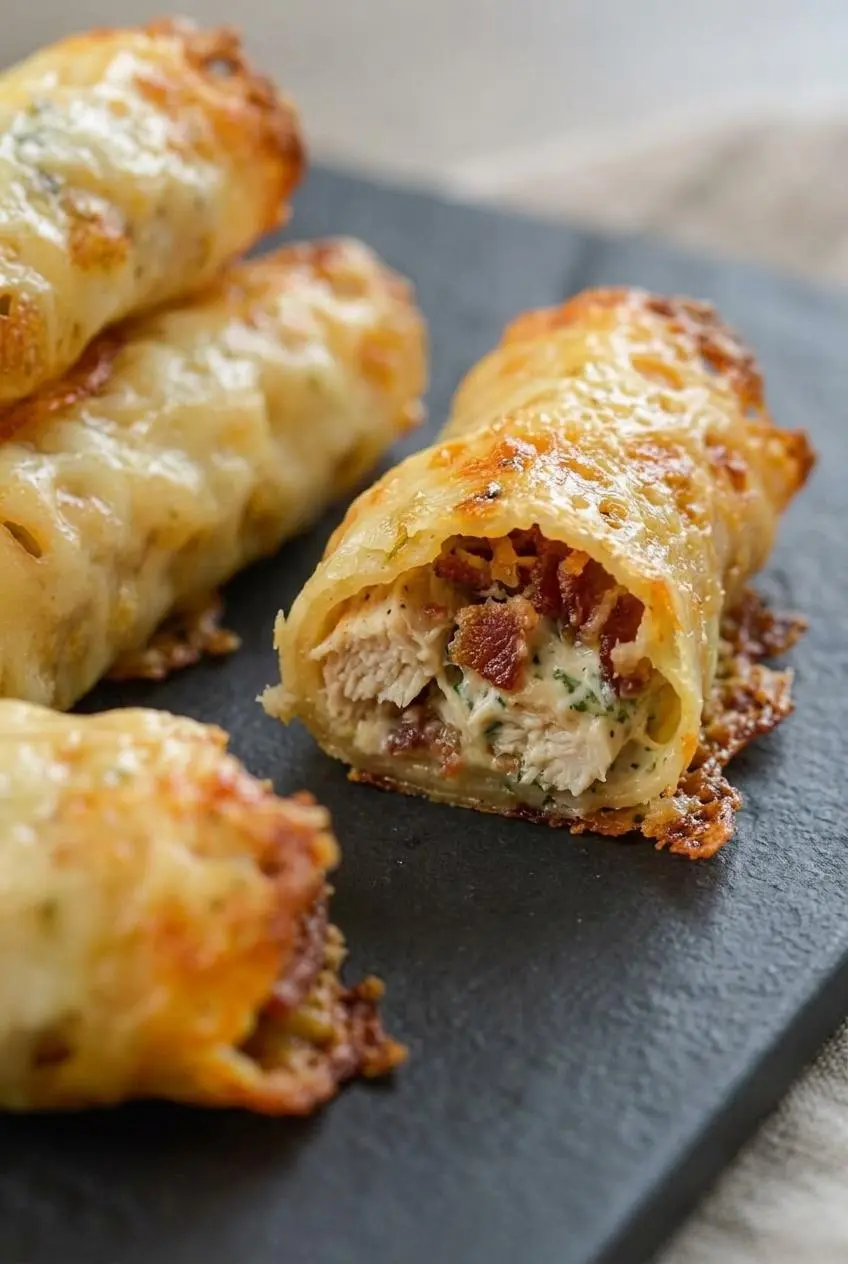
Most shell problems come from rolling temperature, uneven baking, or filling that’s too bulky.
- Cracking: The cheese likely cooled past the flexible stage. Return the tray briefly to the warm oven and check for softness, rather than repeatedly melting and cooling it.
- Runny shells: The cheese is still too hot to hold its shape. Pause until an edge lifts as a sheet before adding filling.
- Chewy centers: Thick slices or insufficient browning can leave the shell soft. Watch for bubbling and golden, lacy edges instead of removing pale cheese solely because the timer ends.
- Oil pooling: Cheese releases fat as it bakes, and greasy bacon can add more. Drain the bacon before mixing and avoid baking the shells beyond their browned-edge stage.
- Filling escaping: A bulky mound prevents a tight overlap. Spread the filling into a narrow line, leave the ends clear, and keep each finished roll seam-side down.
Flavor Variations and Cheese Alternatives
Keep these optional changes separate from the mozzarella version. Different cheeses can brown and firm at different rates, so use the same texture cues rather than assuming identical results.
Pepper Jack Spicy Taquitos
- Pepper jack slices: Swap them for mozzarella for a creamy shell with peppery heat.
- Diced pickled peppers: Drain them well before adding to the filling for tang and spice without excess liquid.
- Sharp or smoked cheddar: Try either for a stronger cheese flavor, watching carefully as the edges brown.
- Buffalo-style filling: Add a little cayenne hot sauce for a tangy contrast to ranch, keeping the mixture coated rather than watery.
For another spicy rolled appetizer, buffalo chicken pinwheels offer a different way to serve that chicken-and-ranch flavor combination.
Low-Carb Tortilla Option
Commercial low-carb tortillas offer a softer, more familiar wrapper for the filling. Check the package nutrition against your dietary needs. This changes the cheese-shell method, so follow the tortilla’s handling directions rather than treating the mozzarella baking instructions as a tortilla recipe.
Storage, Make-Ahead Prep, and Re-Crisping Methods
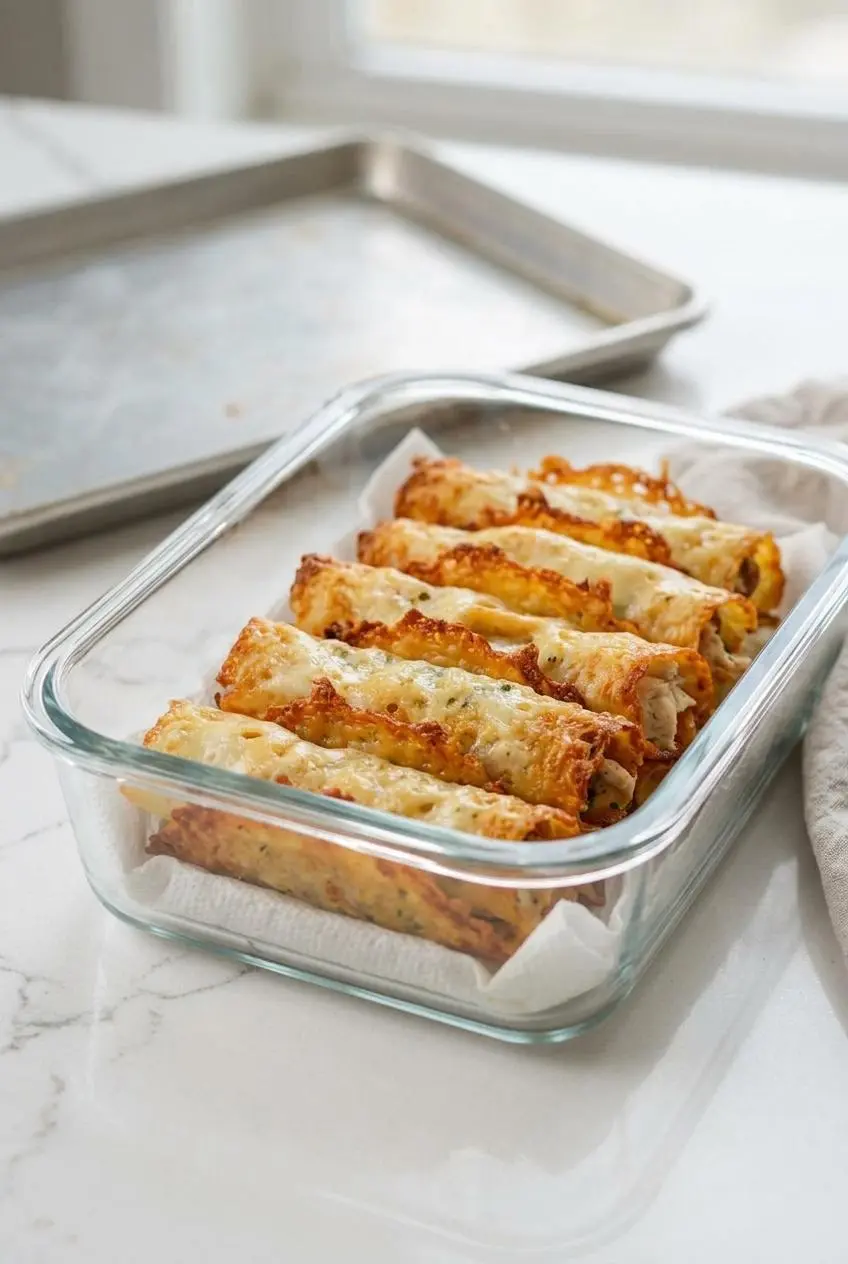
Keeping moisture away from the shell matters more for texture than assembling everything early.
Refrigeration and Meal Prep Tips
For prep, keep the cooked filling covered and chilled separately from the cheese slices, then bake and roll the shells near serving time. The filling-first sequence makes this easier than storing fully assembled rolls.
Refrigerate leftovers promptly in an airtight container. A paper towel underneath can absorb surface oil and moisture. Store dips and fresh garnishes separately, and avoid leaving the chicken-filled rolls on the counter while waiting for the shells to become completely cold.
Oven and Air Fryer Re-Crisping
An oven, toaster oven, or air fryer can help restore firmness with dry heat. Arrange the rolls seam-side down with space between them, watch for renewed sizzling at the edges, and heat the filling through. Stop before the cheese spreads or darkens excessively.
The microwave tends to soften the shell rather than crisp it. Reheating also won’t necessarily recreate the texture of freshly rolled taquitos. Keep the oven method for making the shells; an air fryer works here as an optional reheating appliance, not a direct baking conversion.
Serving Suggestions and Low-Carb Dip Pairings
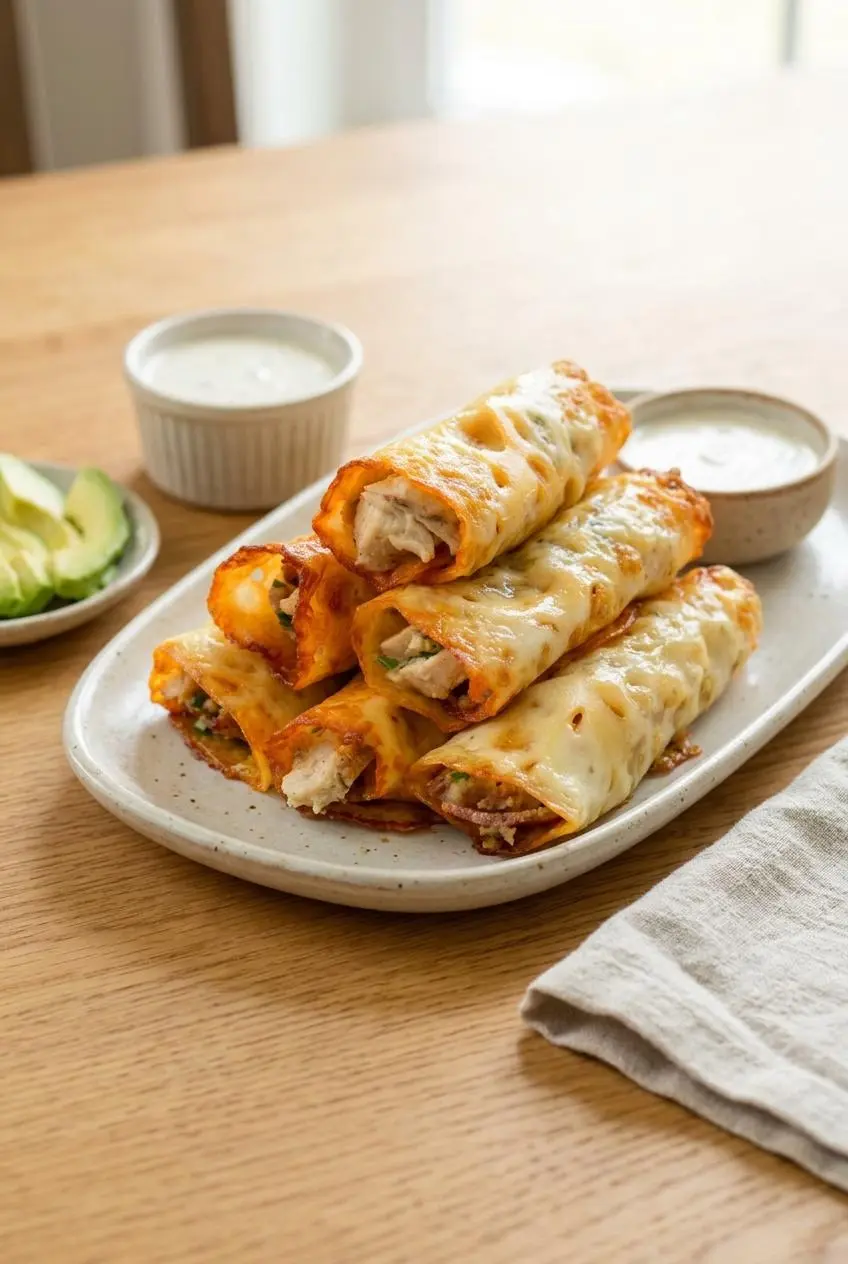
Serve the taquitos warm with cool, fresh accompaniments to balance their rich filling.
- Dipping platter: Offer ranch, sour cream, chipotle sour cream, or guacamole, checking packaged sauces for added sugars.
- Lunch plate: Add avocado wedges, shredded lettuce, sliced scallions, and lime wedges.
- Game-day spread: Pair with celery sticks and crispy chicken wings, keeping the dips alongside rather than poured over the shells.
Enjoying Homemade Crispy Keto Taquitos
Bubbly cheese, browned edges, and a warm, bendable center are the milestones to watch. Catch that rolling window and the shell can wrap snugly around the creamy, smoky filling.
Choose a cool dip or a spicy variation to suit your table. For the best texture, have everything ready and enjoy the rolls while their edges still have crunch.
Frequently Asked Questions About Keto Taquitos
Can I Use Shredded Cheese Instead of Sliced Cheese?
Yes, shredded mozzarella can form flat rounds on the silicone mat. Slices make thickness more consistent; shredded rounds need careful attention to even spreading and the same bubbling, browned-edge cues.
How Do You Keep Keto Cheese Taquitos Crispy When Reheated?
Use dry heat from an oven, toaster oven, or air fryer, leaving space between the rolls. Avoid microwaving when crispness matters, and watch closely so the shell doesn’t melt apart.
Why Did My Cheese Shell Crack When I Rolled It?
It probably cooled too much before rolling and became firm. Briefly soften it in the warm oven, then roll while it bends easily without tearing.
Are These Taquitos Suitable for Strict Ketogenic Diets?
They use cheese shells and low-carb ranch, but whether they fit your plan depends on your ingredients and portion size. Check product labels and calculate the finished recipe with the brands you use rather than assuming a guaranteed dietary fit.
How Can I Protect the Texture of Leftovers?
Keep the rolls chilled in an airtight container with dips stored separately. Use the dry-heat reheating approach above, and expect some texture difference from freshly made shells.
Keto Chicken Bacon Ranch Taquitos

Equipment
- Large baking sheet
- Silicone baking mat
- Mixing bowl
- Thin spatula
Ingredients
- 6 slices mozzarella cheese
- 1 ½ cups cooked shredded or grilled chicken
- ¼ cup cooked bacon (2-3 slices cooked)
- 1 tablespoon low carb ranch dressing
- 1 teaspoon green onion (chopped)
Instructions
- Stir the cooked chicken, cooked bacon, ranch dressing, and chopped green onion together in a bowl, then set the filling aside. Aim for an evenly coated mixture with the bacon and onion distributed throughout.
- Set the oven to 350°F and cover a large baking sheet with a silicone baking mat. The mat should lie flat so the melting cheese stays level.
- Arrange the mozzarella in separate slices across the mat and bake for 5-7 minutes. Leave gaps wide enough that the spreading cheese won’t join into one sheet.
- Take the tray out once bubbling covers the cheese and the edges turn brown, then let it rest for about 1 minute. The shells should lift and bend without flowing like liquid, but still feel warm and supple.
- Position filling along one edge of each shell, curl the cheese around it into a snug roll, and rest each taquito on its seam. Keep the filling tucked inside so the overlapping cheese can hold the roll closed.