Make pillowy keto marshmallows by blooming gelatin in cold water, adding hot allulose or xylitol syrup, and whipping until thick and glossy. Spread the fluff into a greased pan, then let it cure uncovered at room temperature for chewy squares with a gentle bounce.
This keto marshmallows recipe makes homemade vanilla confections without conventional sugar or corn syrup. Gelatin gives them their springy structure, while the sweetener you choose affects their fluffiness, setting speed, and performance when toasted.
Enjoy them as soft vanilla bites, float them in hot cocoa, or tuck them into chocolatey s’mores. The method needs your attention once the syrup is hot, but the texture cues make it manageable. Watch for those shape-holding peaks.
Prepare the pan before heating the syrup so the finished fluff has somewhere to go immediately.
Essential Ingredients for Fluffy Keto Marshmallows
Gelatin supplies bounce, water hydrates it and dissolves the sweetener, and vanilla and salt balance the sweetness. Chocolate, graham crackers, and raspberry chia jam add contrasting richness, crunch, and fruit flavor when serving.
- 1/2 cup cold water
- 3 tablespoons gelatin (preferably grass-fed)
- 2/3 cup water
- 2/3-2 cups xylitol (or allulose (we use 1 cup for xylitol & 1 1/3 cup for allulose)*)
- 1/4 teaspoon kosher salt
- 2 teaspoons vanilla extract
- dark chocolate (such as Lily’s)
- keto graham crackers
- raspberry chia jam
Use unflavored gelatin powder. Blooming lets the granules absorb cold water before the hot syrup dissolves them, helping you avoid chewy gelatin lumps. Grass-fed gelatin is a sourcing preference; the gelatin’s setting ability supplies the structure.
Allulose produces a fluffier mixture here. Xylitol also makes light, firm marshmallows, but the whipped mixture sets faster, leaving less time to transfer it into the pan. The sweetener line includes a range for sweetness preference and suggested amounts for each option.
Pure erythritol is a poor substitute for this formula because it can recrystallize as it cools, creating a sandy texture. Check monk fruit blend labels carefully: a blend built primarily on erythritol behaves differently from allulose, regardless of the monk fruit name on the package.
Vanilla provides the familiar marshmallow aroma. Salt rounds out the sweetness without making the finished candy taste salty. Chocolate, crackers, and jam belong to the serving possibilities rather than the whipped gelatin mixture.
How to Make Keto Marshmallows Step by Step
This recipe yields 25 large marshmallows. Have the measured ingredients, saucepan, mixer, and prepared pan within reach before starting; once you combine the syrup and gelatin, keep moving through the method.
- Measure everything before beginning and reserve 20 minutes of uninterrupted working time for the hot-syrup and whipping stages.
The setup should let you move between the saucepan, mixer, and pan without stopping to find ingredients. - Fit a stand mixer with its whisk attachment, or ready a handheld electric mixer, then line a 9×9-inch pan with foil and coat the foil thoroughly with coconut oil.
An evenly greased lining helps the cured slab release without tearing. - Scatter the gelatin over the 1/2 cup cold water in the mixer bowl or a large glass bowl, combine with a fork, and leave it to hydrate for 10 minutes while preparing the syrup.
The granules should absorb the water and form a swollen, gel-like mixture. - Heat the 2/3 cup water and your chosen xylitol or allulose in a saucepan over medium heat, adding the sweetener in the center and gently shaking the pan rather than stirring.
When the sweetener has dissolved, maintain a rolling boil for about 2 minutes; an optional thermometer reading is approximately 210°F/100°C. - Run the mixer at low speed to loosen the hydrated gelatin, then promptly add the hot syrup into the gelatin mixture while avoiding the bowl walls and moving whisk.
The heat should dissolve the gelatin, leaving a loose mixture ready to aerate. - Raise the mixer to high and whip continuously for about 15 minutes, adding the salt around minute 8 and the vanilla around minute 12.
The foam should become thick and glossy, hold its shape, and leave a glass bowl feeling only mildly warm; the xylitol version will have less volume than the allulose version. - Stop mixing and immediately transfer the fluff into the prepared pan, spreading it without pausing to scrape every trace from the whisk.
Xylitol fluff firms especially quickly, so prioritize getting the main batch into the pan. - Leave the pan uncovered at room temperature for 6 hours or preferably overnight, then lift out the slab and slice it with a greased knife.
The marshmallow should feel set and offer gentle resistance when pressed rather than spreading like wet foam.
During whipping, watch the mixture change from loose bubbles into a finer, denser foam. Thick trails from the whisk should linger instead of disappearing immediately. A glossy appearance alone isn’t enough: the mixture also needs to hold its shape.
A stand mixer makes sustained whipping more comfortable, but a capable handheld mixer works too. Keep the beaters moving through the mixture and use a bowl large enough for its expanding volume.
I’d use the shape-holding texture as the final check, rather than stopping simply because the mixture has turned white.
Dietary Context and Sweetener Selection
The practical difference between these sweeteners starts with texture, not a promise about metabolism. Choose allulose for greater fluffiness or xylitol for a firmer, faster-setting mixture.
Xylitol is a sugar alcohol; allulose is a different type of sweetener. If you track carbohydrates, use the specific product label and your usual tracking method rather than automatically treating every alternative sweetener alike. No verified net-carb calculation is provided for these marshmallows, and serving additions change the totals.
The marshmallow mixture contains no eggs or dairy ingredients, but gelatin makes it unsuitable for a vegan diet. Check labels on extracts, chocolate, crackers, and other additions if you need to avoid a particular allergen.
Keep xylitol and xylitol-containing marshmallows away from pets, especially dogs. Xylitol poisoning is a serious concern for dogs. Keep ingredients, finished candy, and scraps out of reach, and contact a veterinarian promptly if a pet may have eaten them. Don’t assume another sweetener makes homemade candy appropriate for cats or dogs.
If alternative sweeteners don’t agree with you, start with a modest serving and seek individualized advice when needed. This recipe doesn’t establish a digestive tolerance threshold or guarantee a particular blood sugar response.
Troubleshooting Texture, Moisture, and Setting Issues
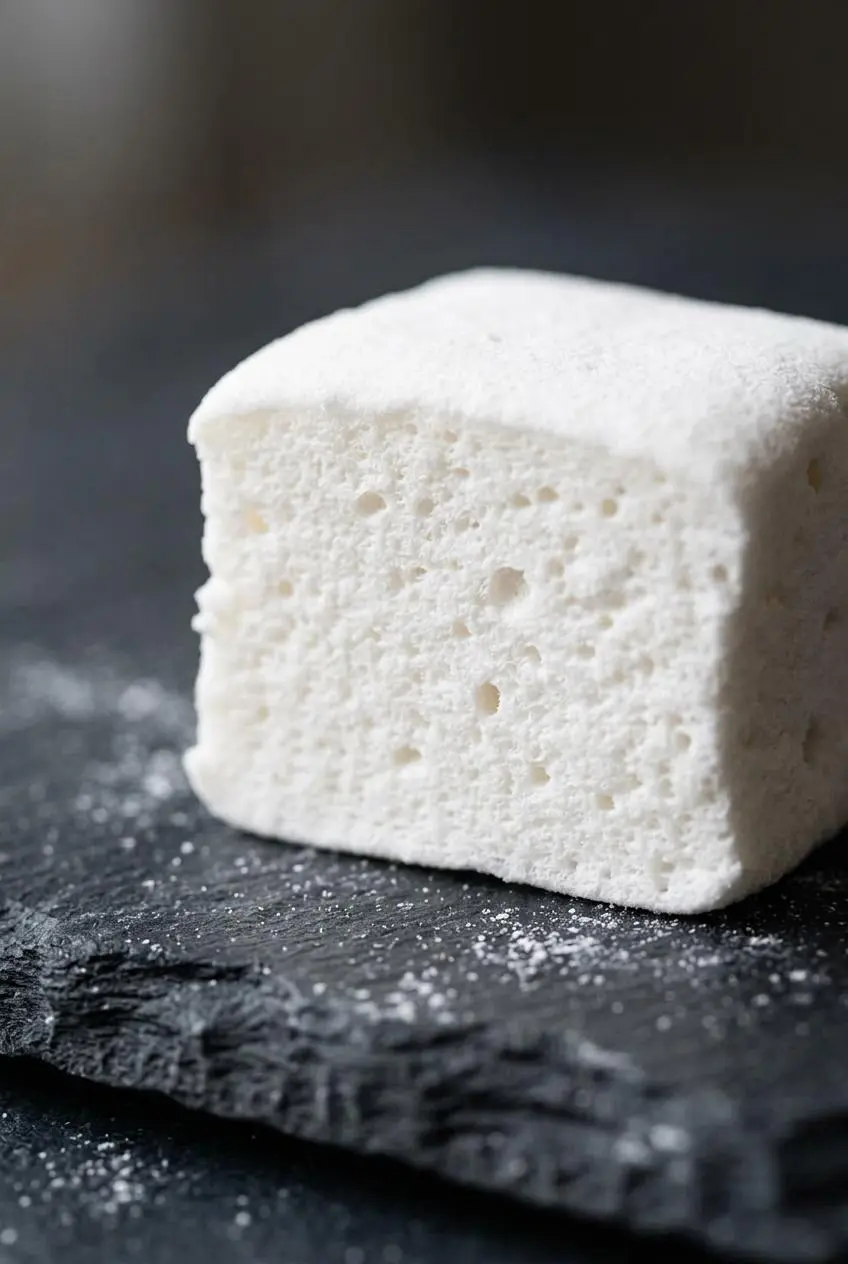
Texture problems usually point to sweetener choice, insufficient whipping, or moisture exposure. Match the symptom to the likely cause before changing anything.
- Grainy or crunchy candy: An erythritol-heavy sweetener can recrystallize after cooling. For the next batch, use the listed allulose or xylitol rather than trying to hide the grit with extra flavoring.
- Dense marshmallows: Stopping while the foam is still loose leaves less air in the gelatin structure. Continue whipping toward thick, shape-holding peaks rather than using color as the stopping cue.
- Wet or sweating surfaces: Humidity and enclosing the slab before curing can trap moisture. Cure uncovered in the coolest, driest suitable room, away from steam-producing cooking, rather than using the refrigerator to speed setting.
- Fluff firming in the bowl: Cooling gelatin, especially with xylitol, reduces your transfer window. If the mixture is still spreadable, move it into the pan immediately; no dependable remelting procedure is established here for fully set fluff.
- Torn edges when cutting: A sticky blade drags through the sponge. Apply a thin film of coconut oil, make deliberate cuts, and wipe away buildup before lightly greasing the blade again.
- Sticky cured squares: Warm, humid conditions can leave the surface tacky. Keep them away from moisture and use a light powdered-sweetener dusting if needed instead of wetting the candy.
Don’t add water to rescue stiffened fluff. It changes the gelatin-to-liquid balance and may leave the finished marshmallows softer than intended. Preparing the pan first is the most useful prevention.
Creative Flavor Infusions and Low-Carb Variations
Keep flavor experiments optional and restrained. Finishes and concentrated flavorings are better candidates than generous additions of liquid, which can interfere with the marshmallow’s structure.
Vanilla Bean Campfire Cubes
Vanilla bean seeds offer a deeper vanilla aroma and tiny speckles. Treat them as an optional flavor accent, not a change to the gelatin or syrup proportions. Despite the campfire name, these cubes still need gentle, controlled heat when toasted.
- Cinnamon: A light finish adds warmth without changing the whipped mixture.
- Pumpkin pie spice: An optional dusting gives the vanilla cubes a fall-inspired flavor.
- Gingerbread spices: A restrained finish adds aromatic spice while keeping the marshmallow flavor recognizable.
Rich Cocoa Dusted Marshmallows
An optional light coating of unsweetened cocoa gives the surface a bittersweet contrast and helps tame tackiness. Cocoa can taste dry if applied heavily, so aim for a delicate finish rather than a thick layer.
A little espresso powder in an optional cocoa finish creates a mocha direction. For a candy tray, serve the finished cubes alongside homemade keto Twix bars for contrasting chewy and crunchy textures.
Fruit Swirl Berry Marshmallows
A restrained swirl of concentrated, strained berry puree is an optional marbled variation before setting. Avoid a watery puree or a generous pour: extra moisture can soften the structure, and this variation doesn’t have a tested quantity here.
For a more predictable result, serve the vanilla marshmallows with the listed raspberry chia jam rather than mixing fruit into the fluff. You’ll still get the sweet-tart contrast without altering the setting mixture.
How to Toast, Melt, and Serve Keto Marshmallows
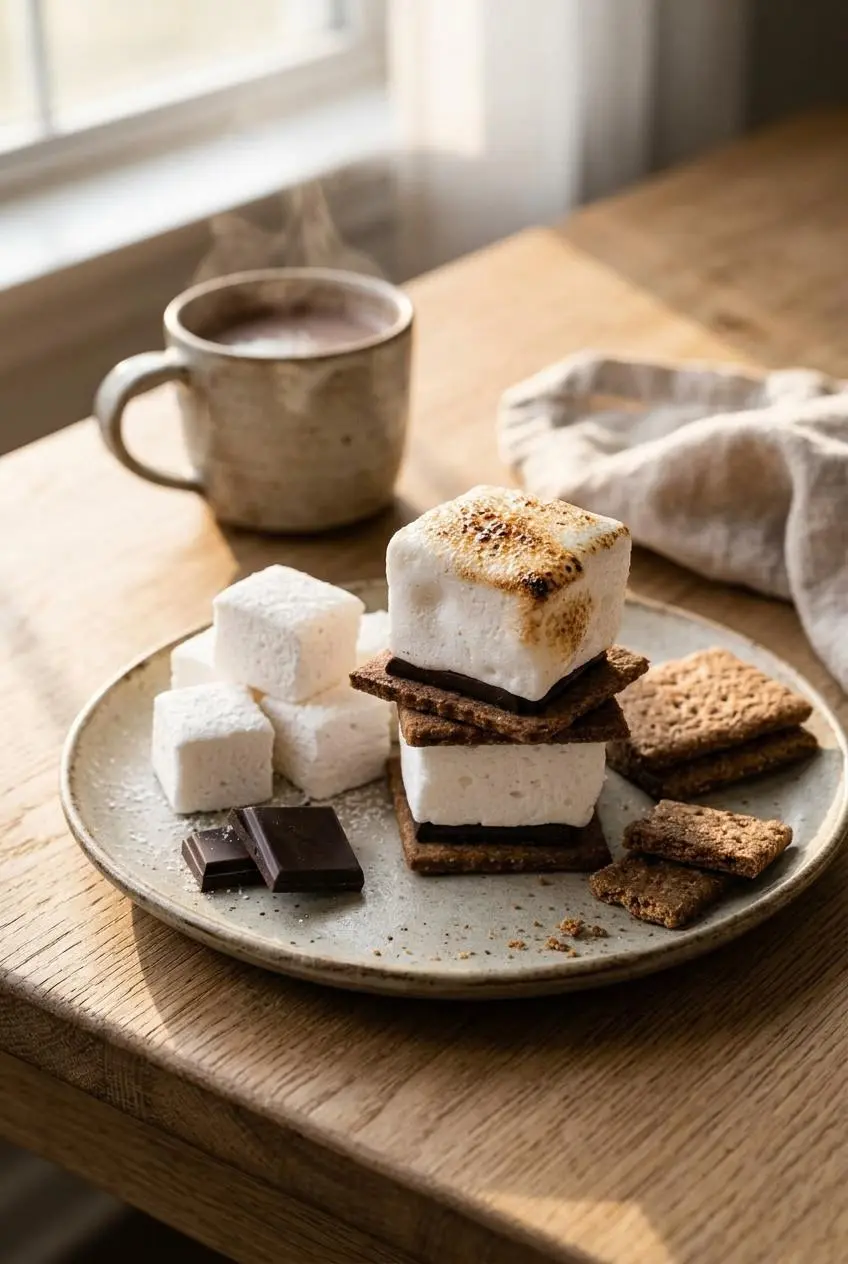
Expect these marshmallows to soften readily under heat. Their browning and melting behavior won’t match conventional sugar marshmallows exactly.
Allulose is the better choice when browning matters; xylitol won’t develop the same caramelized surface. A culinary torch gives you more control than an open flame, but either version can slump before you achieve a deeply toasted exterior.
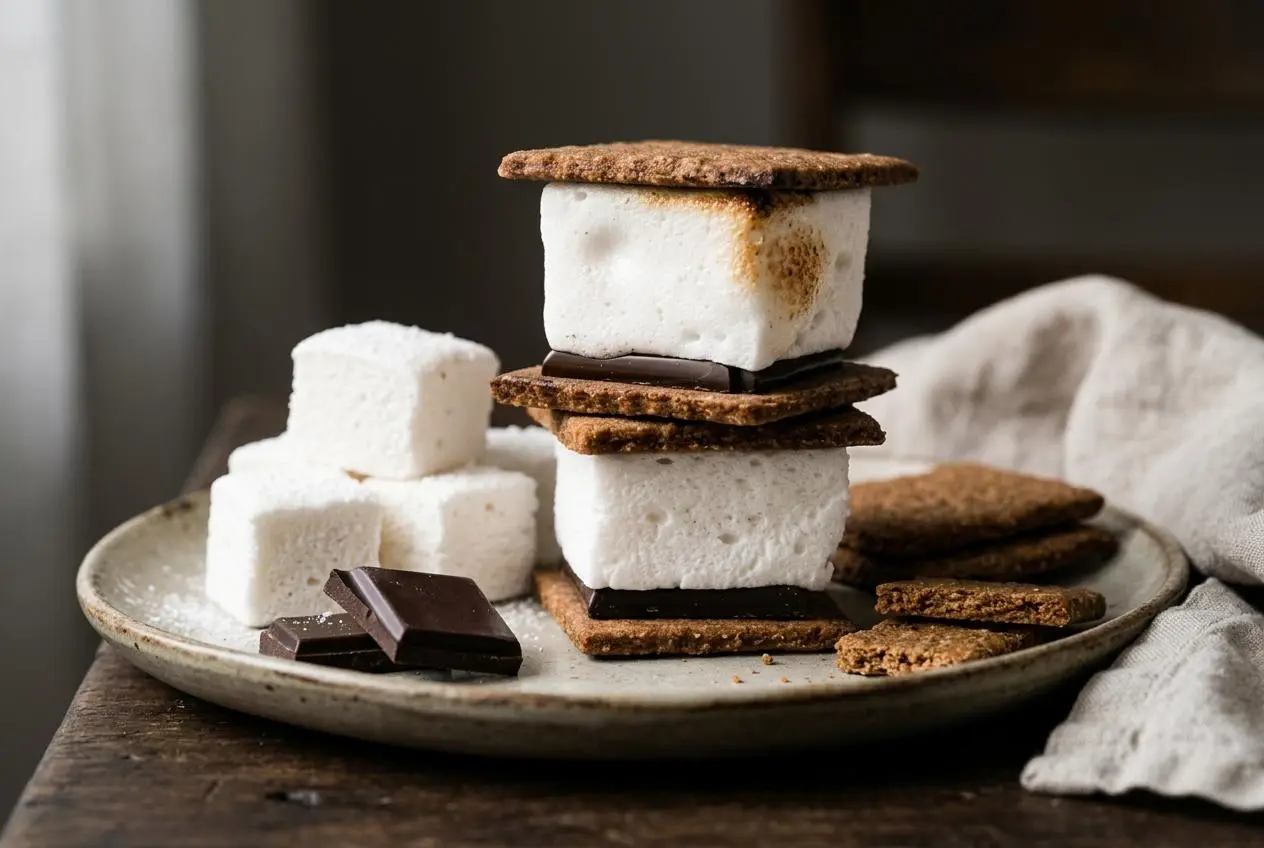
- For s’mores: Place a cured marshmallow on a heatproof surface and use brief, moving passes with a culinary torch, stopping when it begins to soften or color; assemble with dark chocolate and keto graham crackers.
- For campfire serving: Hold the marshmallow well above the embers, away from direct flames, and remove it as soon as it softens.
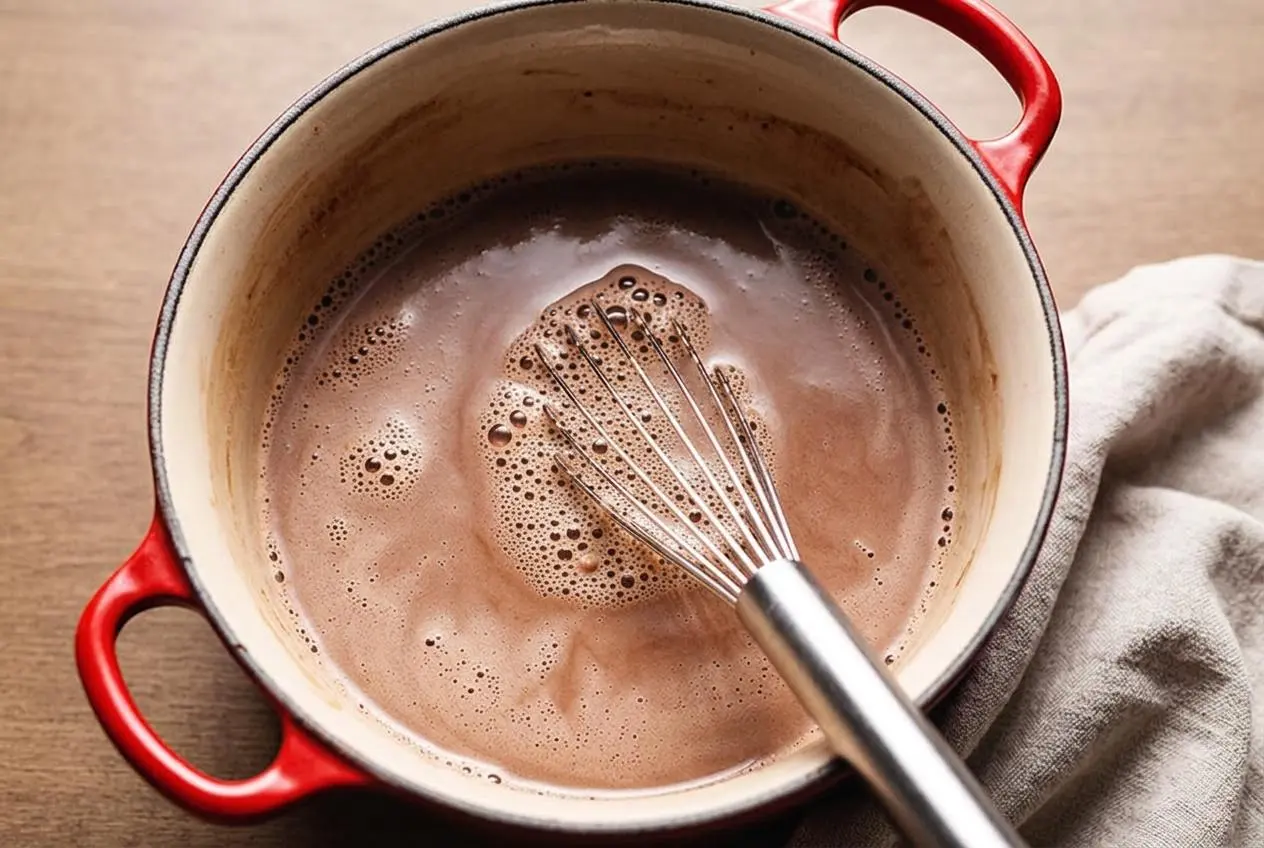
- For hot drinks: Float a cube on hot cocoa or coffee and enjoy the contrast as its edges soften into the drink.
- For a chocolate dessert: Add a softened or lightly toasted cube to fudgy keto brownies for a s’mores-inspired topping.
Storage, Curing, and Meal Prep Solutions
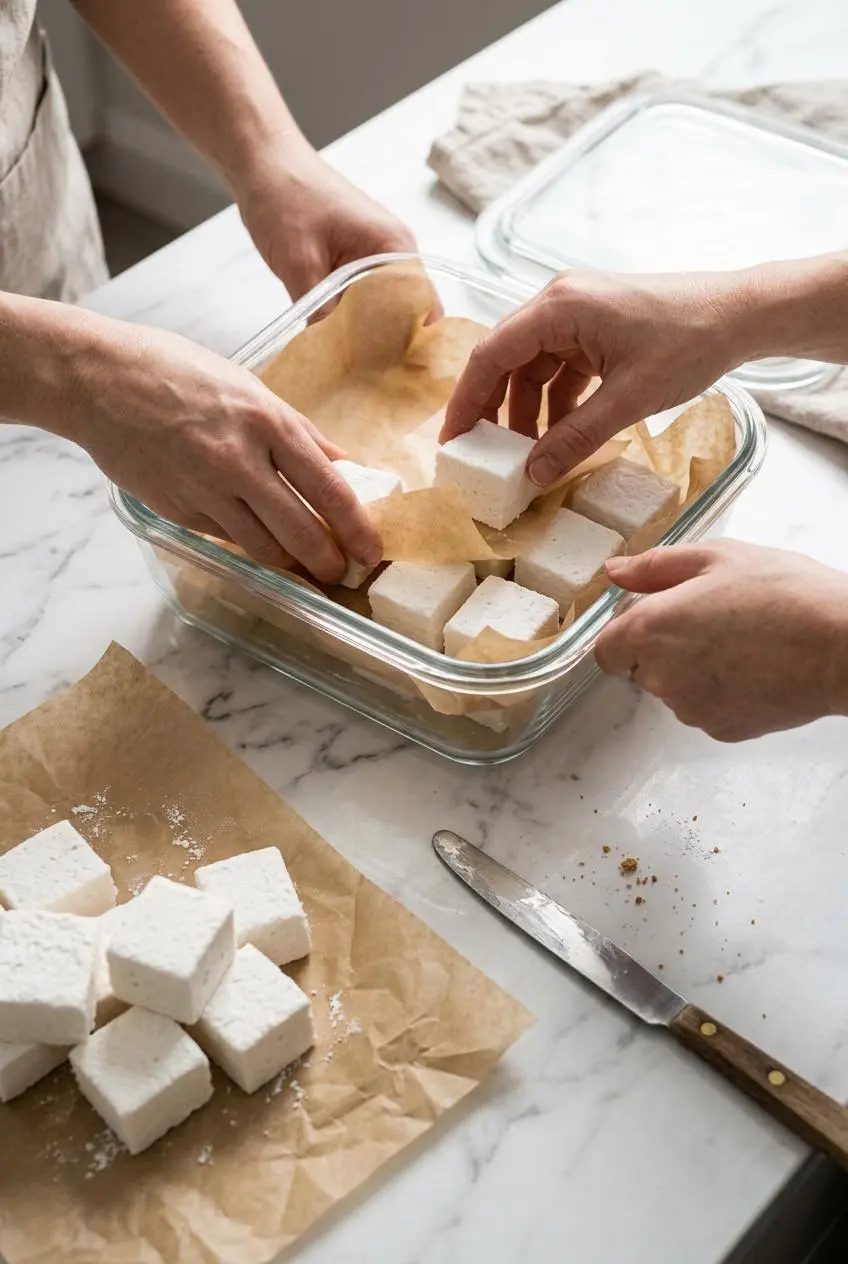
Curing and storage serve different purposes. The uncovered rest lets the slab firm and its surface dry; enclosing it too soon traps moisture against the candy.
Once the marshmallows have cured and you’ve cut them, place them in an airtight container in a cool, dry location. Separate layers with parchment so the cut surfaces don’t press together. Keep serving additions separate until you assemble the dessert.
Prepare the marshmallows with enough room in your schedule for the full curing stage. The active method is only part of the process, so they aren’t ready to slice immediately after whipping.
For longer storage, the cured marshmallows can go into the freezer in a closed, freezer-suitable container with parchment between layers. No verified freezer duration or thawing schedule is provided, and the texture may change. Avoid promising an unchanged fresh-batch bounce.
Enjoying Homemade Sugar-Free Marshmallows
Well-hydrated gelatin, the right sweetener, and thorough whipping turn the mixture into soft vanilla squares with a pleasantly chewy bounce. Let the texture cues guide you, especially before transferring the fluff.
Keep the first batch classic, then try a cocoa finish or your favorite chocolate pairing. A prepared pan and an unrushed curing stage make the final slicing much more satisfying.
Frequently Asked Questions About Keto Marshmallows
Can Keto Marshmallows Be Roasted Over a Campfire?
Yes, but they soften readily and may slide off before developing much color. Keep them above the embers rather than in direct flames; a culinary torch offers more control. Allulose gives better browning potential than xylitol.
What Is the Best Keto-Friendly Sweetener for Making Marshmallows?
Allulose is the first choice here for a fluffier texture and better browning potential. Xylitol also works, but produces less volume and sets faster. Avoid replacing either with pure erythritol or an erythritol-heavy monk fruit blend if you want to minimize graininess.
Why Are My Homemade Keto Marshmallows Sweating or Melting?
Humidity, trapped moisture, or insufficient whipping can leave them wet or weakly structured. Cure the slab uncovered at room temperature rather than chilling it to rush the setting stage. Move cured marshmallows away from heat and steam, then store them as described above.
Can I Make Keto Marshmallows Using a Handheld Electric Mixer?
Yes, a handheld electric mixer is an option for this method. Use a large glass bowl and sustain the whipping until the mixture becomes thick and shape-holding. A stand mixer is more comfortable for continuous mixing, but isn’t required.
Are Homemade Keto Marshmallows Safe for Household Pets?
Don’t offer these marshmallows to pets, particularly when they contain xylitol. Keep both versions out of reach rather than assuming allulose candy is pet-friendly. If a dog or cat eats them, contact a veterinarian and identify the sweetener used.
Keto Marshmallows Recipe

Equipment
- Stand mixer or handheld electric mixer
- Whisk attachment
- 9×9-inch pan
- Saucepan
- chef’s knife
Ingredients
- 1/2 cup cold water
- 3 tablespoons gelatin preferably grass-fed
- 2/3 cup water
- 2/3-2 cups xylitol or allulose (we use 1 cup for xylitol & 1 1/3 cup for allulose)*
- 1/4 teaspoon kosher salt
- 2 teaspoons vanilla extract
- dark chocolate such as Lily’s
- keto graham crackers
- raspberry chia jam
Instructions
- Measure everything before beginning and reserve 20 minutes of uninterrupted working time for the hot-syrup and whipping stages. The setup should let you move between the saucepan, mixer, and pan without stopping to find ingredients.
- Fit a stand mixer with its whisk attachment, or ready a handheld electric mixer, then line a 9×9-inch pan with foil and coat the foil thoroughly with coconut oil. An evenly greased lining helps the cured slab release without tearing.
- Scatter the gelatin over the 1/2 cup cold water in the mixer bowl or a large glass bowl, combine with a fork, and leave it to hydrate for 10 minutes while preparing the syrup. The granules should absorb the water and form a swollen, gel-like mixture.
- Heat the 2/3 cup water and your chosen xylitol or allulose in a saucepan over medium heat, adding the sweetener in the center and gently shaking the pan rather than stirring. When the sweetener has dissolved, maintain a rolling boil for about 2 minutes; an optional thermometer reading is approximately 210°F/100°C.
- Run the mixer at low speed to loosen the hydrated gelatin, then promptly add the hot syrup into the gelatin mixture while avoiding the bowl walls and moving whisk. The heat should dissolve the gelatin, leaving a loose mixture ready to aerate.
- Raise the mixer to high and whip continuously for about 15 minutes, adding the salt around minute 8 and the vanilla around minute 12. The foam should become thick and glossy, hold its shape, and leave a glass bowl feeling only mildly warm; the xylitol version will have less volume than the allulose version.
- Stop mixing and immediately transfer the fluff into the prepared pan, spreading it without pausing to scrape every trace from the whisk. Xylitol fluff firms especially quickly, so prioritize getting the main batch into the pan.
- Leave the pan uncovered at room temperature for 6 hours or preferably overnight, then lift out the slab and slice it with a greased knife. The marshmallow should feel set and offer gentle resistance when pressed rather than spreading like wet foam.