 Skip to content
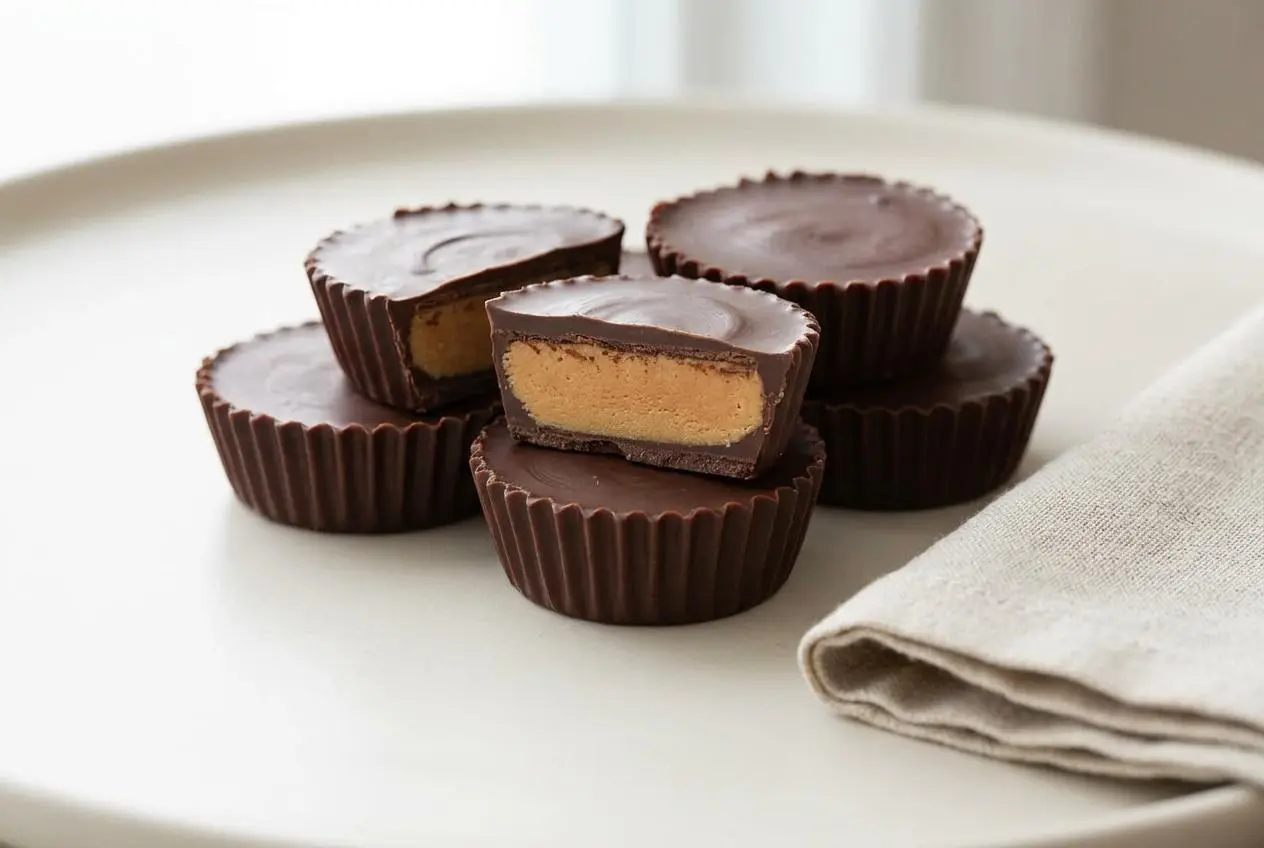
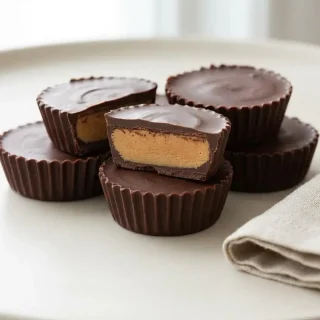
These keto peanut butter cups are an easy no-bake treat with a rich sugar-free chocolate shell and a creamy peanut butter center that sets up beautifully in the fridge.
Keto peanut butter cups taste like a homemade candy shop version of a classic favorite, with better control over sweetness, texture, and ingredients. They’re especially handy when you want a low-carb dessert that feels like a real treat.
The best part is how approachable they are. A few smart ingredient choices keep the filling smooth, the shell glossy, and the final cups firm enough to bite cleanly. That texture trick matters.
Set your silicone molds on a small tray before filling them so you can move them in and out of the freezer without wobbling chocolate everywhere.
Why You’ll Love These Homemade Keto Treats
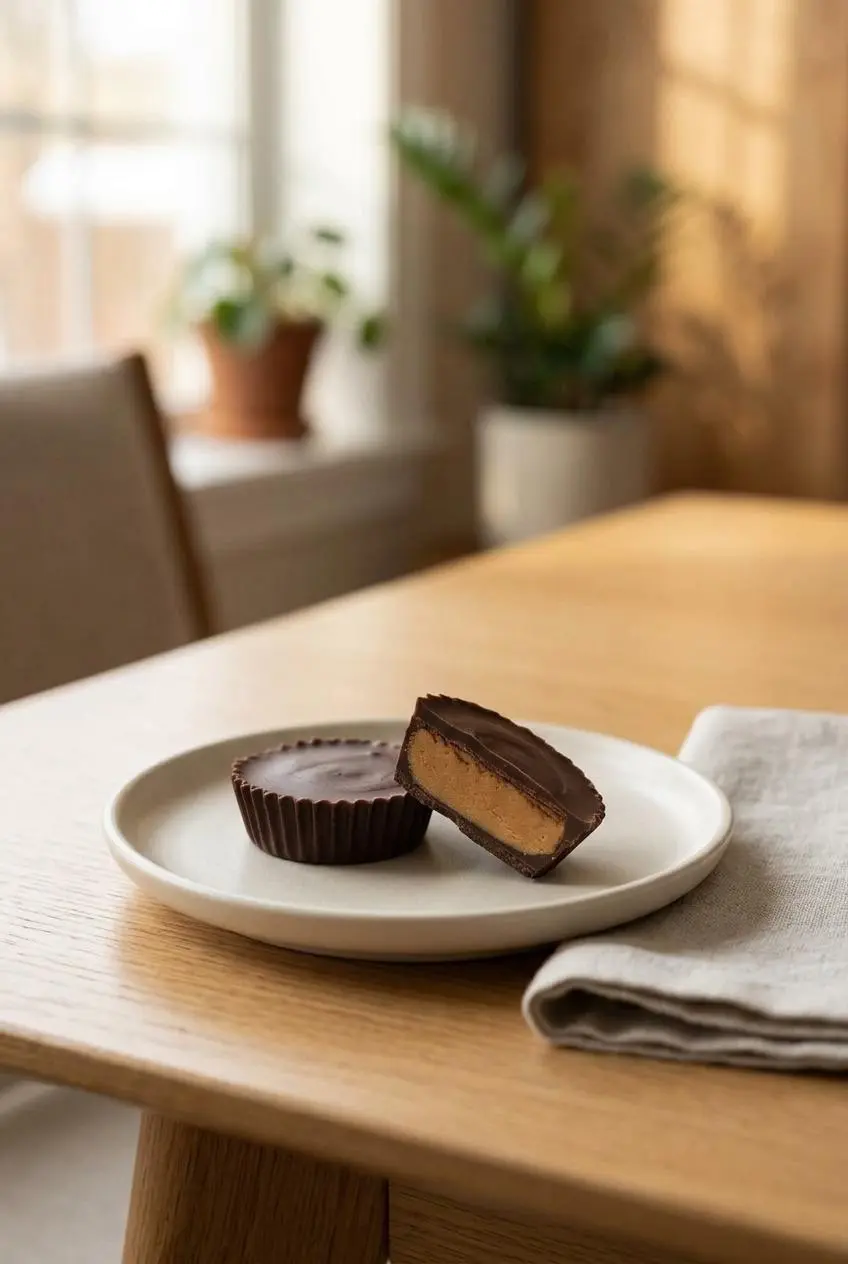
Making these at home is worth it for one big reason: control. You get to choose the chocolate, the peanut butter, and the sweetener, which means better flavor and none of the surprise sugar that can sneak into packaged candy.
The texture is a huge win too. The shell turns crisp and snappy once chilled, while the center stays creamy and nutty instead of chalky or overly sweet. If you’ve ever wanted a keto fat bomb that actually feels like dessert, this is the one.
They’re also easy to use beyond straight snacking. Serve one after dinner, keep a couple on hand for a quick sweet bite, or chop them over a bowl of keto ice cream when you want something a little extra.
Key Ingredients Explained
Each ingredient pulls its weight here, helping build a glossy shell, a creamy filling, and the firm texture that makes these cups taste like real candy instead of a rushed substitute.
Chocolate Coating
- 6 ounces sugar free dark chocolate (chopped)
- 1/2 ounce cocoa butter ((or 2 tsp coconut oil))
Peanut Butter Filling
- 1/2 cup peanut butter
- 2 tbsp butter
- 1/4 cup powdered Swerve Sweetener
- 1/2 tsp vanilla extract
The chocolate matters more than it looks. Sugar-free bars usually melt a bit more smoothly than chips because chips are often made to hold their shape, but either can work if the flavor is good and the carb count fits your needs. If you’re using dark chocolate instead of chips, choose one with a high cocoa content and check the label for hidden sugars.
Cocoa butter gives the shell a cleaner snap and a shinier finish. Coconut oil works too and helps thin the melted chocolate, so it spreads more easily up the sides of the molds. Cocoa butter tends to feel a little firmer once chilled, while coconut oil gives a slightly softer melt on the tongue.
For the filling, peanut butter should be unsweetened and free of added sugar. Natural peanut butter gives the best roasted flavor, but its oil level can vary from jar to jar. A thicker, well-stirred peanut butter makes a filling that holds its shape more neatly.
Sweetener choice also changes texture. Powdered erythritol blends well and keeps the filling structured, but it can feel cooler on the tongue. Powdered allulose usually tastes a little softer and smoother, while liquid monk fruit can help sweeten without adding grit. Granular sweeteners are the ones most likely to leave the filling sandy.
I always stir natural peanut butter really well before measuring, then scoop from the thicker part if the top of the jar looks oily.
How to Make Keto Peanut Butter Cups
- Melt the chopped chocolate with the cocoa butter in a heatproof bowl over barely simmering water, stirring until fully combined.
The mixture should look smooth and glossy, with no thick lumps or dull streaks. - Spoon a little more than half of the melted chocolate into the candy molds and use the back of a small spoon to coat the bottoms and sides.
A thin, even shell works best, and freezing it for 10 minutes keeps the filling from blending into the chocolate. - Heat the peanut butter and butter in a microwave-safe bowl in 30 second bursts on high, stirring between each burst until melted.
Once you whisk in the powdered sweetener and vanilla, the filling should look thicker, creamier, and more uniform. - Take the chilled chocolate shells out of the freezer and spoon in the peanut butter mixture, stopping just below the top edge.
Leave enough room for the final chocolate layer, then return the molds to the freezer for about 10 minutes so the layers stay distinct. - Warm the remaining chocolate gently if needed, then spread it over each filled cup and seal it to the sides.
Chill for 20 minutes, or until the tops are completely firm to the touch.
That pause between layers is what keeps the cups tidy. If the base shell is too soft, the filling presses right into it and the neat peanut butter center disappears.
Tips for Perfect, Creamy Peanut Butter Cups
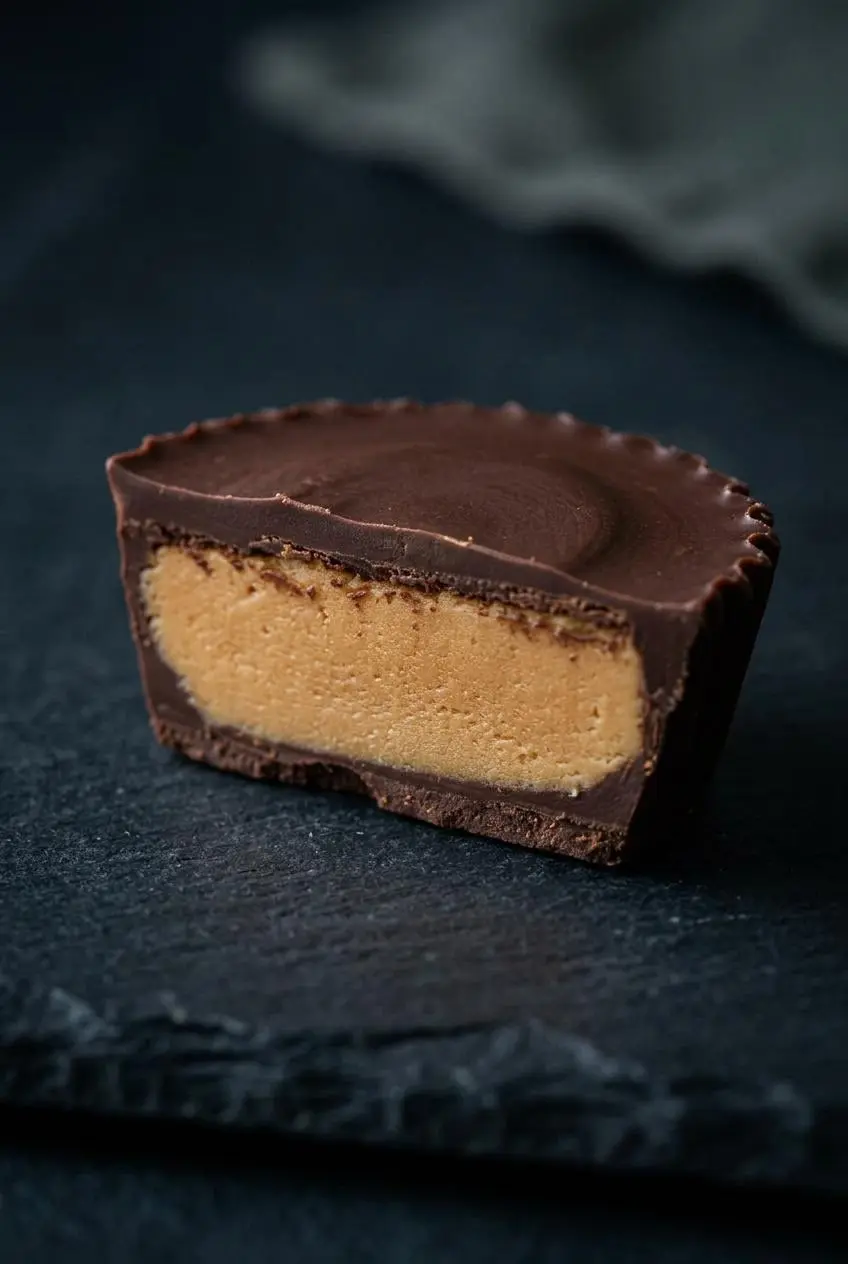
Most peanut butter cup problems come down to texture. A few small adjustments can keep the shell clean, the filling smooth, and the whole batch easy to unmold.
Choosing the Right Chocolate
Sugar-free chocolate bars and chips both work, but they behave a little differently.
- Bars usually melt more smoothly and give you an easier coating.
- Chips are convenient, but they can stay thicker as they melt.
- Cocoa butter helps the shell set firmer and adds a more classic candy snap.
- Coconut oil thins the chocolate nicely and is a good swap if you want a dairy-free shell.
If your melted chocolate seems heavy or hard to spread, it usually just needs a little patience and gentle heat. Don’t rush it.
Achieving a Smooth, Non-Gritty Filling
If you want the center to feel creamy instead of sandy, use powdered or liquid sweetener. Powdered Swerve works well here, powdered allulose gives a softer texture, and liquid monk fruit can help when you want sweetness without any grain at all.
- Problem: the filling feels grainy. Fix: switch from granular sweetener to a powdered or liquid keto sweetener.
- Problem: the filling looks oily. Fix: stir natural peanut butter thoroughly before measuring, or use the thicker peanut butter from the bottom of the jar.
- Problem: the filling is too loose to hold neatly. Fix: mix in a little coconut flour or powdered peanut butter until it firms up.
That last fix is especially useful with extra-runny natural peanut butter or with other nut butters that separate more easily.
How to Avoid Seized Chocolate
Seized chocolate turns thick, clumpy, and dull instead of silky. Usually that happens from too much heat or a bit of water getting into the bowl.
- Use a bowl that stays dry from start to finish.
- Keep the water under your double boiler at a gentle simmer, not a hard boil.
- Stir often and remove the bowl as soon as the chocolate is melted.
- If you use the microwave instead, work in short bursts and stir between each one.
Low, gentle heat is the whole game here. Chocolate likes calm treatment, which is relatable.
Recipe Variations to Try
Once you’ve made the basic version, it’s easy to tweak the flavor and texture without changing the core method.
Almond Butter or Other Nut Butters
Yes, you can swap the peanut butter. Almond butter makes a slightly toastier, milder filling, while cashew butter tastes softer and sweeter. Macadamia nut butter can be especially rich, though it may be looser.
The main thing to watch is oil content. Some nut butters are thinner than peanut butter, so the filling may need a little help to stay firm. If it looks glossy and loose after whisking, add a small amount of coconut flour or powdered peanut butter until it thickens enough to spoon cleanly.
Quick and Easy 3-Ingredient Version
If you want the fastest version possible, you can make these with sugar-free chocolate, peanut butter, and a powdered keto sweetener. Skip the vanilla and butter in the filling, and use the same layering method.
The result is still delicious, but the filling will taste a bit less rich and won’t whip up quite as creamy. It’s a great option when speed matters more than polish.
For a Little Crunch
Crunchy peanut butter is the easiest way to add texture. You can also fold chopped nuts, seeds, or cacao nibs into the filling for a more candy-bar feel.
If you want to turn them into a bigger dessert moment, chop one over a slice of keto cheesecake. That rich chocolate-peanut combination plays very nicely with creamy cheesecake.
If you don’t have sugar-free chocolate on hand, you can also make a from-scratch coating with cocoa powder, butter, and keto sweetener. The flavor is deeper and a bit more homemade in style, but it can be trickier to get perfectly smooth than melted chocolate bars or chips.
Storage and Freezing Guide
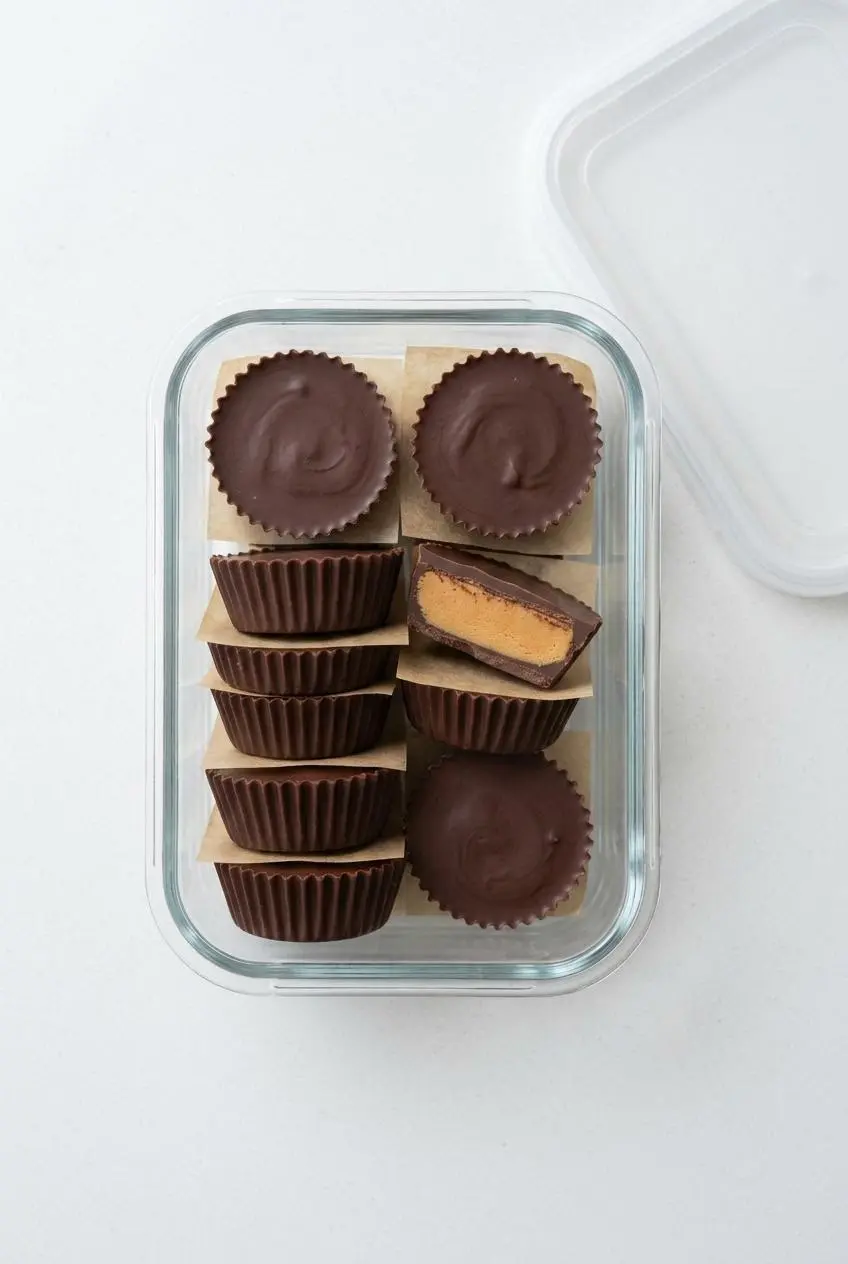
These cups need cold storage. The chocolate coating and filling both contain fats that soften quickly at room temperature, so they hold their shape best when kept chilled.
For the refrigerator, place the cups in an airtight container once fully set. Keep parchment between layers if you stack them so the tops stay neat and the chocolate doesn’t scuff.
You can also freeze them because the method already relies on freezing during assembly. Freeze the cups in a single layer first so they firm up cleanly, then transfer them to a well-sealed container or bag. Press out extra air and keep them protected from moisture and strong freezer odors to reduce freezer burn.
When you’re ready to eat one from the freezer, let it sit just long enough to lose that rock-hard edge. The filling tastes creamier that way.
If your kitchen runs warm, don’t leave them out on a dessert tray for long. Since this recipe includes butter, keeping dairy ingredients cold is the safer choice, and the FDA notes that perishable foods such as milk should not stay above 40°F for extended periods in its guidance on storing food safely.
They also make a fun topping for a keto chocolate milkshake if you want to blend dessert into dessert, which is occasionally the correct decision.
Conclusion
These peanut butter cups hit that rare sweet spot of easy, rich, and genuinely satisfying. You get a crisp chocolate shell, a creamy center, and full control over the ingredients.
If you remember one thing, make it this: use a powdered sweetener for the smoothest filling. Once you get that texture right, the rest falls into place.
Frequently Asked Questions
How do you keep keto peanut butter cups from melting?
Keep them in the refrigerator or freezer. The fats in the shell and filling soften at room temperature, so cold storage helps them stay firm and hold their shape.
Can I use a different sweetener?
Yes, as long as it’s powdered or liquid and keto-friendly. Powdered allulose, powdered erythritol blends, and liquid monk fruit all work better than granular sweeteners, which can make the filling gritty.
Why is my peanut butter filling oily?
Natural peanut butter often separates in the jar. Stir it very well before measuring, use the thicker peanut butter from the bottom if needed, and add a little coconut flour if the filling still seems too loose or oily.
Can I make these without silicone molds?
Yes. Use paper or foil cupcake liners set inside a standard muffin tin so they hold their shape while you build the layers.
Keto Peanut Butter Cups

Equipment
- Heatproof bowl
- Silicone candy molds
- Small spoon
- Microwave-safe bowl
Ingredients
Chocolate Coating
- 6 ounces sugar free dark chocolate (chopped)
- 1/2 ounce cocoa butter (or 2 tsp coconut oil)
Peanut Butter Filling
- 1/2 cup peanut butter
- 2 tbsp butter
- 1/4 cup powdered Swerve Sweetener
- 1/2 tsp vanilla extract
Instructions
- Melt the chopped chocolate with the cocoa butter in a heatproof bowl over barely simmering water, stirring until fully combined. The mixture should look smooth and glossy, with no thick lumps or dull streaks.
- Spoon a little more than half of the melted chocolate into the candy molds and use the back of a small spoon to coat the bottoms and sides. A thin, even shell works best, and freezing it for 10 minutes keeps the filling from blending into the chocolate.
- Heat the peanut butter and butter in a microwave-safe bowl in 30 second bursts on high, stirring between each burst until melted. Once you whisk in the powdered sweetener and vanilla, the filling should look thicker, creamier, and more uniform.
- Take the chilled chocolate shells out of the freezer and spoon in the peanut butter mixture, stopping just below the top edge. Leave enough room for the final chocolate layer, then return the molds to the freezer for about 10 minutes so the layers stay distinct.
- Warm the remaining chocolate gently if needed, then spread it over each filled cup and seal it to the sides. Chill for 20 minutes, or until the tops are completely firm to the touch.

These came out so good. The shell actually had that nice snap instead of the soft fudge texture I usually get.
Made these tonight and used coconut oil since that was all I had. Still delicious, just a little softer straight from the fridge.
I wish I had read the part about powdered sweetener sooner 😅 I used granular the first time and the filling was definitely sandy. Going to retry with powdered allulose this weekend.
Yep, that is usually the culprit. Powdered sweetener should give you a much smoother center, and powdered allulose is a great option if you want a softer texture.
So creamy.
The tip about setting the silicone molds on a tray saved me from making a total mess. I have absolutely sloshed melted chocolate across my freezer before lol.
I made a batch with almond butter because my son prefers it, and the filling was a little looser like you mentioned. I mixed in a tiny bit of coconut flour and it fixed it right up. Really helpful recipe.
Do you think these would hold up okay in mini paper liners inside a muffin pan, or are silicone molds way better for getting that clean candy shape
Yes, mini paper liners in a muffin pan can work well. Silicone molds usually give the cleanest edges, but liners are a solid option and make them easy to remove and serve.
Obsessed 😍
I tried sugar free chips once in a different recipe and they stayed weirdly thick, so I appreciated the note about bars melting smoother. That explained a lot. Next round I am using a chopped bar because I want that glossy top.
My chocolate seized a bit because I got impatient and overheated it in the microwave. Totally my fault. If I add a little more coconut oil next time, would that help it spread easier from the start
A little more coconut oil can help thin the chocolate and make it easier to spread, yes. The biggest help is still gentle heating in short bursts and stirring often so it stays smooth.
I made these after dinner last night because I wanted something sweet but not a whole baking project. The no bake part is what got me, but the texture is what will make me repeat them. I kept two in the freezer and chopped one over keto ice cream tonight, which was honestly the best decision of my day.
Quick question, did you use natural drippy peanut butter or the thicker kind for the photos? Mine was super oily even after stirring and the centers spread more than I wanted.
I usually go with well-stirred natural peanut butter but scoop from the thicker part if the jar is very oily. If your filling still spreads too much, mix in a small amount of coconut flour or powdered peanut butter until it firms up a bit.
Very legit recipe. I have made a lot of low carb desserts that tasted like a compromise, and these did not. The layered freeze step made a bigger difference than I expected because the centers stayed neat instead of blending into the shell.