Skip to content
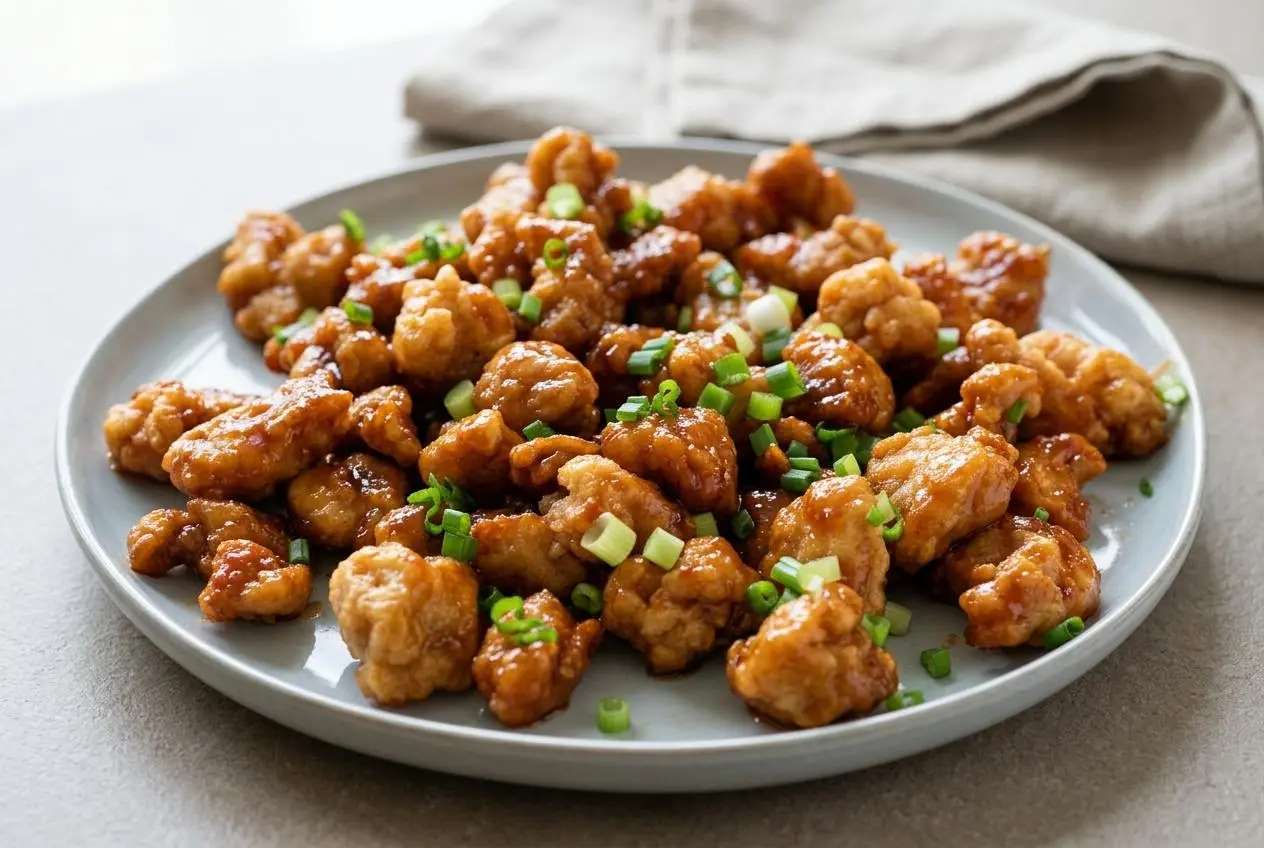
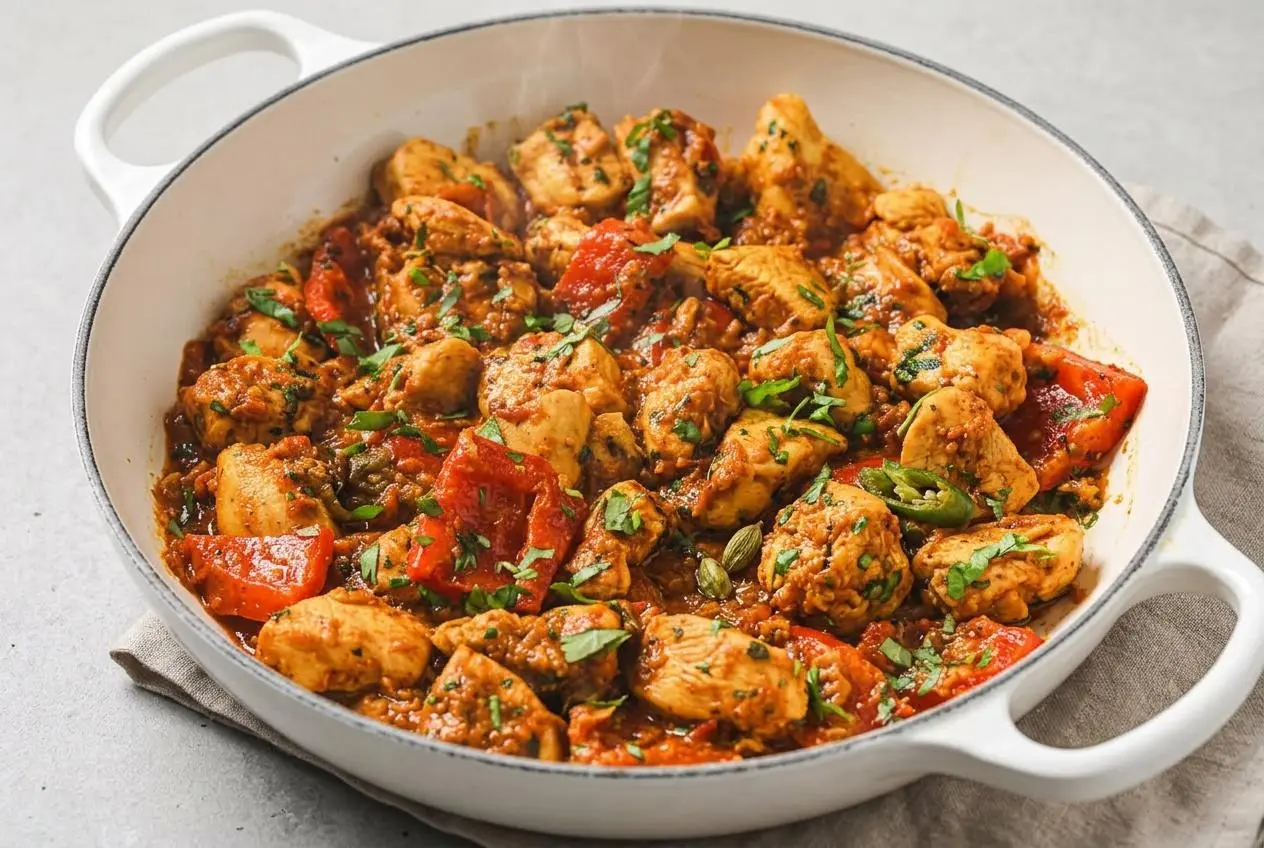
For a crispy, tangy dinner, coat cubed chicken in egg and low-carb flours, brown it lightly, then bake it in a sweet and sour glaze until sticky and bubbling.
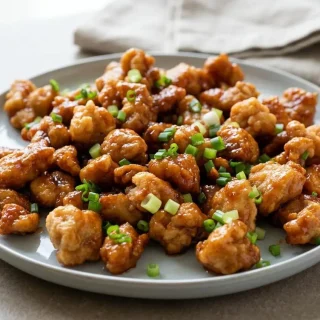
This keto sweet and sour chicken recipe delivers a firm, golden almond-coconut crust and a glossy sauce made with sugar free maple syrup, keto-friendly ketchup, vinegar, tamari, and garlic.
The two-stage cooking keeps the coating from turning heavy while the sauce clings to every bite. That glossy glaze is the payoff.
Keep the skillet at moderate heat: nut flours color quickly, so listen for a steady sizzle and flip the chicken when a light golden rim appears.
Essential Ingredients for Keto Sweet and Sour Chicken
Each ingredient contributes something useful here: chicken provides a tender center, the flours build crust structure, egg helps the coating cling, and the sauce ingredients bring sweet, tangy, savory balance.
- 1 1/2 lbs chicken breasts, skinless and boneless
- 1 tsp salt
- 1/8 tsp pepper
- 1/3 cup coconut flour
- 1/3 cup almond flour
- 2 large eggs, beaten
- 1/4 cup avocado oil
- 6 tbsp sugar free maple syrup
- 3 tbsp keto-friendly ketchup
- 2 tbsp rice vinegar or apple cider vinegar
- 1 tbsp gluten-free soy sauce or tamari
- 1 tsp garlic powder
Cut the skinless, boneless chicken breasts into evenly sized cubes so the pieces brown and bake at the same pace. Coconut flour absorbs surface moisture, while almond flour brings richness and browning, creating a crust that feels crisp rather than chalky.
The sauce gets its familiar takeout balance from sugar free maple syrup, keto-friendly ketchup, and vinegar. Tamari adds savoriness, while garlic powder rounds out the sharp sweet-and-sour edge without cornstarch.
I prefer shaking off any loose flour before the chicken reaches the skillet, because a thin, even coating stays attached far better when you turn the pieces.
How to Make Keto Sweet and Sour Chicken
This method uses a quick skillet brown followed by a saucy oven finish. The skillet sets the coating first, while the oven gives the glaze time to bubble, reduce, and cling.
- Heat the oven to 325°F and grease the bottom of a 9×13-inch baking pan.
The prepared pan should have a thin, even coating so the glazed chicken releases easily later. - Cut the chicken breasts into bite-sized cubes, then season them with the salt and pepper.
Keeping the pieces close in size helps the chicken cook evenly. - Use a fork to dip each chicken piece into the beaten eggs, let the excess fall away, then coat it in the combined coconut flour and almond flour.
The coating should look dry and lightly covered rather than thick or clumpy. - Warm the avocado oil in a large skillet and brown the coated chicken in batches without cooking it through.
Turn the pieces when the crust has a pale golden edge and a firm surface. - Arrange the browned chicken in the prepared baking pan.
Leave the pieces in an even layer so the glaze can reach each side. - Whisk the sugar free maple syrup, keto-friendly ketchup, vinegar, gluten-free soy sauce or tamari, and garlic powder in a small bowl, then pour the sauce over the chicken.
The sauce should flow around the pieces before it begins thickening in the oven. - Bake for 30-40 minutes, spooning the pan sauce over the chicken once or twice as it cooks.
The glaze is ready when it bubbles around the edges and coats the chicken with a sticky sheen.
Each baste builds another layer of glaze, so the top crust stays glossy instead of dry. The finished coating will feel firm under a fork, with a tender chicken center and tangy sauce tucked into the crags.
Troubleshooting & Pro Tips for Perfect Texture
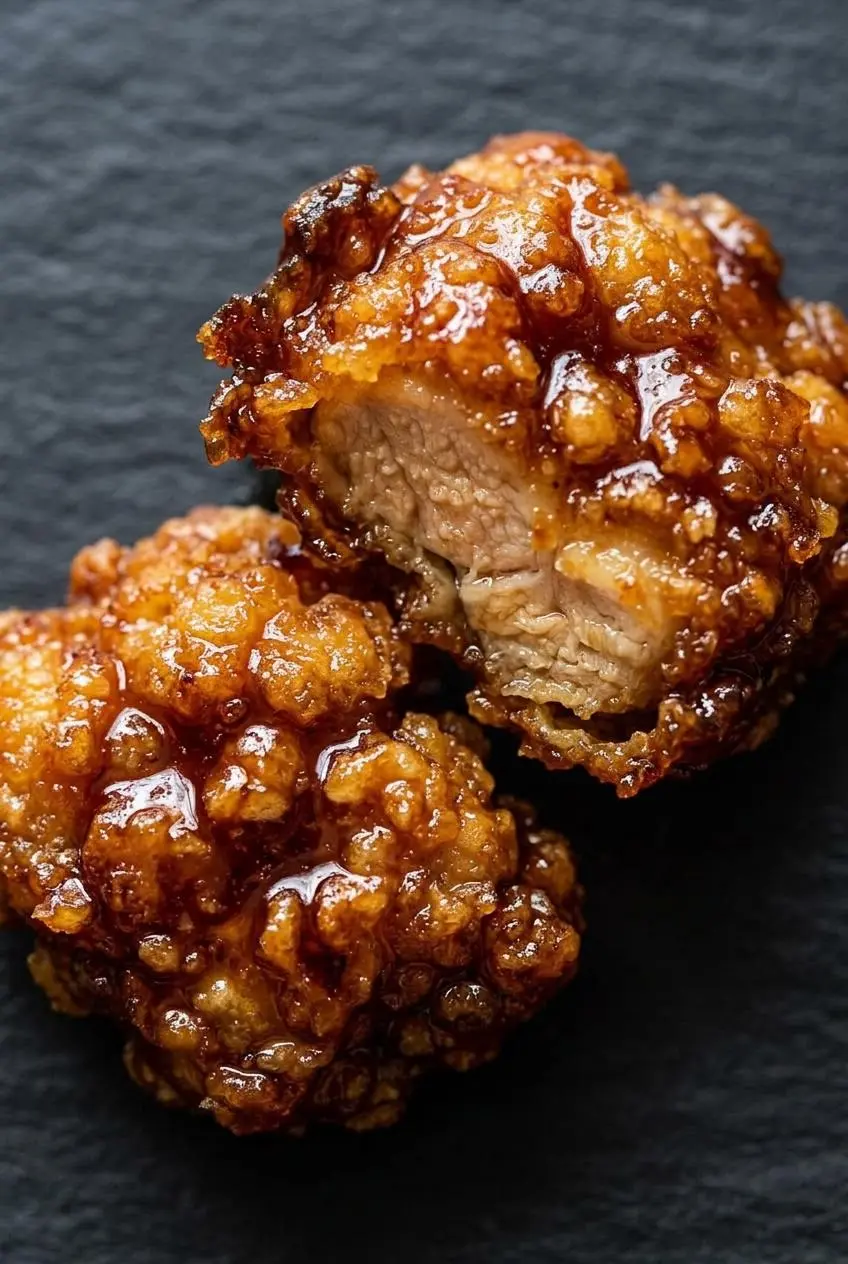
- The coating slips off: Let excess egg drip away before dredging, then avoid moving the chicken too soon in the skillet. The crust needs a moment to set before it can handle turning.
- The chicken looks pale and soggy: Do not crowd the skillet. Too many pieces release steam, which softens the coating before it can brown.
- The flour darkens too fast: Lower the heat to moderate. Almond and coconut flours can scorch before the chicken has time to cook through.
- The glaze seems thin: Let it continue bubbling gently in the baking pan so moisture can cook off and the sauce can become more clingy.
- The top looks dry: Spoon the pan juices over the chicken during baking. That small step gives the crust its sticky takeout finish.
Flavorful Low-Carb Recipe Variations
These options change the cooking style or add color while keeping the main method above intact.
No-Breading Skillet Stir-Fry: Skip the egg and flour coating, cook chicken cubes directly in a skillet, and toss them with the sauce and crisp vegetables. For a different unbattered weeknight dinner, try this keto chicken stir fry.
Air Fryer Crispy Chicken: Coat the chicken as directed, arrange it in a single layer in an air fryer, and cook until the exterior is crisp and the chicken is cooked through. Add the glaze after crisping so the coating has a chance to stay crunchy.
Keto Sweet and Sour Chicken With Bell Peppers: Add sliced bell peppers as an optional finishing touch for classic takeout color and fresh crunch. Cook them separately until just tender, then serve alongside or fold them in just before serving to avoid watering down the glaze.
Pineapple-Style Flavor: If you miss the fruity aroma of traditional sweet and sour chicken, a natural sugar free pineapple extract can add that familiar note without using canned fruit.
Storage and Reheating for Best Texture
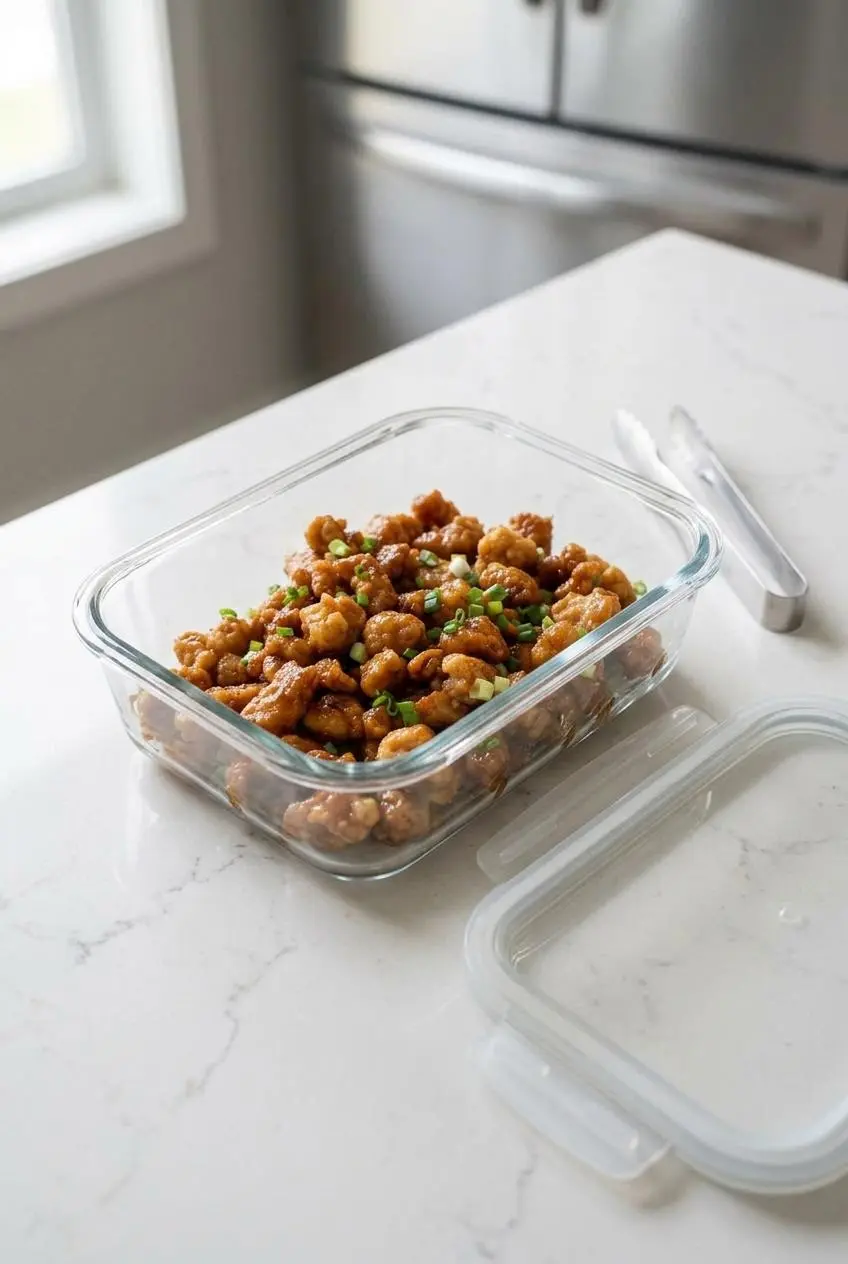
Cool leftovers, transfer them to an airtight container, and refrigerate promptly. Keeping the chicken and any extra sauce together protects the meat from drying out, though the coating will soften as it sits.
For the best return of crisp edges, warm the chicken in a conventional oven or toaster oven in a single layer until hot. A microwave works for convenience, but it softens the almond-coconut crust rather than reviving it.
Low-Carb Serving Ideas and Garnishes
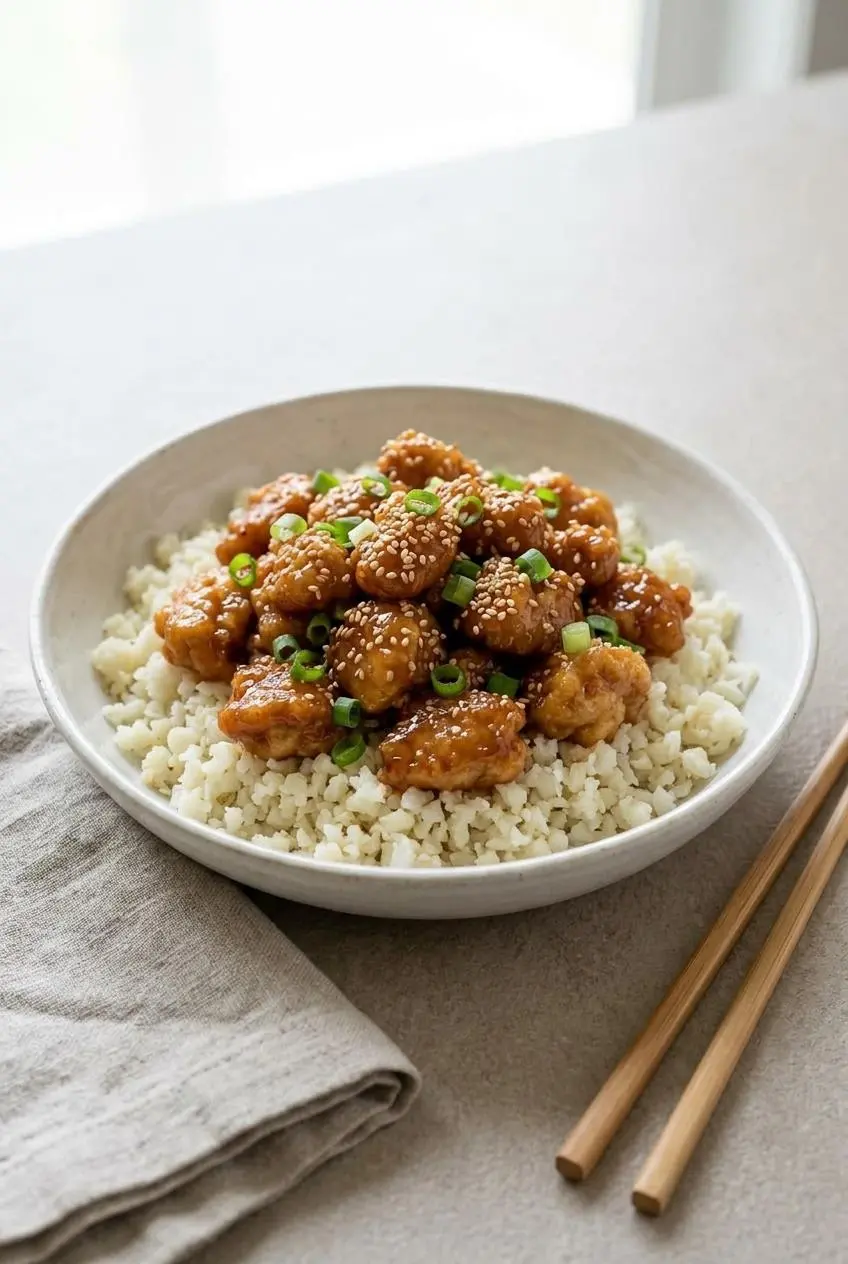
- Serve the chicken over steamed or lightly stir-fried cauliflower rice to catch every bit of sticky sauce.
- Add sautéed broccoli florets for a charred, slightly bitter contrast to the sweet glaze.
- Finish with toasted sesame seeds and thinly sliced green onions for crunch, nuttiness, and freshness.
For a larger homemade takeout spread, pair the same cauliflower rice and sesame garnish with keto sesame chicken. The savory sesame flavor makes a nice contrast with this brighter, vinegar-forward glaze.
Crispy Takeout Flavor in Your Keto Kitchen
Almond flour, coconut flour, sugar free syrup, keto-friendly ketchup, and vinegar turn a classic takeout craving into a crisp, tangy dinner with a sticky caramelized finish.
Serve it with cauliflower rice, colorful vegetables, or a shower of sesame seeds and green onions, then enjoy that first crackly bite while the glaze is still warm.
Frequently Asked Questions
How Do You Make Sweet and Sour Sauce Keto-Friendly?
Use sugar free maple syrup for sweetness, keto-friendly ketchup for body, vinegar for tang, and gluten-free soy sauce or tamari for savory depth. Garlic powder keeps the sauce rounded without needing fruit juice or cornstarch.
Can I Make This Recipe Without Frying in Oil?
Yes. Skip the egg and flour coating, then cook cubed chicken directly in a skillet and toss it with the sauce. Bell peppers work especially well in this quicker stir-fry style.
How Do I Thicken the Sweet and Sour Sauce Without Cornstarch?
The sauce thickens naturally as it bakes and reduces around the chicken. For a skillet variation, simmer the sauce gently until it looks glossy and coats the back of a spoon.
How Should Leftover Sweet and Sour Chicken Be Reheated to Stay Crispy?
Reheat it in a toaster oven or conventional oven in a single layer until hot and crisp around the edges. Microwaving is faster, but it softens the coating.
Can I Use Chicken Thighs Instead of Chicken Breasts?
Yes. Boneless, skinless chicken thighs can replace the breasts if you prefer a richer flavor and more tender texture. Cut them into uniform cubes so they cook evenly with the same coating and glaze.
Keto Sweet and Sour Chicken Recipe

Equipment
- 9×13-inch baking pan
- Large skillet
- Small bowl
- Whisk
Ingredients
- 1 1/2 lbs chicken breasts skinless and boneless
- 1 tsp salt
- 1/8 tsp pepper
- 1/3 cup coconut flour
- 1/3 cup almond flour
- 2 large eggs beaten
- 1/4 cup avocado oil
- 6 tbsp sugar free maple syrup
- 3 tbsp keto-friendly ketchup
- 2 tbsp rice vinegar or apple cider vinegar
- 1 tbsp gluten-free soy sauce or tamari
- 1 tsp garlic powder
Instructions
- Heat the oven to 325°F and grease the bottom of a 9×13-inch baking pan. The prepared pan should have a thin, even coating so the glazed chicken releases easily later.
- Cut the chicken breasts into bite-sized cubes, then season them with the salt and pepper. Keeping the pieces close in size helps the chicken cook evenly.
- Use a fork to dip each chicken piece into the beaten eggs, let the excess fall away, then coat it in the combined coconut flour and almond flour. The coating should look dry and lightly covered rather than thick or clumpy.
- Warm the avocado oil in a large skillet and brown the coated chicken in batches without cooking it through. Turn the pieces when the crust has a pale golden edge and a firm surface.
- Arrange the browned chicken in the prepared baking pan. Leave the pieces in an even layer so the glaze can reach each side.
- Whisk the sugar free maple syrup, keto-friendly ketchup, vinegar, gluten-free soy sauce or tamari, and garlic powder in a small bowl, then pour the sauce over the chicken. The sauce should flow around the pieces before it begins thickening in the oven.
- Bake for 30-40 minutes, spooning the pan sauce over the chicken once or twice as it cooks. The glaze is ready when it bubbles around the edges and coats the chicken with a sticky sheen.