 Skip to content
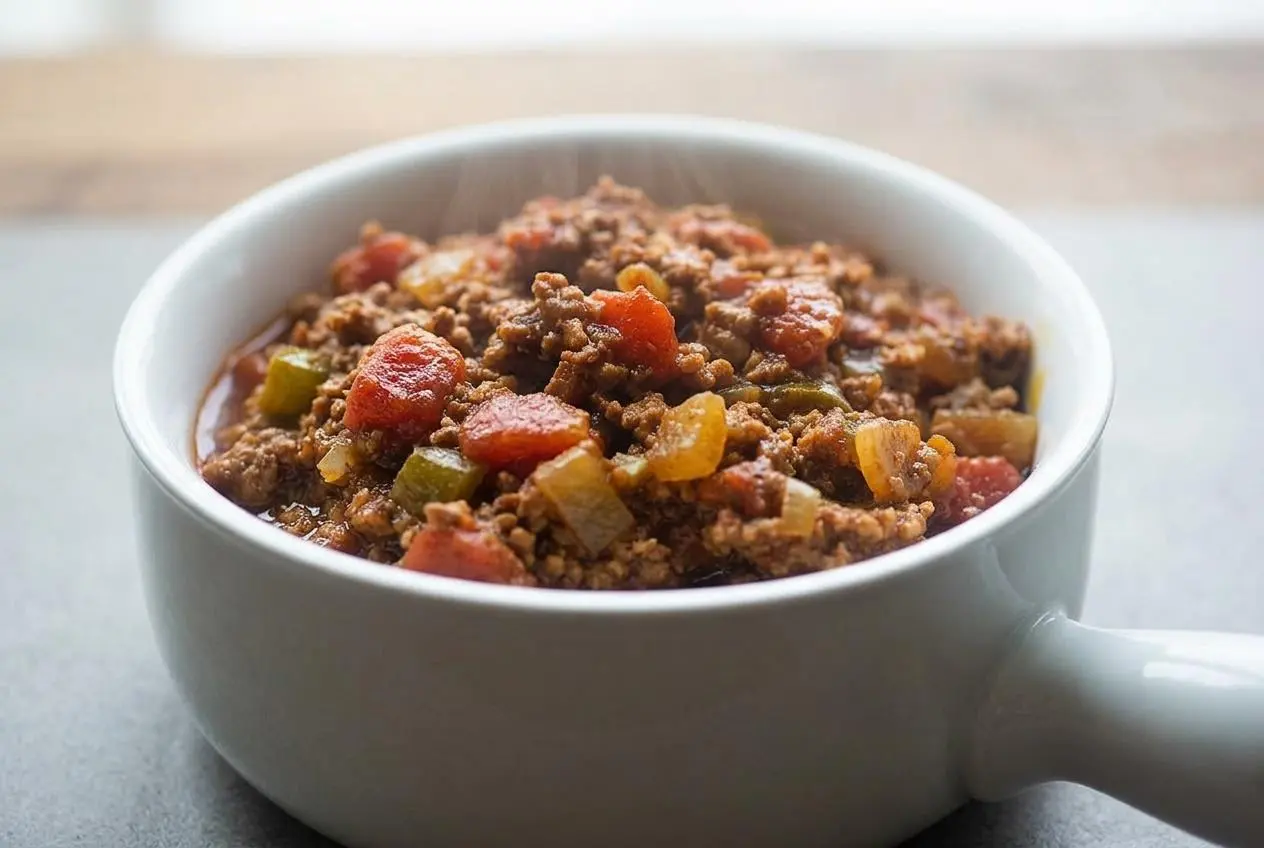
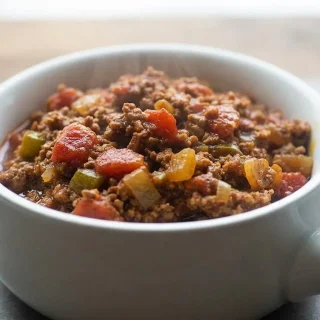
This keto chili recipe is a hearty, beanless chili made with ground beef, tomatoes, broth, and classic spices. It simmers into a rich, low-carb bowl and works well on the stovetop, in a slow cooker, or in an Instant Pot.
When you want a warm, filling dinner that still fits a low-carb plan, chili is a smart move. This version keeps the comfort and skips the beans, so it stays hearty without losing that classic chili feel.
It starts out a little sharp and brothy, then settles into a deeper, richer flavor as it simmers. That last part is what makes the bowl.
Use a wide, deep pot if you have one, since more surface area helps the chili reduce and thicken better.
Why This Keto Chili Recipe Works
This chili works because it leans on the parts of chili that matter most: browned beef, softened vegetables, tomato depth, and enough simmer time for everything to come together. You still get a rich, savory bowl even without beans.
Yes, you can have chili on a low-carb diet when it’s built without high-carb fillers and added sugar. Here, the bulk comes from meat, peppers, onion, tomatoes in moderation, and spices, so it feels like true chili instead of a thin soup pretending to be one.
The texture also holds up well. The beef gives it body, the tomato paste helps it stay thick, and the broth keeps it loose enough to simmer into that spoon-coating consistency you want.
Ingredients for Keto Chili
Each ingredient brings something useful here, from richness and heat to thickness, aroma, and balance, so the pot tastes full and satisfying by the end.
- 1 ½ pounds ground beef
- 1 yellow onion (diced)
- 1 green pepper (diced)
- 1 jalapeno (minced)
- 1 clove garlic (minced)
- ¼ cup tomato paste
- 15 ounces canned diced tomatoes
- 2 cups beef broth
- 2 tablespoon chili powder
- 1 teaspoon cumin
- 1 teaspoon salt
Ground beef gives the chili its hearty base and plenty of savory flavor. If you use 80/20 beef, you’ll usually get the best balance of richness and meaty taste, though draining well matters so the final pot doesn’t feel greasy.
Tomato paste does a lot of work in a small amount. It adds concentrated tomato flavor, helps thicken the chili, and brings the kind of deep, cooked flavor that makes a beanless chili still feel complete.
Chili powder is the main flavor base, while cumin rounds it out with warmth. The onion, green pepper, jalapeno, and garlic build a classic chili backbone instead of relying on beans for body.
Tomatoes can fit into keto eating when they’re used in measured amounts like this. Since canned tomatoes can vary by brand, it’s worth checking the label and avoiding versions with added sugar.
There are no beans here because traditional beans add a lot of carbs and change the carb count quickly. Leaving them out keeps the chili more keto-friendly while still giving you a satisfying bowl.
I always check canned tomatoes before they go into keto recipes, because the brand can quietly change the sweetness more than the spice blend does.
How to Make Keto Chili
This method is straightforward, but a few visual cues make a big difference. Browning well, draining at the right time, and giving the pot time to simmer are what turn basic ingredients into real chili.
- Cook the ground beef, diced onion, and diced green pepper in a large deep pot over medium heat, breaking the meat into small pieces as it cooks.
The onions should turn soft and translucent and the beef should lose all pink color before you move on. - Drain the fat from the pot once the beef is fully cooked through.
This keeps the chili rich instead of greasy and helps the spices taste cleaner in the finished bowl. - Stir in the jalapeno, garlic, tomato paste, diced tomatoes, beef broth, chili powder, cumin, and salt until everything is evenly combined.
As the spices hit the heat, the aroma will get warmer and more fragrant, which is your sign they’re waking up. - Bring the chili to a boil, then lower the heat and let it simmer for at least 20 min, or about 1 hour for the best flavor and texture.
At first it may taste a little sharp and separate, but as it cooks the flavors meld, the chili thickens, and a reddish layer of oil may start to pool lightly on top. - Serve the chili warm with sour cream and shredded cheddar, as desired.
The heat of the bowl should soften the toppings slightly without making them disappear completely.
Tips for the Best Flavor and Texture
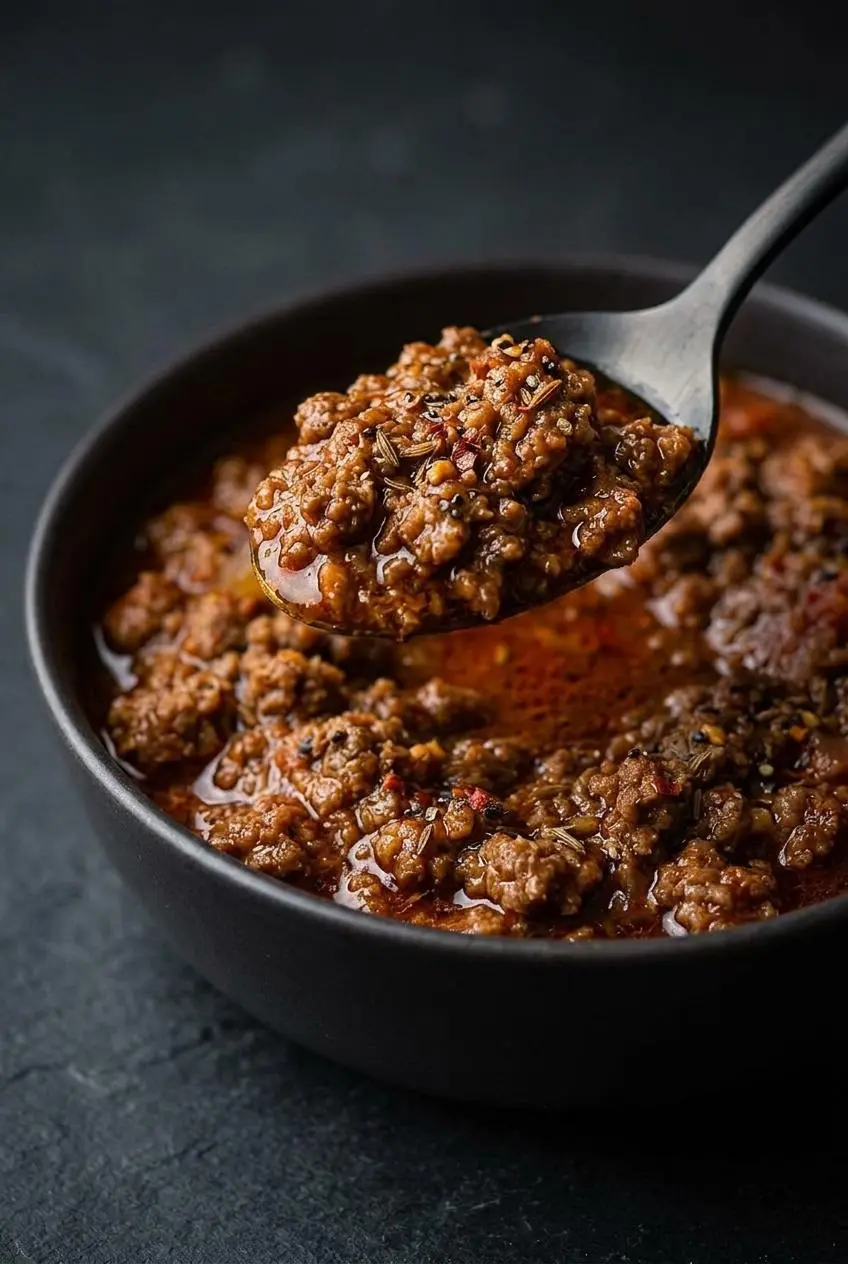
If you want a chili that tastes deeper and feels thicker, these are the adjustments that help most.
- Give it a longer simmer when you can. Twenty minutes works, but closer to 1 hour creates a fuller, rounder flavor and a better texture.
- Let the onions pick up a little color before everything else goes in. Even a light edge of browning adds sweetness and makes the finished chili taste more developed.
- Brown the meat properly instead of rushing it. If the beef steams, the flavor stays flatter and the pot can end up thinner.
- Drain the fat after browning. This is especially helpful if your ground beef releases a lot of grease.
- If you want extra depth, stir in a small splash of strong brewed coffee or Worcestershire sauce near the end of cooking. Either one adds savory complexity without changing the chili into something odd.
- Chili often tastes even better after it rests and is reheated later. The spices settle in, and the texture usually gets a little tighter too.
How to Thicken Keto Chili
If your chili looks too loose, don’t panic. Keto chili often thickens a lot during simmering because there are no beans to absorb liquid early on.
- Simmer it uncovered longer. This is the best first move because it reduces excess liquid without changing the flavor balance.
- Stir in a bit more tomato paste. That boosts both thickness and richness, so the chili still tastes balanced rather than simply reduced.
- Use xanthan gum only as a last step. Mix a tiny pinch with a spoonful of oil from the chili first, then stir that slurry back into the pot to avoid clumps.
Cooking Method Variations (Slow Cooker & Instant Pot)
This chili adapts well to different equipment. The stovetop gives you the fastest flavor development, the slow cooker is the most hands-off, and the Instant Pot lands in the middle with a slightly tighter texture.
Slow Cooker Instructions
For the best flavor, brown the beef, onion, and green pepper on the stove first, then drain the fat. Transfer that mixture to the slow cooker and stir in the jalapeno, garlic, tomato paste, diced tomatoes, beef broth, chili powder, cumin, and salt.
Cook on LOW for 6 to 8 hours or on HIGH for 3 to 4 hours. Keep the lid slightly askew near the end only if the chili needs extra reduction, since slow cookers hold in a lot of moisture.
Instant Pot Instructions
Use the Sauté function to cook the beef, onion, and green pepper first, breaking up the meat as it browns. Drain off excess fat, then stir in the jalapeno, garlic, tomato paste, diced tomatoes, beef broth, chili powder, cumin, and salt.
Seal and cook on High Pressure for 15 to 20 minutes, then let the pressure release naturally for 10 minutes before venting the rest. If the chili seems thinner than you want, switch back to Sauté and simmer briefly to reduce it.
What to Serve with Keto Chili
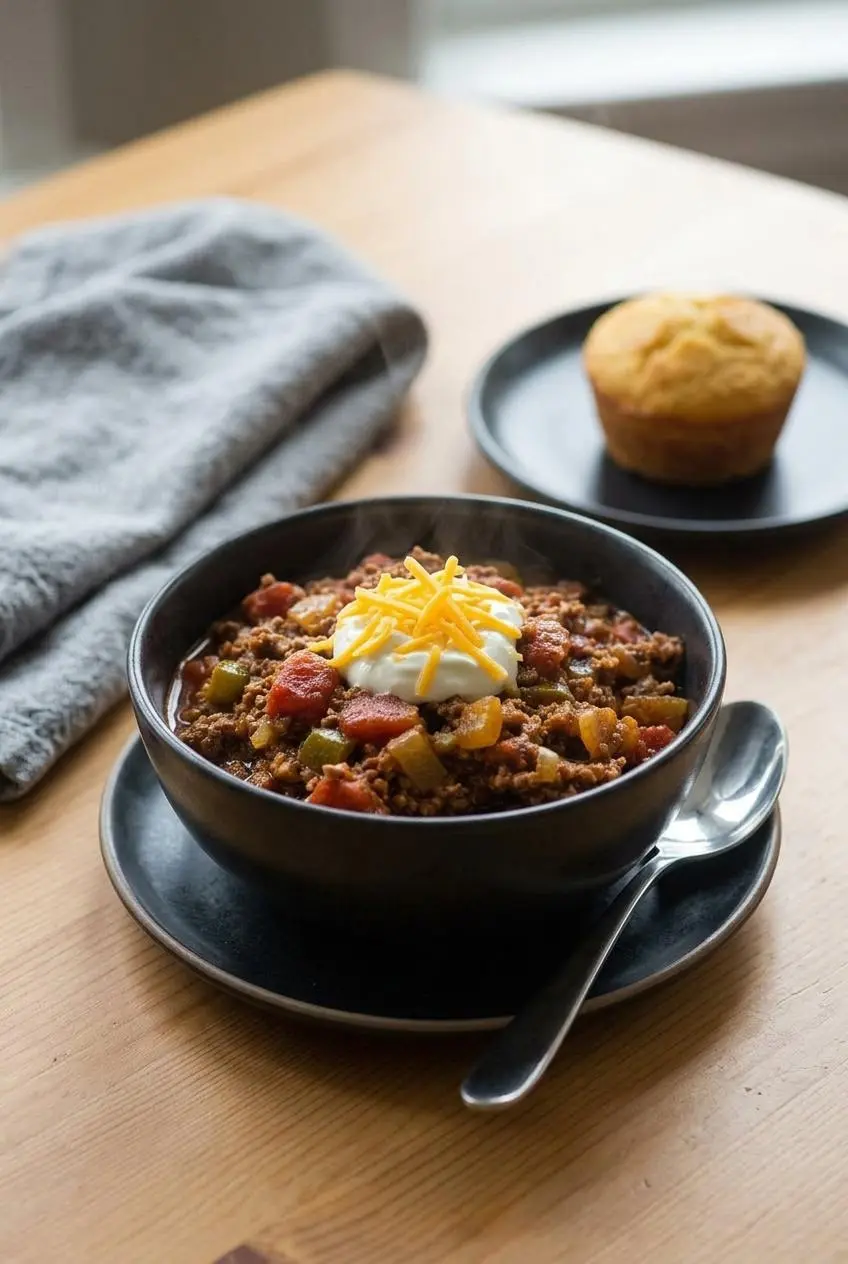
A good bowl of chili gets even better when you build in contrast. Think creamy toppings, something fresh, and a little crunch.
- Start with the classics like shredded cheddar, sour cream, and sliced jalapeños. They add richness, coolness, and extra heat where you want it.
- Add avocado or guacamole if you want a softer, creamier finish that makes the spice feel more rounded.
- Use crushed pork rinds for crunch if you like texture in every bite.
- Serve it with a slice of keto cornbread if you want the full comfort-food experience.
- A simple green salad on the side helps lighten the meal and keeps the bowl from feeling too heavy.
Storage, Freezing, and Reheating
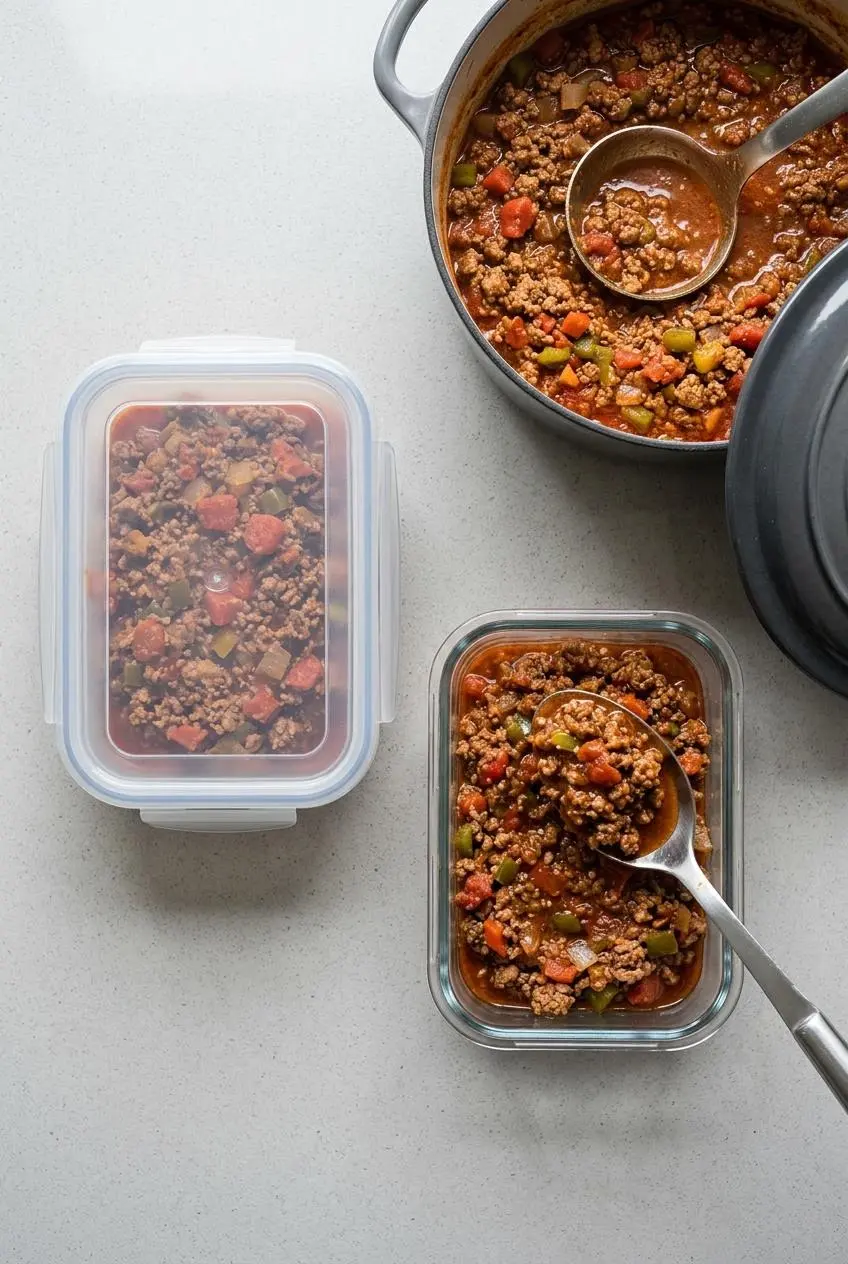
Leftover chili stores well, but cool it promptly and transfer it to a covered container. For cooked ground beef dishes, safe handling and storage guidance for leftovers supports refrigerating within 2 hours and using refrigerated leftovers within 3 to 4 days.
The flavor usually improves after it sits, so the next bowl often tastes even better. Keep it in an airtight container to help the texture stay thick and the aromas from taking over the whole fridge.
You can freeze this chili after it has cooled completely. Portion it into freezer-safe containers or heavy freezer bags, leave a little room for expansion, and label it so it doesn’t become mystery chili later.
To reheat from the fridge, warm it gently on the stovetop over medium-low heat or microwave it in bursts, stirring between rounds so it heats evenly. If it thickened a lot in storage, add a small splash of broth or water to loosen it.
To reheat from frozen, thaw it in the refrigerator first when possible, then reheat on the stovetop or in the microwave until it is hot throughout. If you need to go straight from frozen, use low heat and stir as it softens so the edges don’t scorch before the center is warm.
Keto Chili Variations
This chili is easy to customize as long as the changes stay optional and outside the main pot. Small tweaks can shift the flavor from classic to smoky, meaty, or extra hearty.
Keto Chili with Bacon
For a smokier version, start by cooking chopped bacon in the pot until the fat renders and the pieces crisp. Remove the bacon with a slotted spoon, cook the onion, pepper, and beef in the bacon fat, then stir the cooked bacon back in near the end so it keeps some texture.
Other Meat Variations
- A mix of ground beef and pork sausage makes the chili richer and more savory, with a slightly looser texture from the extra fat.
- Ground turkey gives you a leaner bowl, though the flavor is milder and usually benefits from a little extra seasoning.
- If hearty ground beef dinners are your thing, keto ground beef casserole is another cozy option to keep on repeat.
Hearty Low-Carb Substitutes for Beans
- Finely minced cremini mushrooms add bulk and a deeper savory note when sautéed with the onions.
- Diced zucchini softens into the chili and gives you a more bean-like bite without taking over the flavor. If you like using zucchini in comfort food, keto zucchini lasagna is another great way to use it.
- Black soy beans are often used by low-carb cooks who want a more traditional chili texture, though brands can vary, so check labels carefully.
Troubleshooting Common Problems
Most chili issues are easy to fix once you know what caused them.
- Too greasy: This usually happens when the beef fat stays in the pot after browning. Drain thoroughly before adding the liquids and spices.
- Too bland: Chili often needs more simmer time first. If it still tastes flat, add a little more salt, cumin, chili powder, or a small splash of vinegar or hot sauce at the end.
- Too spicy: Stir in sour cream or a little cream cheese when serving to soften the heat. Next time, use less jalapeno or remove the seeds.
- Too thin: Simmer uncovered so more liquid can evaporate, then use extra tomato paste if needed.
- Tastes sharp or unbalanced: It probably just needs more time. Chili can taste disjointed early on, then mellow and deepen as it cooks.
Conclusion
This is the kind of chili that proves low-carb comfort food can still taste rich, hearty, and very much like the real thing. The beef, tomato paste, and spice blend do a lot of heavy lifting without relying on beans.
If you remember one thing, let it simmer long enough to come together. That extra time is what turns it from decent into dinner you’ll want again.
Frequently Asked Questions (FAQ)
How can I thicken my keto chili?
Simmer it uncovered so excess liquid can cook off. Stir in a little more tomato paste if you want thickness plus deeper tomato flavor. Use a tiny xanthan gum slurry only at the end if the chili still needs help.
Is this keto chili spicy?
It lands around mild to medium heat for most people. For less spice, reduce the jalapeno or leave it out. For more heat, keep the jalapeno seeds in or add a pinch of cayenne.
How long does keto chili last in the fridge?
When chilled promptly and stored airtight, leftovers keep for 3 to 4 days. The flavor usually improves by the second day. For best quality, reheat only the portion you plan to eat.
Can I make keto chili without tomatoes?
Yes, but it becomes a different style of chili. A white keto chili usually uses broth, cream cheese, and spices instead of tomatoes. Chicken is a common choice for that version, though beef can work too.
What are the best low-carb substitutes for beans in chili?
Minced mushrooms add savory depth and a hearty texture. Diced zucchini gives a softer bite that blends into the pot well. Black soy beans are another optional choice for a more classic chili feel, though labels vary by brand.
How many net carbs are in a typical serving of keto chili?
A typical serving is often around 6 to 9 g of net carbs. This recipe’s nutrition will vary with the exact tomato products and toppings you use. Treat that range as an estimate, not a fixed number.
Keto Chili Recipe

Equipment
- Large deep pot
Ingredients
- 1 ½ pounds ground beef
- 1 yellow onion (diced)
- 1 green pepper (diced)
- 1 jalapeno (minced)
- 1 clove garlic (minced)
- ¼ cup tomato paste
- 15 ounces canned diced tomatoes
- 2 cups beef broth
- 2 tablespoon chili powder
- 1 teaspoon cumin
- 1 teaspoon salt
Instructions
- Cook the ground beef, diced onion, and diced green pepper in a large deep pot over medium heat, breaking the meat into small pieces as it cooks. The onions should turn soft and translucent and the beef should lose all pink color before you move on.
- Drain the fat from the pot once the beef is fully cooked through. This keeps the chili rich instead of greasy and helps the spices taste cleaner in the finished bowl.
- Stir in the jalapeno, garlic, tomato paste, diced tomatoes, beef broth, chili powder, cumin, and salt until everything is evenly combined. As the spices hit the heat, the aroma will get warmer and more fragrant, which is your sign they’re waking up.
- Bring the chili to a boil, then lower the heat and let it simmer for at least 20 min, or about 1 hour for the best flavor and texture. At first it may taste a little sharp and separate, but as it cooks the flavors meld, the chili thickens, and a reddish layer of oil may start to pool lightly on top.
- Serve the chili warm with sour cream and shredded cheddar, as desired. The heat of the bowl should soften the toppings slightly without making them disappear completely.



Made this tonight and the longer simmer really was the key. At 20 minutes it tasted okay, but after almost an hour it turned into actual chili instead of spicy tomato beef soup.
So good.
I used the Instant Pot version because weekdays are chaos here, and it came out a little thinner than I expected. Still really tasty though. Next time should I cut the broth a bit or just sauté longer at the end?
I would keep the broth the same first and just use Sauté for a few extra minutes at the end. The Instant Pot traps so much moisture that a short reduction usually fixes the texture without changing the flavor balance.
Appreciated the note about checking canned tomatoes. I switched brands once on another chili recipe and it tasted weirdly sweet for no obvious reason.
I added a tiny splash of coffee near the end and wow, that worked way better than I expected. Didn’t taste like coffee at all, just deeper.
This saved my dinner last night. I had ground beef thawed and zero plan, found this, and threw it together with some cheddar on top. My wife usually misses beans in chili and even she said this one still felt hearty.
Quick question, did you mean 2 tablespoons of chili powder and not teaspoons? I made it as written and liked it, just wanted to make sure because the color looked a little lighter than my usual chili.
Yes, 2 tablespoons is correct. Chili powder does a lot of the heavy lifting here, so that amount helps build the color and classic flavor. If you enjoy a bolder pot, you can absolutely nudge it up a little next time to suit your taste.
Legit good.
I tried the zucchini add in because I wanted a little more bulk and it blended in surprisingly well. My kids had no clue, which honestly is the dream 😂
The tip about using a wide pot made more difference than I expected. I usually use a tall soup pot and my chili always stays kind of loose. Switched pots this time and it thickened way faster.
I overdid the jalapeño because mine was bigger than average and the pot got hotter than planned. Sour cream helped a lot when serving, but for next time would you just use half a pepper or remove all the seeds first?
Yes, either of those will help. Removing the seeds and membranes is a good first step, and if the pepper is especially large, starting with half is a smart move. You can always add more heat later, but it is much harder to pull it back once it is in the pot.
I’ve tested a lot of beanless chili recipes and some of them end up tasting like taco meat in broth. This one actually lands much closer to real chili. The tomato paste plus the longer simmer seems to be what fixes that.
Big hit here. I made a double batch on Sunday, and by Monday lunch it was even better. One container is already in the freezer for future lazy me.
I used ground turkey because that’s what I had, and the texture was fine but the flavor felt a bit quieter. Would you bump the cumin first or the chili powder if making it that way again?
For turkey, I would increase the chili powder first since it builds most of the main chili flavor. Then, if it still feels a little flat, add a small extra pinch of cumin. Letting it simmer a bit longer also helps the spices settle in nicely.
This was one of those recipes that smelled better every 10 minutes. I almost served it early because everyone was hungry, but I waited close to the full hour and I’m glad I did. The sharp tomato edge mellowed out exactly like you said.
Nice one.
I tossed in a little bacon because I saw your variation section and it gave it that extra smoky thing my family loves. Also topped mine with avocado and cheddar. Super cozy dinner.
I messed up and forgot to drain the beef after browning. The flavor was still good, but yeah, definitely greasier than it should have been. Posting this mostly so other distracted cooks don’t skip that step like I did.
That is a very easy step to miss, especially when dinner is moving fast. If it happens again, you can spoon off some of the excess from the top after it simmers a bit, which helps a lot. Glad the flavor still worked out for you.
Question about freezing, have you noticed any texture change after thawing? I want to make this for postpartum freezer meals and I’m trying to avoid recipes that get watery later.
It generally freezes very well and the texture holds up nicely. If it loosens a little after reheating, just warm it gently and let it simmer uncovered for a few minutes to bring it back together. Packing it in portioned containers also makes reheating easier.
The Worcestershire tip is solid. I added a small splash at the end and it rounded everything out without making it taste off. Definitely keeping this one in the cold weather rotation.