Skip to content
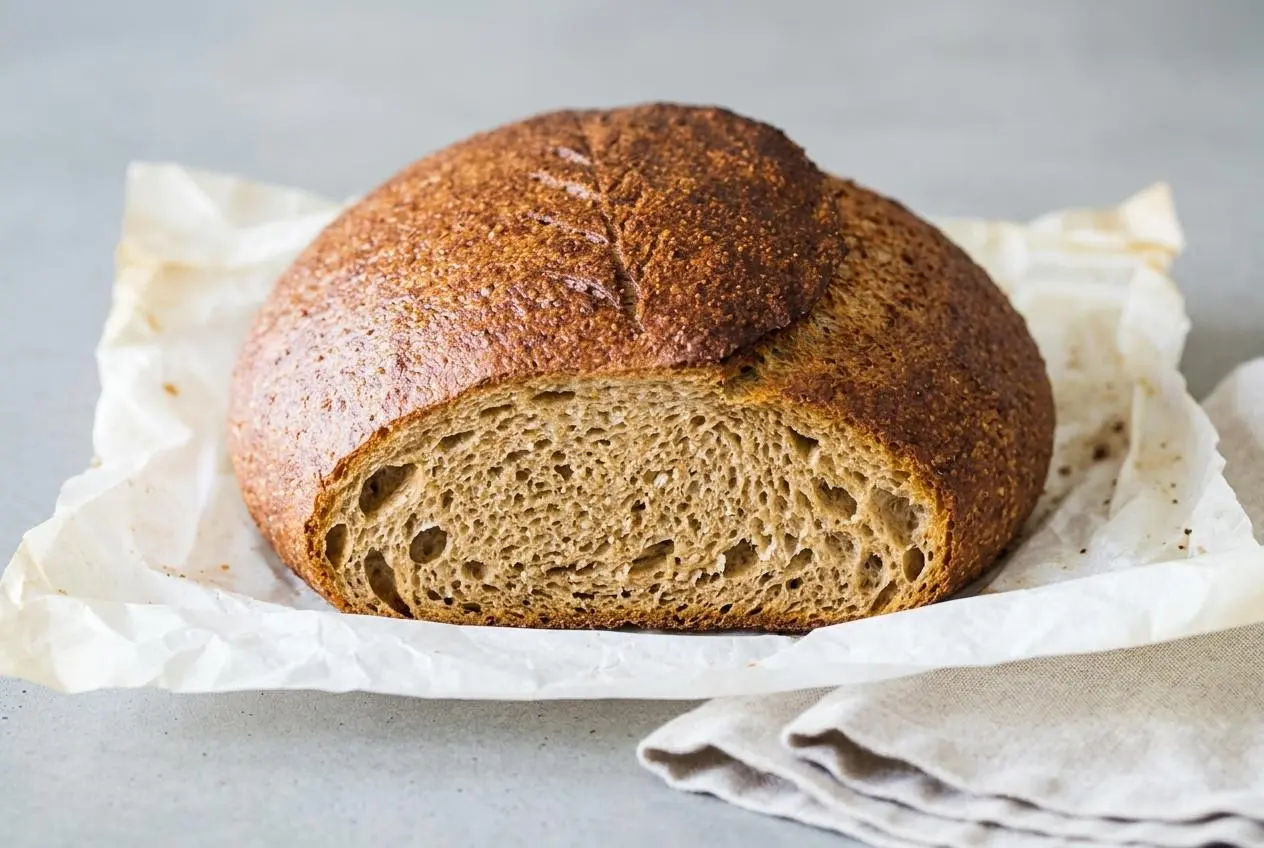
Keto sourdough bread is a yeast-risen, low-carb artisan loaf with a tangy flavor, chewy crumb, and crisp crust created through careful mixing, proofing, scoring, and steam baking.
This keto sourdough bread uses vital wheat gluten for bread-like stretch, oat fiber for body, and golden flaxseed for moisture and structure. Lactic acid and nutritional yeast bring the familiar savory tang without a traditional grain starter.
The dough needs patience more than fuss. Steam and a bold score give it that crackly, deeply browned finish.
Use a digital scale for the dry ingredients, and make sure the water feels comfortably warm rather than hot before adding the yeast.
Essential Ingredients for Authentic Low-Carb Sourdough
Each ingredient supports the loaf’s structure, moisture, rise, tang, or savory aroma. Accurate weights keep the dough hydrated enough to expand while remaining sturdy enough to hold its shape.
- 350 ml warm water (110°F)
- 7 g instant yeast (2 tsp or 1 envelope)
- 14 g brown sugar or maple syrup (2 tsp)
- 175 g vital wheat gluten
- 125 g golden flax seeds (freshly ground and sifted)
- 100 g oat fiber flour (check for a zero carb brand)
- 10 g salt (1 1/2 teaspoon)
- 9 g nutritional yeast (1 tbsp powder or-2 tbsp flakes)
- 1 1/2 tsp lactic acid liquid (88%)
Measure the specialty dry ingredients by weight rather than by scooping. Small differences in oat fiber or ground flax can make the dough either resistant and dry or harder to shape.
Understanding Vital Wheat Gluten vs. Alternative Binders
Vital wheat gluten supplies the elastic network that gives this loaf its springy chew. As the yeast produces gas, that network stretches and holds the bubbles in place, creating a more bread-like interior than a quick bread made only with seed meals or nut flours.
This loaf contains wheat gluten and is not appropriate for anyone who needs to avoid gluten. Psyllium-based doughs can create structure in gluten-free breads, but they need a separately formulated method rather than a direct swap here.
Oat Fiber vs. Oat Flour: Avoiding the High-Carb Trap
Oat fiber and oat flour are very different products. Oat fiber comes from the fibrous outer portion of oats and absorbs moisture aggressively, while oat flour is milled whole oat grain and brings much more digestible starch. Replacing one with the other changes both the dough texture and the carbohydrate profile.
Choose oat fiber labeled for baking and check that it is a zero-carb brand, as specified in the ingredient list. Its dry, fine texture helps give the loaf volume without turning it into an oat-flour bread.
Golden Flaxseed: Grinding, Sifting, and Freshness
Freshly ground golden flaxseed holds moisture and rounds out the crumb with a mild, nutty character. Sifting after grinding removes larger pieces that can interrupt the gluten network and make slicing less neat.
I prefer to buy whole golden flaxseed and grind it close to baking time because the aroma stays clean and lightly nutty instead of stale or bitter.
The Role of Yeast and Starter Sugars in Keto Dough
The brown sugar or maple syrup gives the yeast a fast starting point. During proofing, yeast uses that sugar while producing the gas that lifts the dough. The goal is a loaf with a savory, fermented aroma rather than noticeable sweetness.
Fresh yeast should foam in the warm water before it meets the dry ingredients. If the surface stays flat and still, the yeast may be inactive, and the dough is unlikely to rise well.
The Science of Sourdough Flavor Without High Carbs
A traditional sourdough starter depends on grain flour and extended fermentation. This loaf builds a similar tang more directly, using lactic acid for brightness and nutritional yeast for a deeper fermented character.
Lactic Acid vs. Vinegar: Choosing the Right Acidifier
Food-grade lactic acid gives the loaf a clean, rounded sourness that resembles the acidity associated with fermented bread. Vinegar can add sharpness, but its acetic flavor is more pointed and does not create the same layered sourdough impression.
Do not substitute lemon juice or vinegar casually in this dough. Their different acidity and added moisture can shift both the flavor and the way the dough behaves.
Nutritional Yeast for Fermented Umami Depth
Nutritional yeast is inactive, so it will not make the dough rise. Its role is flavor: it adds a toasted, savory note that makes the lactic tang feel fuller and more bread-like. Together, these ingredients create a convincing low-carb sourdough profile without a multi-day starter.
Mastering the Keto Sourdough Bread Baking Method
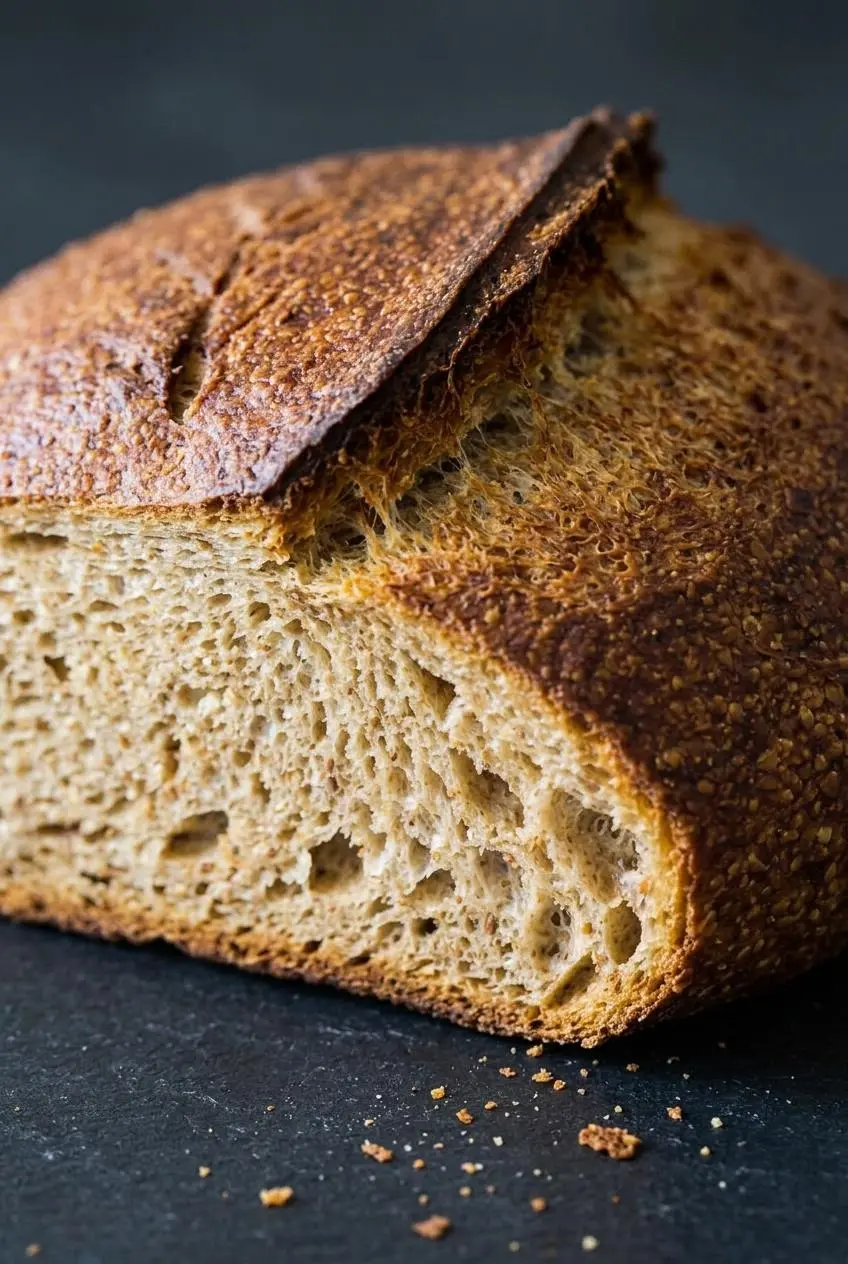
Follow the sequence closely, especially during proofing and baking. A smooth dough, hydrated surface, sharp score, and burst of oven steam work together to create lift before the crust firms up.
- Combine the warm water, instant yeast, and brown sugar or maple syrup in the bowl of a mixer, then leave the mixture for 5 to 10 minutes.
Continue when a layer of foam appears and the mixture smells lightly yeasty. - Add the vital wheat gluten, ground flaxseed, oat fiber flour, salt, nutritional yeast, and lactic acid liquid, then mix until a dough forms.
The dough will look shaggy at first and should begin pulling away from the sides of the bowl. - Knead the dough at speed 3 to 4 for 8 minutes, then turn it out and shape it into a round ball by hand.
It should feel smooth, firm, and elastic, with a little rebound when pressed. - Cover a very stiff dough and leave it to rest for 15 minutes, then use a few gentle kneading motions to tighten it into a ball.
The rest allows the gluten to relax so the surface becomes easier to smooth. - Set the dough smooth-side up on a parchment-lined baking sheet, cover it with a damp lint-free kitchen towel, and proof it for 90 minutes in a warm place without drafts.
Keep the towel damp so the dough does not form a dry skin as it expands. - After 60 to 75 minutes of proofing, preheat the oven to 400°F with one rack in the middle and another on the lowest level, then place a metal baking pan on the lower rack.
Heat the oven fully before baking so the loaf gets strong oven spring. - At 80 minutes of proofing, bring water to a boil and reserve 75 ml for the lower baking pan.
Having the water ready lets you create steam quickly when the loaf goes into the oven. - Once the loaf has fully risen and the oven is hot, uncover the dough and generously mist or brush it with water, then brush on oil after the water absorbs.
The surface should look lightly hydrated and glossy before scoring. - Cut a C-shaped slash across the top with a sharp knife, or use another simple scoring pattern.
The cut gives the dough a planned place to open instead of splitting unpredictably along the sides. - Set the loaf on the middle rack and carefully pour the 75 ml boiling water into the hot pan below it while wearing an oven mitt, then close the door promptly.
The steam keeps the exterior supple during the early rise. - Bake for 30 minutes, raise the oven temperature to 425°F, and bake for 10 to 15 minutes more.
The lifted edge of the score should become deeply browned, nearly charred around its thinnest edges. - Transfer the loaf to an elevated wire rack and let it cool completely before slicing.
The interior finishes setting as steam escapes, leaving a cleaner, less gummy crumb.
Troubleshooting Common Low-Carb Bread Pitfalls
Low-carb yeast dough behaves differently from conventional wheat dough, so texture cues matter more than chasing a particular shape. These fixes address the issues most likely to affect rise, chew, and flavor.
Dough Too Stiff or Inelastic During Kneading
- Problem: The dough resists shaping or tears instead of stretching. Cause: The gluten is tight and the oat fiber has absorbed moisture. Fix: Cover it and use the scheduled resting period before shaping again.
- Problem: The surface looks rough after mixing. Cause: The dough has not kneaded long enough to organize its gluten structure. Fix: Complete the full mixer kneading time before judging the texture.
Loaf Fails to Rise During Proofing or Baking
- Problem: The dough barely changes size. Cause: The yeast did not activate, or the dough sat somewhere cool or drafty. Fix: Begin only when the yeast mixture foams, then proof the loaf in a warm protected spot.
- Problem: The loaf rises unevenly. Cause: A dry towel or exposed surface can restrict expansion. Fix: Keep the lint-free towel damp throughout proofing.
Overly Moist, Gummy, or Dense Crumb
- Problem: Slices compress and cling to the knife. Cause: The loaf was cut while warm, trapping steam in the center. Fix: Cool it fully on a wire rack before slicing.
- Problem: The middle feels damp after cooling. Cause: The loaf may need the full second baking stage. Fix: Watch for the deeply browned scored edge, then toast individual slices if a firmer texture is preferred.
Off-Flavors or Fishy Notes from Seed Flours
Flaxseed should smell mild and pleasantly nutty. A bitter, paint-like, or fishy aroma suggests oxidation, which becomes much more noticeable after baking. Use fresh whole seeds, store them away from heat and light, and grind only what you plan to use.
Creative Flavor Twists and Dietary Variations
Keep the main dough unchanged if you want the same rise and chew. These are optional directions for future loaves rather than changes required for the loaf above.
Artisan Seeded Crust Sourdough
After the oil step and before scoring, press sesame seeds, poppy seeds, and sunflower seeds onto the exterior. They add crunch, a rustic finish, and a toasted flavor that works especially well with savory toppings.
Herb and Garlic Infused Loaf
Dried rosemary, garlic powder, and cracked black pepper can be folded into the dry blend for a more savory loaf. This version pairs nicely with soup, roasted vegetables, and melted cheese, though the herbs will make the sour flavor feel more subtle.
Grain-Free and Fermented Seed Alternative
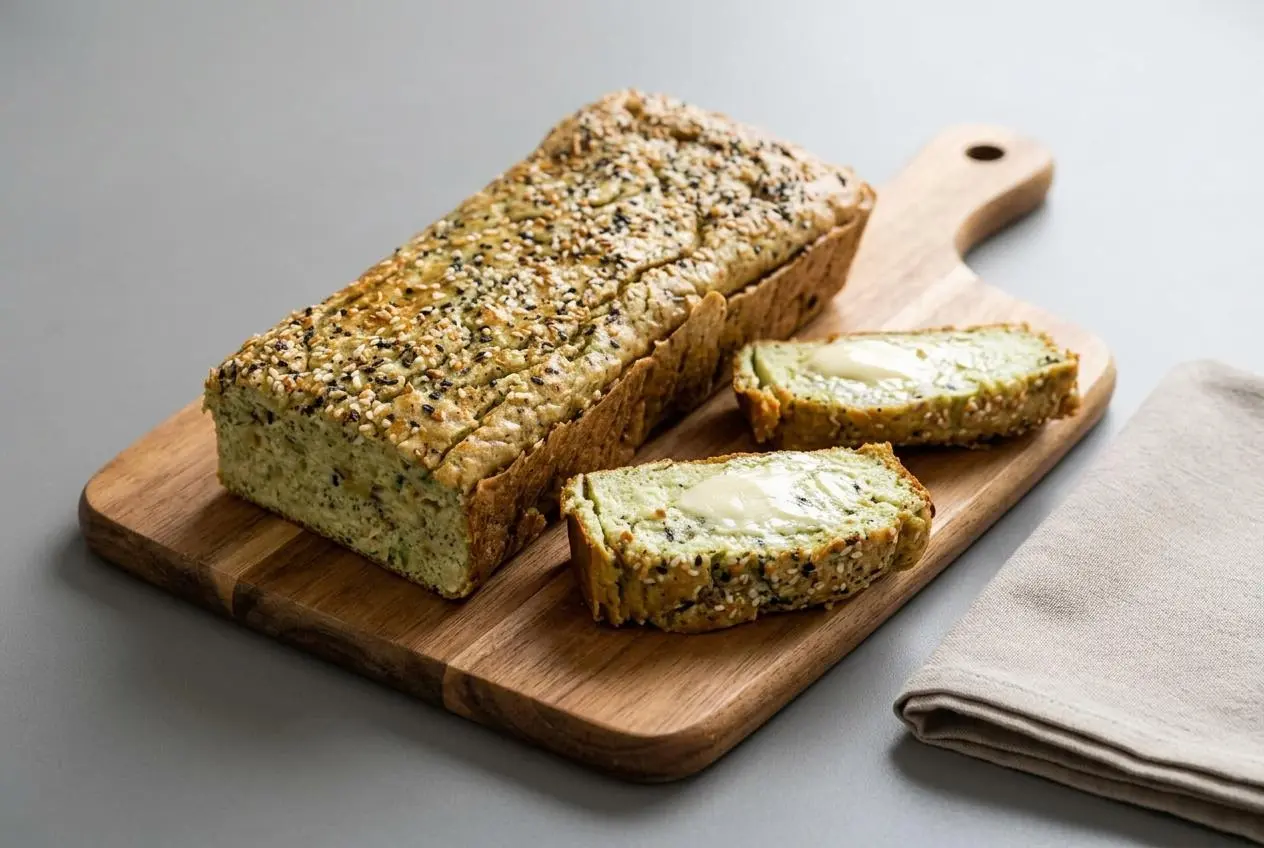
For a gluten-free direction, choose a formula designed around soaked nut or seed purees, psyllium husk binder, and active cultured brine. That style produces a different crumb: more tender and seed-forward, with less stretch than this gluten-structured loaf. For a less artisan-style sandwich option, try classic keto bread.
Proper Storage and Slicing Best Practices
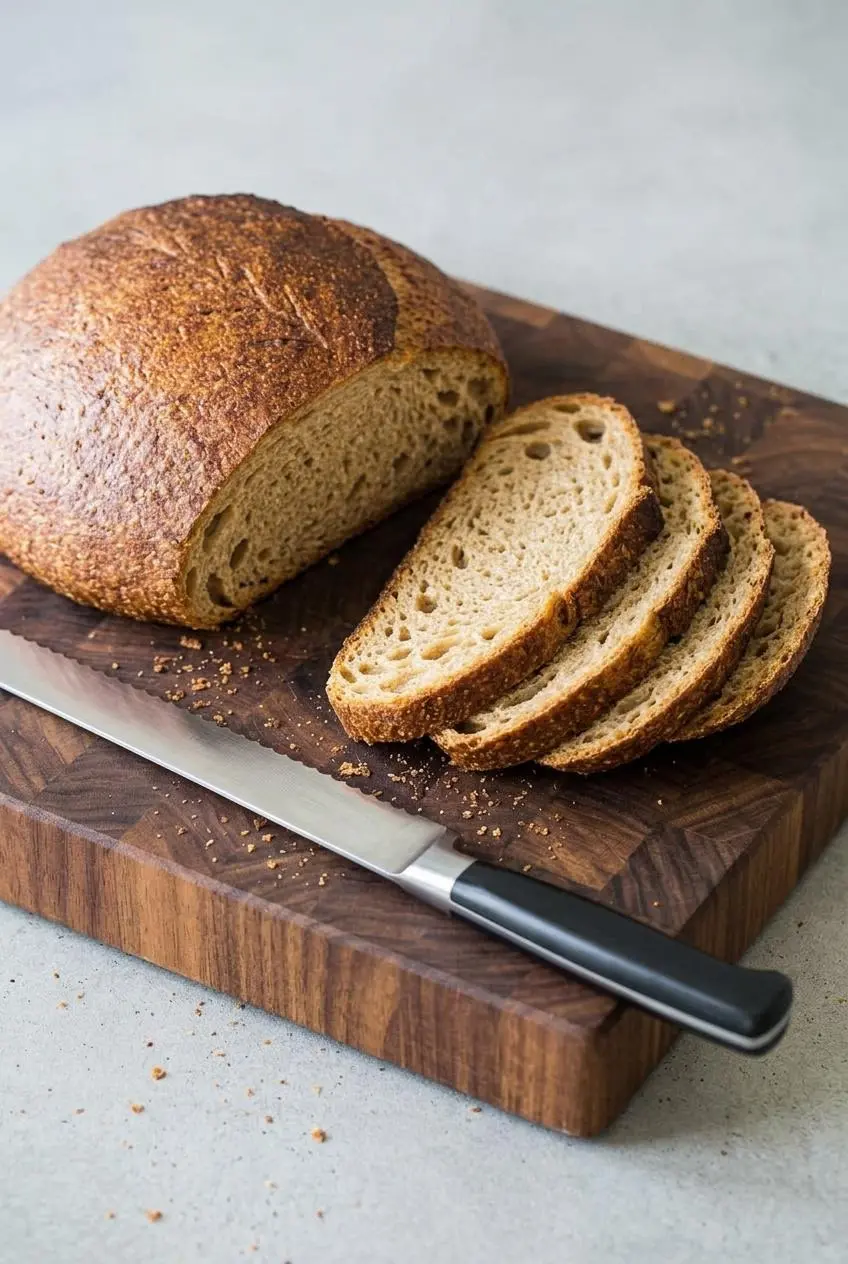
Cooling and packaging affect the crust almost as much as baking does. Never wrap the loaf while it is still warm, because trapped moisture softens the crust and can make the crumb feel damp.
Short-Term Counter Storage vs. Refrigeration
For the crispest exterior, keep cooled bread in breathable wrapping at room temperature. If you need to chill it, use an airtight container or bag rather than leaving it uncovered, which encourages the loaf to stale faster. Toasting restores a pleasant crust after chilling.
Pre-Slicing for Easy Toasting
Slice only after the loaf has cooled completely, using a serrated knife and gentle sawing motions. Keep the slices together in their wrapping to limit cut-surface drying, then toast portions as needed for the best chew and crust.
Serving Inspirations and Savory Pairings
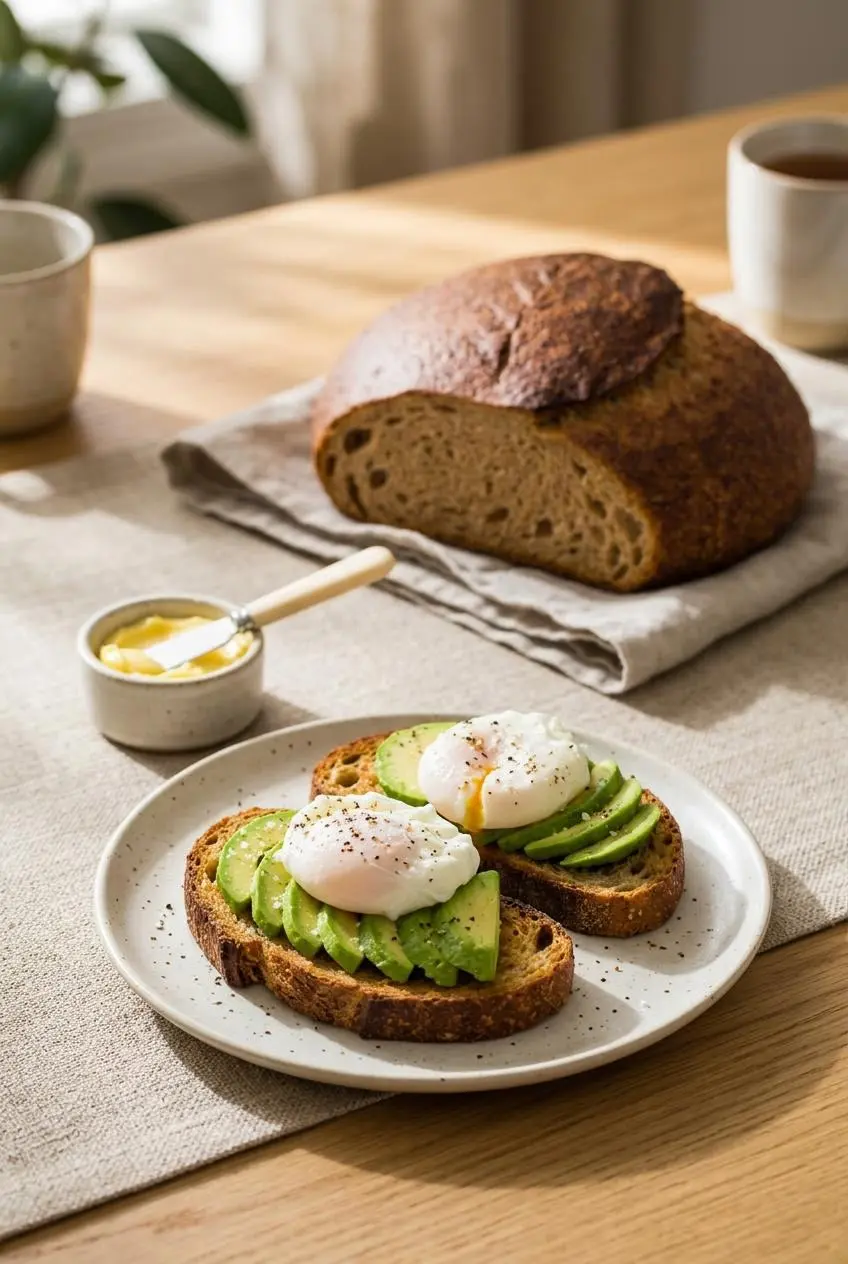
The sturdy crumb makes this loaf useful beyond buttered toast. Its tang balances rich toppings and stands up well to warm fillings without collapsing.
Gourmet Breakfast Toasts and Egg Pairings
Toast a thick slice and top it with butter, avocado, a poached egg, or smoked fish. The crunchy edge and soft center give creamy toppings some needed contrast.
Hearty Sandwich Stacks and Melted Cheese Melts
Use sturdy slices for a deli stack, a pressed panini, or a melted cheese sandwich. For a satisfying cold lunch, the tangy bread is especially good with keto egg salad.
Crisp Salad Croutons and Soup Accompaniments
Cube leftover bread, toast it until crisp, and use it over salads or creamy soups. Thick slices also make a welcome companion for a bowl of hearty keto chili, where the crust can handle a good dip.
Bringing Artisan Sourdough Back to the Low-Carb Kitchen
Success comes down to precision: weigh the dry ingredients, wait for active foaming yeast, proof the dough gently, and use steam so the loaf can expand before the crust sets.
Once you know the feel of a smooth elastic dough and the look of a deeply browned score, this bread becomes a dependable way to bring tangy artisan character back to low-carb meals.
Frequently Asked Questions
Can I Eat Traditional Wheat Sourdough on a Ketogenic Diet?
Traditional wheat sourdough is made with grain flour and remains much higher in digestible carbohydrates than a low-carb loaf. Fermentation changes flavor and texture, but it does not turn standard wheat bread into a keto-style bread.
Why Does a Keto Recipe Include Sugar for the Yeast?
The sugar or syrup gives yeast fuel during its initial activation and proofing. Yeast uses it as it produces carbon dioxide, which helps the dough rise, so the finished loaf should not taste sweet.
What Is the Difference Between Oat Fiber and Oat Flour?
Oat fiber is a highly absorbent baking fiber, while oat flour is ground whole oats with substantially more starch. They do not perform the same job in dough and should not be substituted for one another here.
Can I Make This Keto Sourdough Bread Without Gluten?
This loaf relies on vital wheat gluten for its stretch, chew, and yeast-risen structure. A gluten-free alternative needs a purpose-built formula using binders such as psyllium and a different balance of seed or nut ingredients.
What Gives This Bread Its Authentic Sourdough Flavor Without a Starter?
Lactic acid supplies the clean tang associated with fermented bread, while nutritional yeast adds savory depth. The pairing creates a sourdough-style flavor without maintaining a traditional grain starter.
Keto Sourdough Bread

Equipment
- Stand mixer
- Digital kitchen scale
- Baking sheet
- Parchment paper
- Metal baking pan
- Sharp knife or lame
- Wire cooling rack
Ingredients
- 350 ml warm water (110°F)
- 7 g instant yeast (2 tsp or 1 envelope)
- 14 g brown sugar or maple syrup (2 tsp)
- 175 g vital wheat gluten
- 125 g golden flax seeds (freshly ground and sifted)
- 100 g oat fiber flour (check for a zero carb brand)
- 10 g salt (1 1/2 teaspoon)
- 9 g nutritional yeast (1 tbsp powder or-2 tbsp flakes)
- 1 1/2 tsp lactic acid liquid (88%)
Instructions
- Combine the warm water, instant yeast, and brown sugar or maple syrup in the bowl of a mixer, then leave the mixture for 5 to 10 minutes. Continue when a layer of foam appears and the mixture smells lightly yeasty.
- Add the vital wheat gluten, ground flaxseed, oat fiber flour, salt, nutritional yeast, and lactic acid liquid, then mix until a dough forms. The dough will look shaggy at first and should begin pulling away from the sides of the bowl.
- Knead the dough at speed 3 to 4 for 8 minutes, then turn it out and shape it into a round ball by hand. It should feel smooth, firm, and elastic, with a little rebound when pressed.
- Cover a very stiff dough and leave it to rest for 15 minutes, then use a few gentle kneading motions to tighten it into a ball. The rest allows the gluten to relax so the surface becomes easier to smooth.
- Set the dough smooth-side up on a parchment-lined baking sheet, cover it with a damp lint-free kitchen towel, and proof it for 90 minutes in a warm place without drafts. Keep the towel damp so the dough does not form a dry skin as it expands.
- After 60 to 75 minutes of proofing, preheat the oven to 400°F with one rack in the middle and another on the lowest level, then place a metal baking pan on the lower rack. Heat the oven fully before baking so the loaf gets strong oven spring.
- At 80 minutes of proofing, bring water to a boil and reserve 75 ml for the lower baking pan. Having the water ready lets you create steam quickly when the loaf goes into the oven.
- Once the loaf has fully risen and the oven is hot, uncover the dough and generously mist or brush it with water, then brush on oil after the water absorbs. The surface should look lightly hydrated and glossy before scoring.
- Cut a C-shaped slash across the top with a sharp knife, or use another simple scoring pattern. The cut gives the dough a planned place to open instead of splitting unpredictably along the sides.
- Set the loaf on the middle rack and carefully pour the 75 ml boiling water into the hot pan below it while wearing an oven mitt, then close the door promptly. The steam keeps the exterior supple during the early rise.
- Bake for 30 minutes, raise the oven temperature to 425°F, and bake for 10 to 15 minutes more. The lifted edge of the score should become deeply browned, nearly charred around its thinnest edges.
- Transfer the loaf to an elevated wire rack and let it cool completely before slicing. The interior finishes setting as steam escapes, leaving a cleaner, less gummy crumb.